When I first started recording videos for my YouTube channel, I did NOT have a studio of any kind.
No microphone, no lighting, no DSLR, no NOTHING.
My YouTube studio was basically just an empty bedroom and my smartphone LOL
Sound familiar?
Since I started my channel all those years ago, I’ve since upgraded my YouTube studio space (and my sound, lighting, and video camera too). But I’ve been through A LOT of various setups since then.
So I’ve learned a lot about what works and what doesn’t when it comes to creating your own home video studio. Here are my top tips for making a video studio setup that you can use for your online yoga classes.
How to Set Up Your Yoga Studio Space For Online Yoga Classes
If you want to start a YouTube channel for teaching online yoga classes, then you’ll need somewhere to record yourself.
But don’t worry, setting up a recording studio in your home does not need to be fancy or expensive.
In fact, your studio setup could be as simple as cleaning up any clutter! So before you go buy expensive equipment, like a green screen, teleprompter, or DSLR camera, take a look at my easy tips for setting up your own home studio today.
1. Select a Space With A Lot of Natural Light
One of the most frustrating things for viewers is watching a video with horrible lighting. If you’re too dark to see or too washed out by sunlight, then people will click away from your video before even giving your yoga class a chance.
So be very mindful of the lighting setup in your home video setup.
The best option is to be in a room (or even outside) that has A LOT of natural light. Natural light fills spaces that LED lights or a softbox simply cannot.
The idea is to fill the room with light and then use a lighting kit for any shadows or discoloration.
My favorite place to film video content is always next to a large window. In this video below, there are large windows just in front of me (to the left side of the screen):
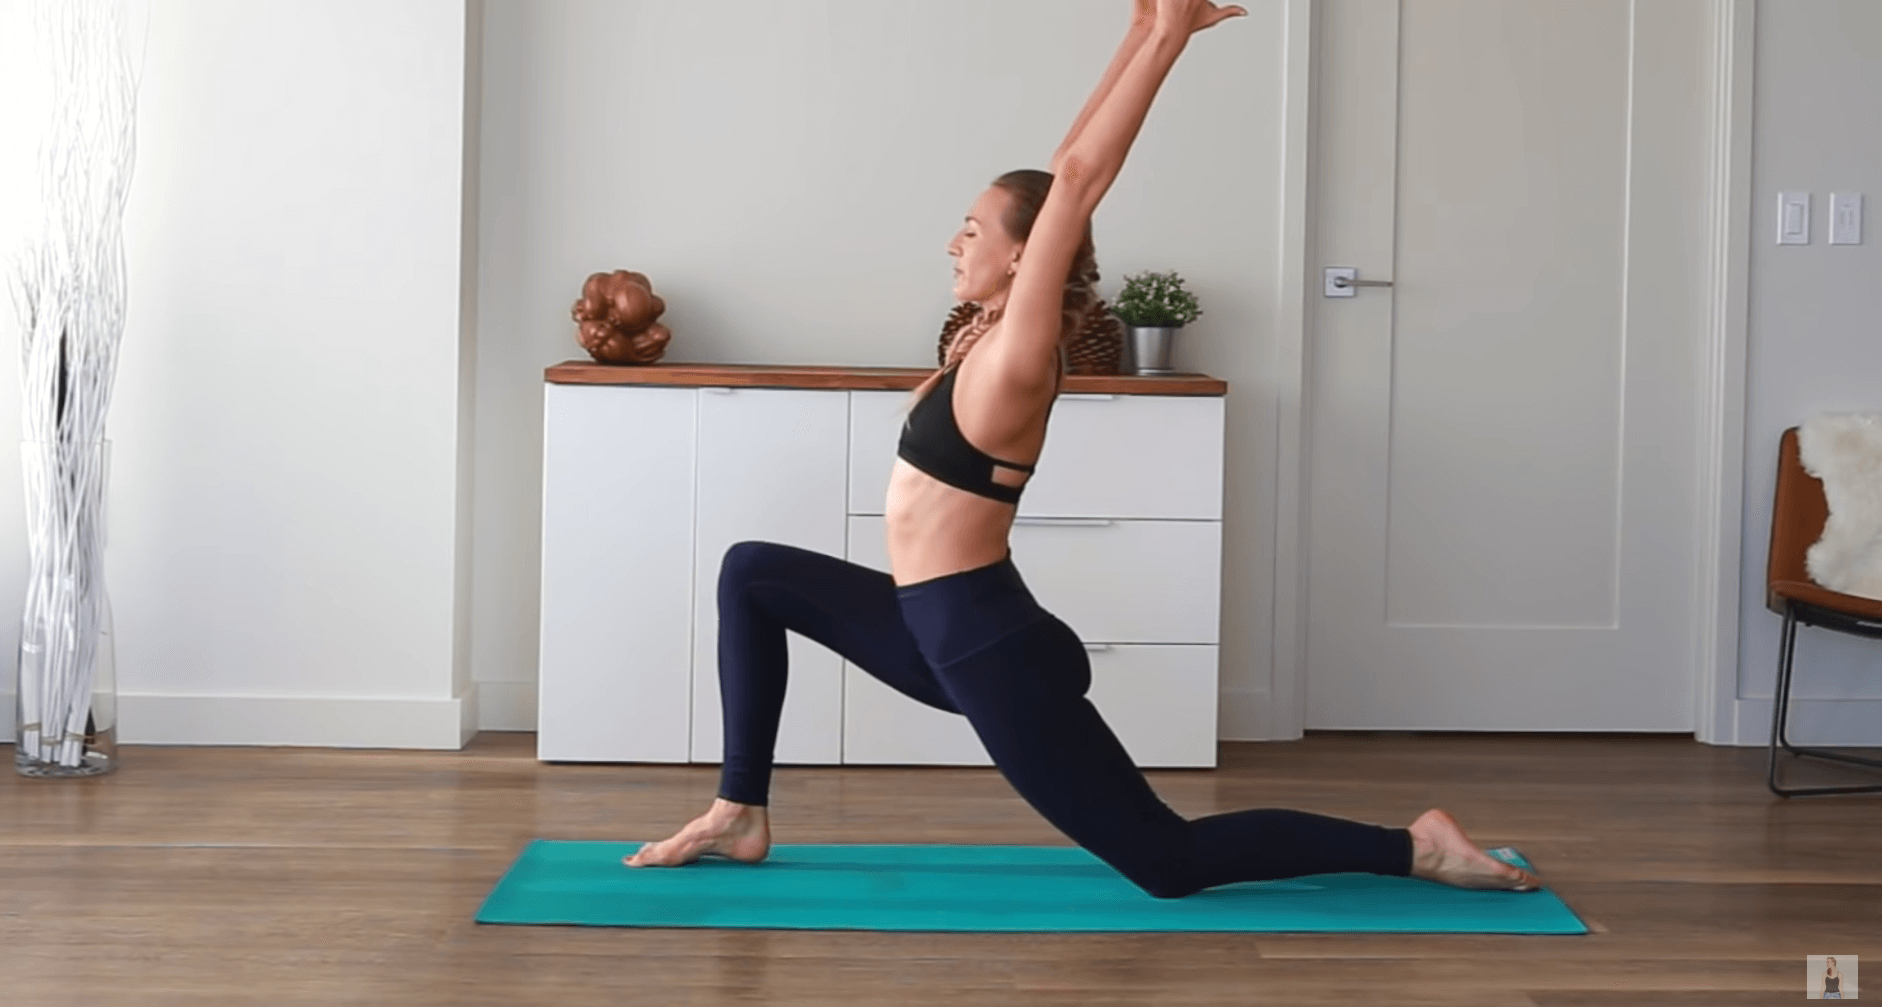
And if I am standing in front of the window, then I make sure that there are large white shades to cover the open windows. They work sorta like an all-natural softbox, which is perfect.
2. Avoid Backlit Spaces (ie Avoid Having Windows Behind You)
I know that I just mentioned this in the previous point, but it’s so important that it is worth mentioning on its own.
Avoid having bright lights behind you when you’re filming. Otherwise, you will be too dark to see clearly.
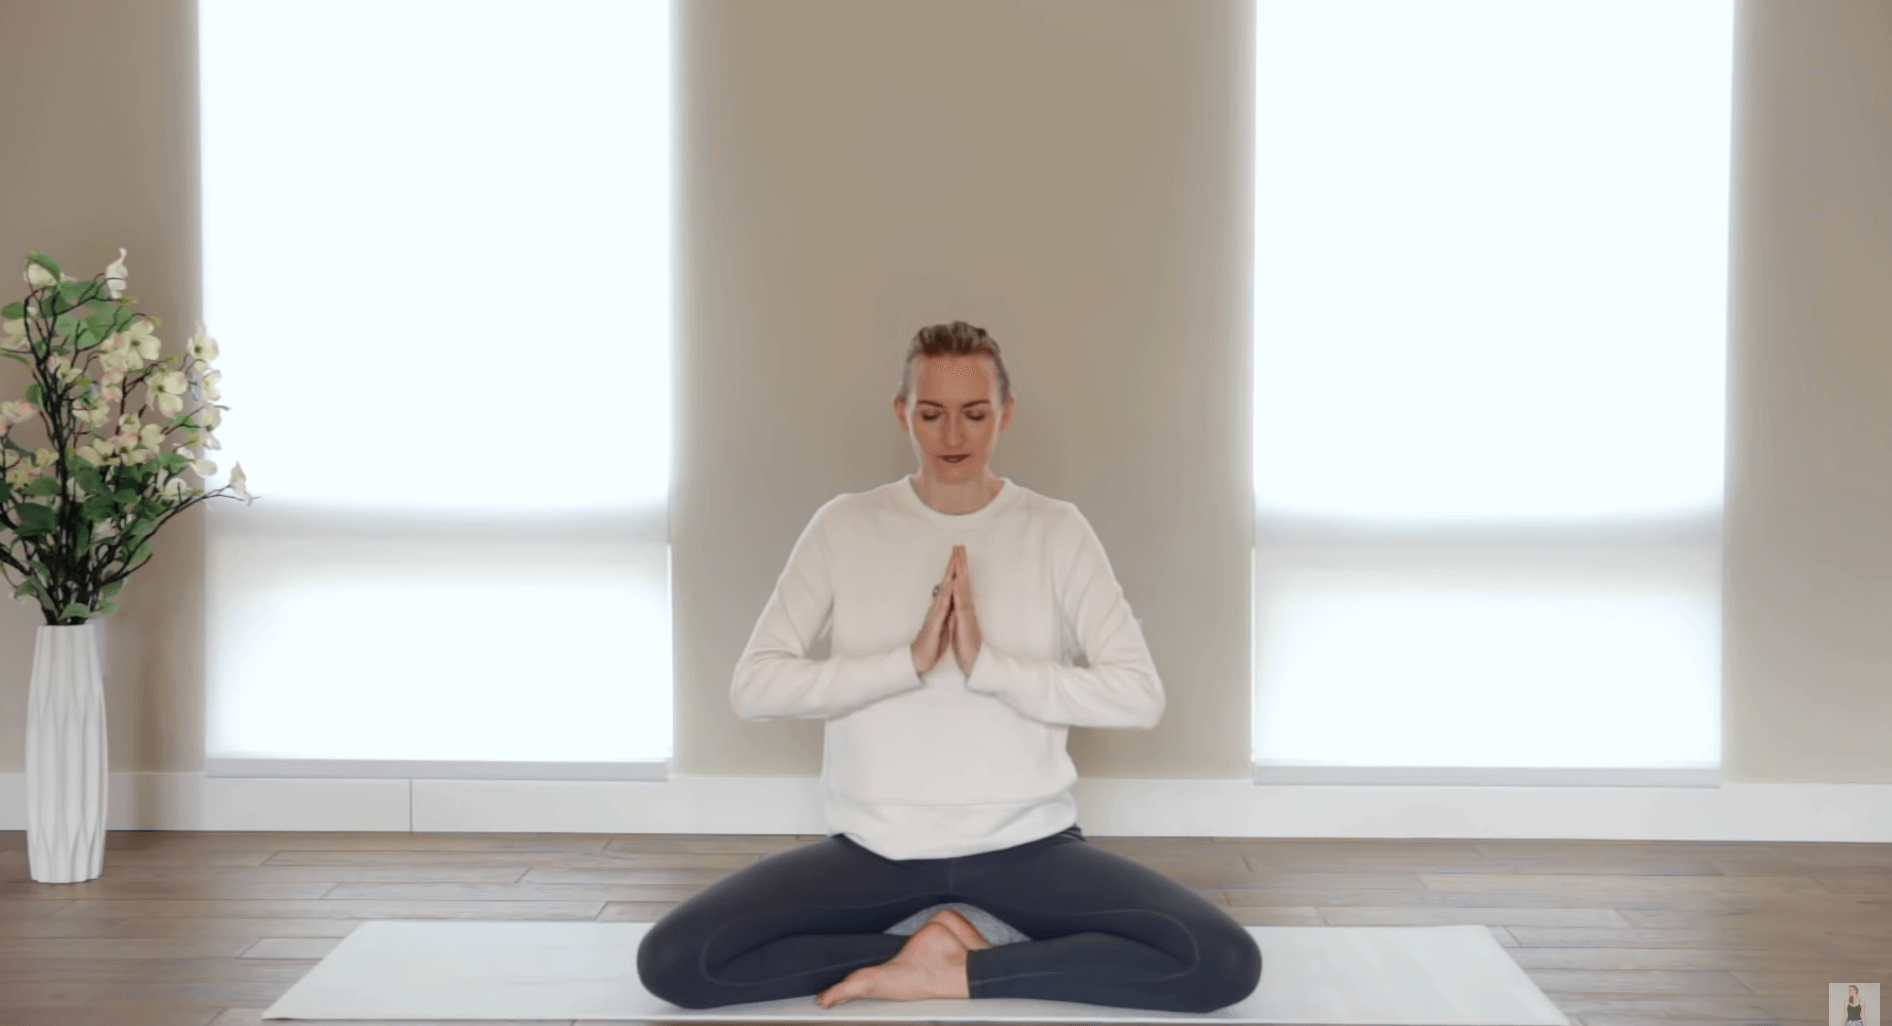
If the best space for you to film your video content is directly in front of a window, then consider investing in white curtains or shades to close over them while you film. This will allow the natural light in without washing you out. You can see that I often do this in my videos:
Alternatively, you could invest in a lighting setup that provides fill light to any shadows that backlighting might bring.
A softbox set up next to the camera can be a great solution for bringing in soft light to your face and body (versus having a big shining light pointed directly at you).
Once you’ve got your raw video content, you can edit the lighting with cheap video editing software. Some popular editing software includes Filmora (for Windows) and Final Cut Pro (for Mac). Some more expensive video editing software that can tackle lighting issues would be Premiere Elements.
3. Keep Your Background Clean For Contrast
A lot of yoga instructors recommend keeping your studio space authentic and true to who you are, which I totally support.
But don’t allow your ‘true self’ to make it difficult for your studios to see you during your online yoga class. You can see this example of an online yoga teacher who has a busy background, a busy foreground, and hectic lighting:
As beautiful and enchanting as I’m sure her life is, it can be quite difficult to see her throughout the video.
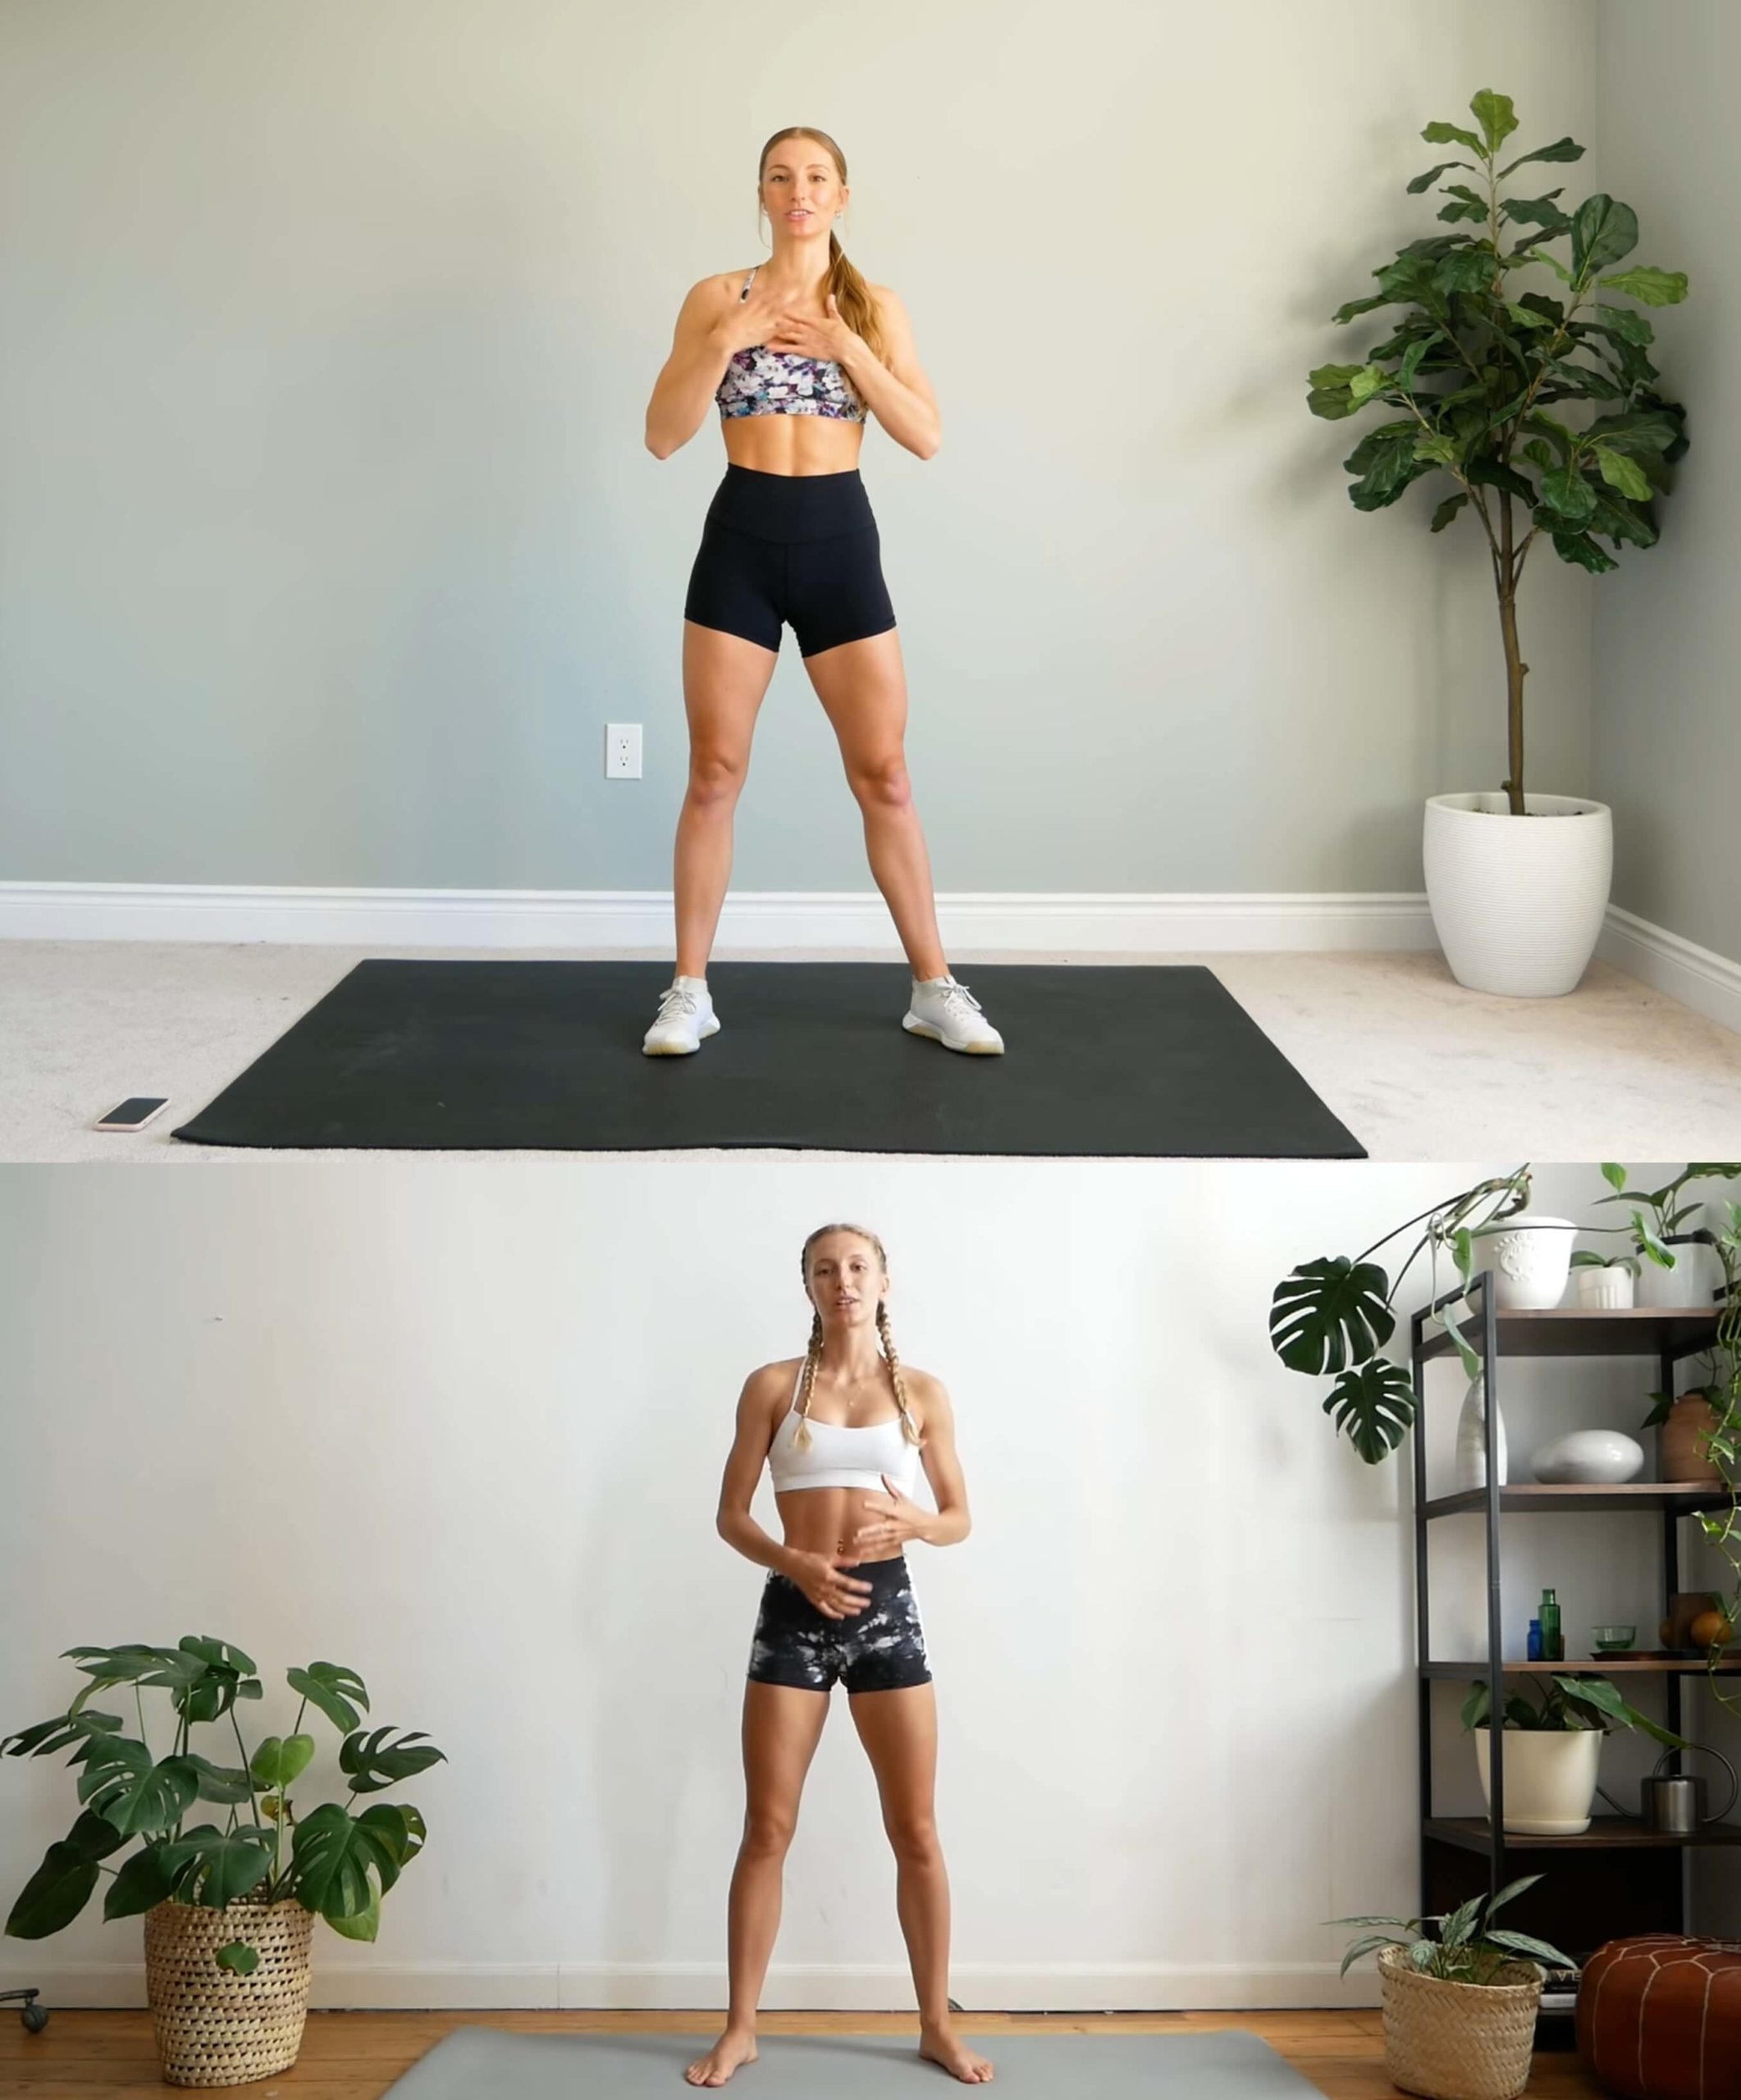
The idea is to make sure that your background is clear enough that you have a stark contrast between your background and you. This makes it super easy for viewers to see you throughout the video.
This is why most of my video shoots take place in front of a big blank space or in front of a blue sky or the ocean as a backdrop. The easier it is for viewers to see you, the longer they’ll stick around for your videos.
4. Set The Space With Decorations
This is the fun part 🙂 I really like to set up my space with a few simple decorations, like plants, yoga props, or trinkets. It makes the space more inviting and makes it easier for my audience to connect with me on a human-to-human level.
You’ll see that Adrienne often has her dog with her in her videos.
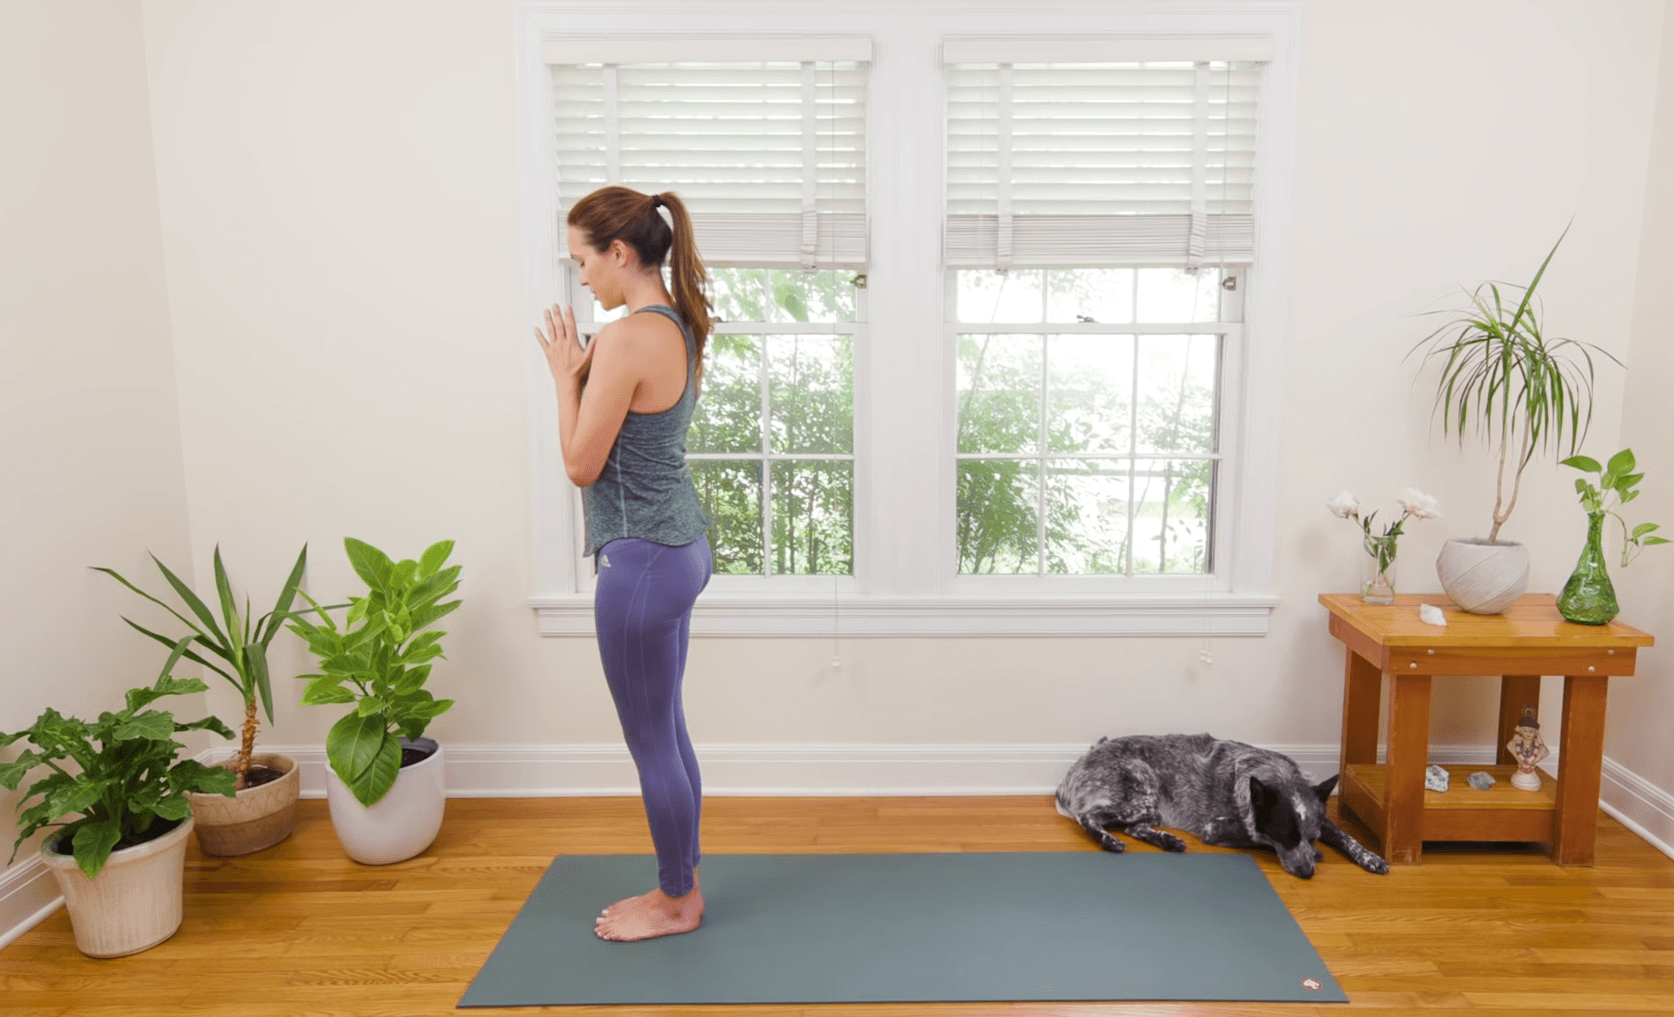
And Maddie often has green plants in her videos.
When you set up your decorations, try to frame yourself and your yoga mat. This naturally pulls the eye toward you at the center of the frame, making it more engaging and easy to follow.
5. Use Quality Microphones
Though this technically isn’t a part of your video studio setup, it’s an extremely important part of recording that cannot be overlooked. Because no matter how beautiful your video shoot is if people cannot hear you clearly then they will bounce right out of your yoga class.
There are so many options for getting quality audio during a video shoot, from using a shotgun mic to having a lavalier microphone. You could even do voice-overs during your editing process to eliminate all background noise altogether.
I’ve written quite a bit on which microphones are best for quality video production, so be sure to check out my recommendations.
Read more: DSLR vs Smartphones: How To Choose The Right Microphone
6. Test Your Shot
Before you fully begin your video shoot, be sure to test it all out once everything is set up.
I like to get myself set up with my lighting, my audio, and my space, then hit the record button on my camera. I move a little bit in front of the camera and speak a little bit into the mic. Then I check the recording to see how it looks and sounds. Sometimes I even test with multiple videos, if needed.
There is nothing worse than putting time and energy into the video production only to find out that something totally avoidable wasn’t fixed beforehand.
Read Next: My Exact Tech Tools For My Million Dollar Online Yoga Platform
Final Thoughts
Whether you’re live streaming or recording for your YouTube channel, setting up a home studio is super important.
More important than even a DSLR camera, fancy editing software, or a high-quality lens.
Honestly, video quality comes down to is good lighting and even better audio.
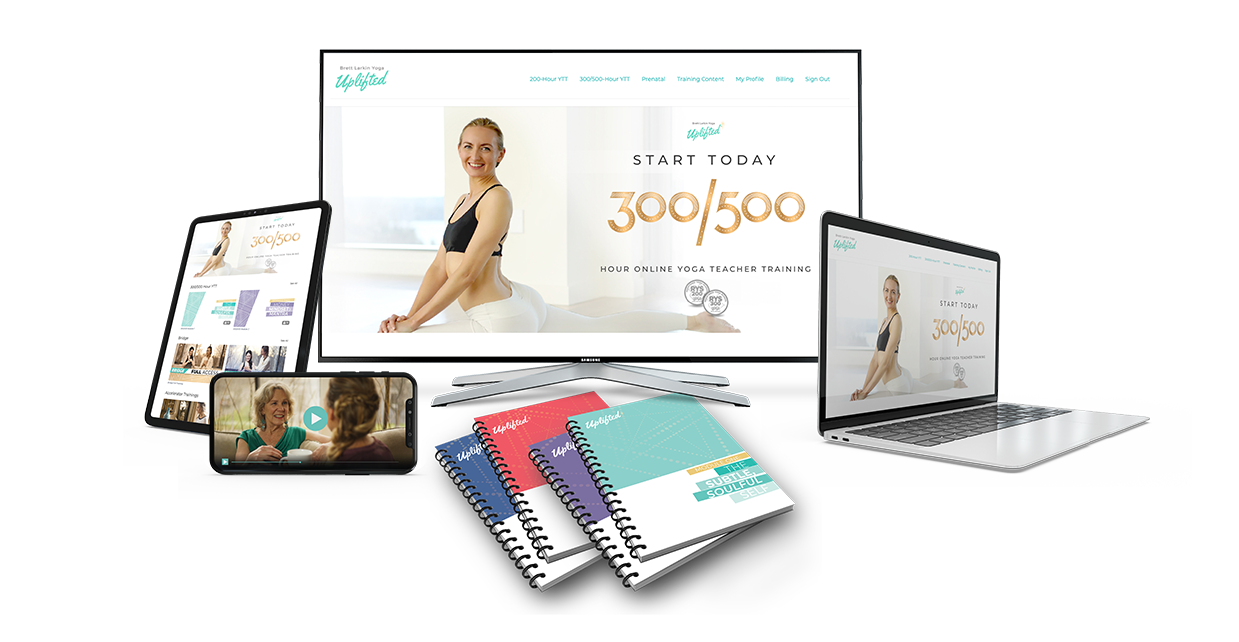
Your DIY video studio is more than enough to launch your YouTube channel and get you on track to earning 7 figures as a yoga instructor (like me). I promise!
Cuz that’s exactly how I did it.
What are some of your favorite tips for a home studio setup Is there anything that I missed?
YOU MIGHT ALSO LIKE
- What Is YACEP? (Yoga Alliance Continuing Education Provider)
- How to Handle a Student Injury in Yoga Class
- How to Teach Yoga in Schools
- How to Teach Yoga to Athletes
- How to Teach Restorative Yoga Classes
- How to Teach Prenatal Yoga (What You Need to Know)
- How to Teach Chair Yoga (Guide for New Teachers)
- How to Get Hired at a Yoga Studio (What Studios Look For)
- How to Find Your Yoga Teaching Niche: A 3-Question Framework for Building a Signature Program (and Why Generic Vinyasa Doesn’t Sell Anymore)
- The Real Economics of Yoga Teacher Training in 2026: What It Costs, What You’ll Earn, and When the Math Actually Works
- Yoga Teacher Training as a Mid-Life Wellness Sabbatical: Why More Women Are Using YTT to Reset Their Nervous System (Not Change Careers)
- How to Teach Trauma-Informed Yoga
- How to Get Your First Yoga Teaching Job
- How Do I Log Continuing Education Hours with Yoga Alliance?
- How to Make a Living as a Yoga Teacher (Without Burning Out)
Sneak Peak into My 300-Hour YTT - FREE Videos, Info Session, Bonuses!