Honestly, online yoga has EXPLODED in the last few years. Now, many yoga teachers prefer to teach yoga online via Facebook live, their YouTube channel, or a Zoom yoga class. Booking classes via mobile apps makes it easier than ever to teach online. Many yoga instructors (myself included) have even launched yoga apps. The entire business of yoga has changed in the past few years alone, making teaching online an essential part of both teaching yoga and practicing yoga.
Yoga teachers are taking their yoga studio online, this year, and their yoga students are following suit.
SO.
How do you film yourself teaching yoga so that it looks and sounds good?
I’ve been an online yoga instructor for years, leading virtual yoga classes and online yoga teacher training courses, so I know a thing or two about running an online yoga business.
When it comes to making yoga videos, there are really four key points:
In this post, I’ll go through my exact process for setting up for my YouTube yoga videos so that you can get on that virtual yoga train TODAY.
1. How to Prep For Your Online Yoga Videos
Learning how to record yourself teaching yoga really comes down to the preparation. If you can get everything organized and ready before you start filming your yoga videos, then it will make the entire process SO much easier.
#1 Create a Detailed Schedule and Outline
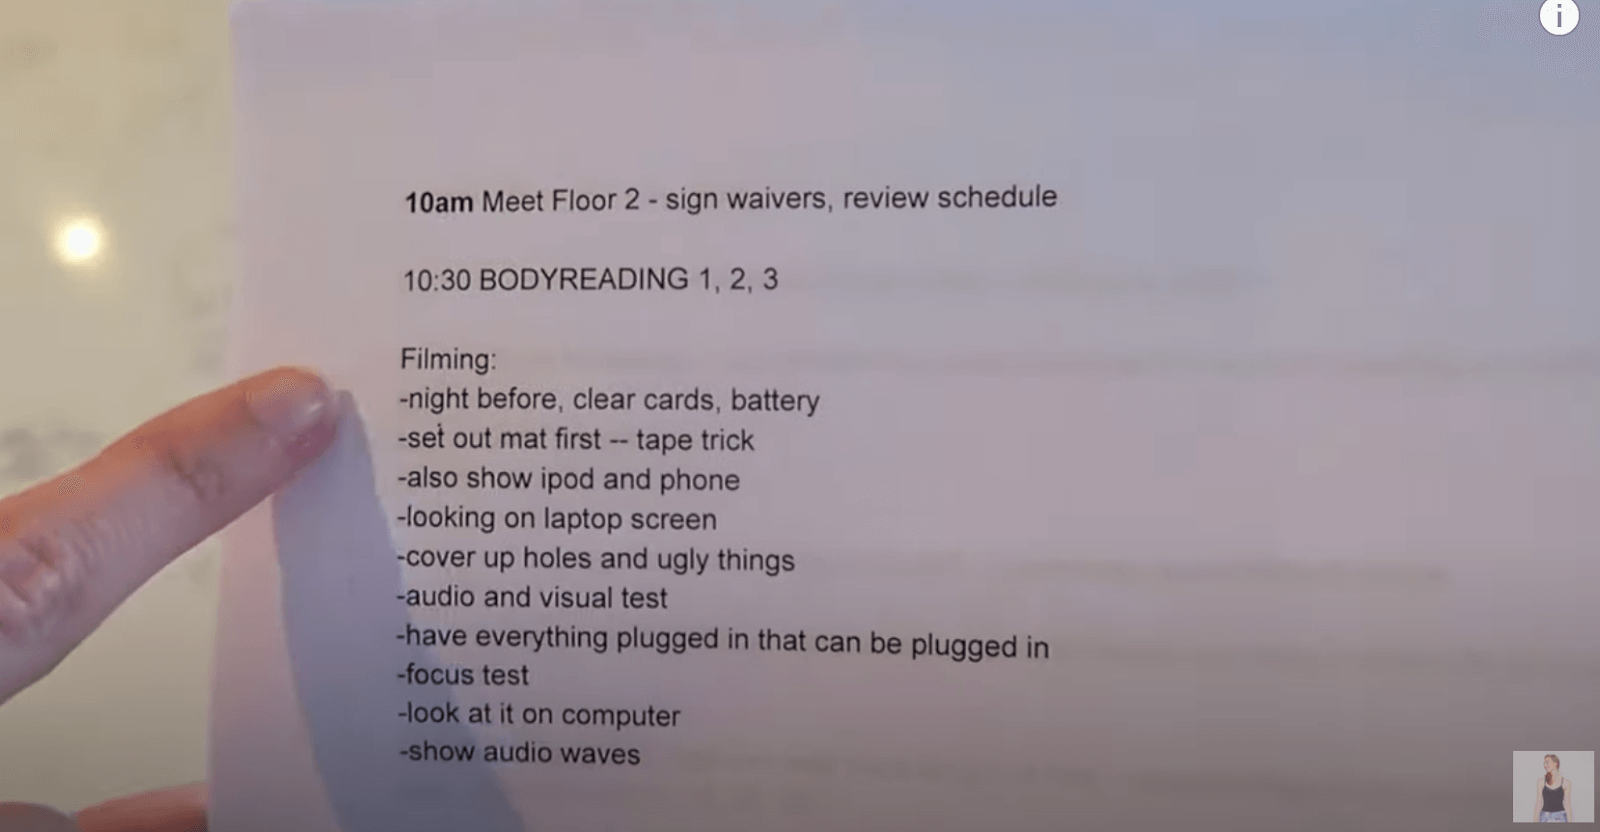
Begin by writing a detailed schedule for the day. This will help to keep you organized and on track while you are filming…especially if you are filming more than one video per day, which is what I suggest.
In addition to my schedule, I also like to create an outline for each class I plan to film. Your outline can include themes, sequences and key cues you plan to use in your video.
Setting up your space, equipment and creating the right lighting is a lot of work. An effective schedule and class outline will help you to be able to plan and create weeks or even months worth of content all in one day of filming.
#2 Charge your Equipment
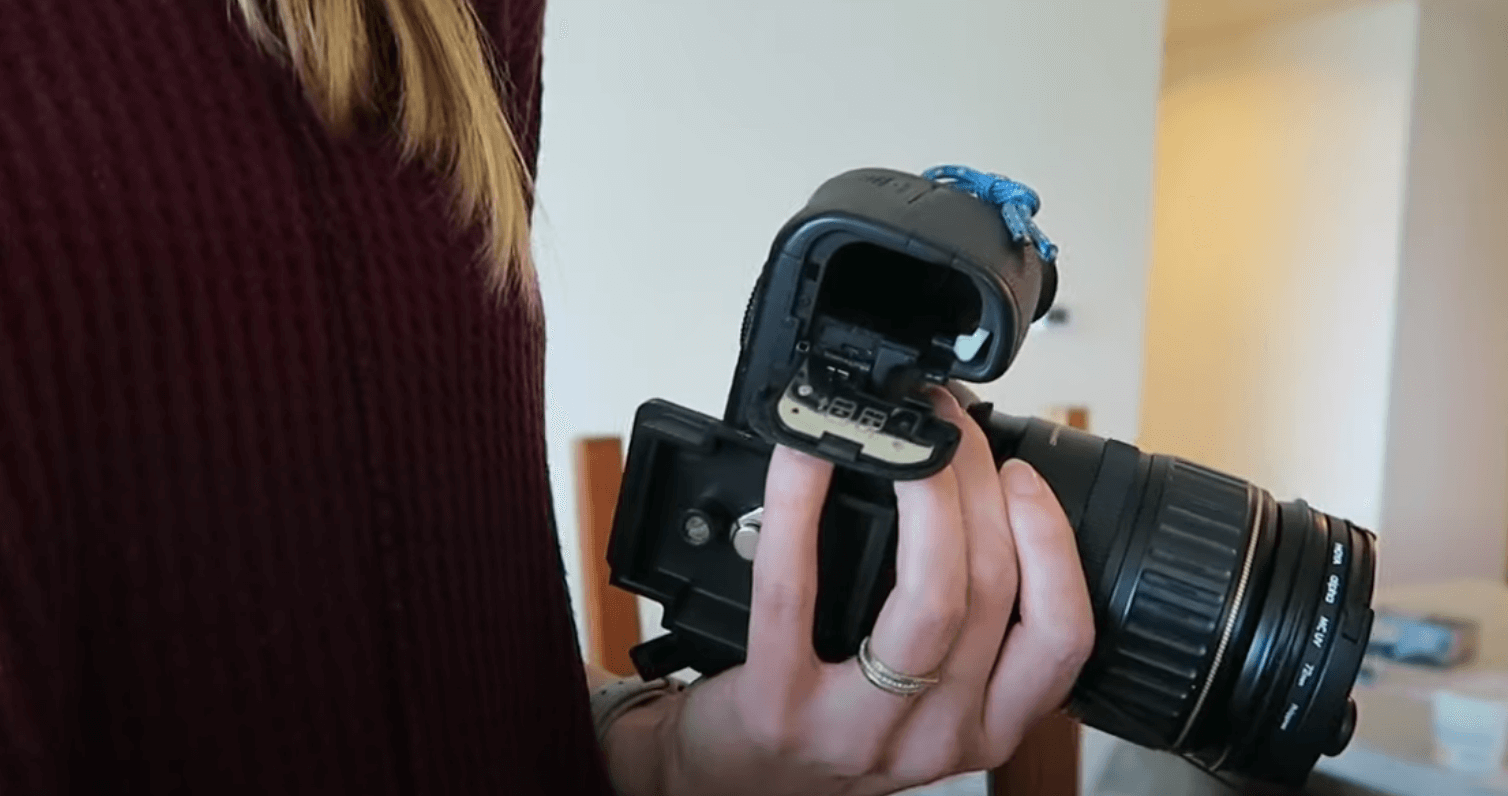
Be sure to charge all of your equipment and batteries the night before your shoot, like your camera or iphone, sound recording equipment, and anything else you are using that has batteries.
There is nothing worse than a battery running out while you’re teaching from your yoga mat because you often don’t find out until the very end.
#3 Clear your Memory Cards
You can do this directly in your camera, or if you are using your iphone, you will need to check the storage space to ensure you have the space for whatever you are planning to film.
If you are teaching a live yoga class, then make sure that you can record and download your classes directly to your computer before you begin. I once had my computer die during savasana as I was teaching online via Zoom and it is SO embarrassing! Avoid this mistake by ensuring that you have enough battery and space to record your virtual yoga class.
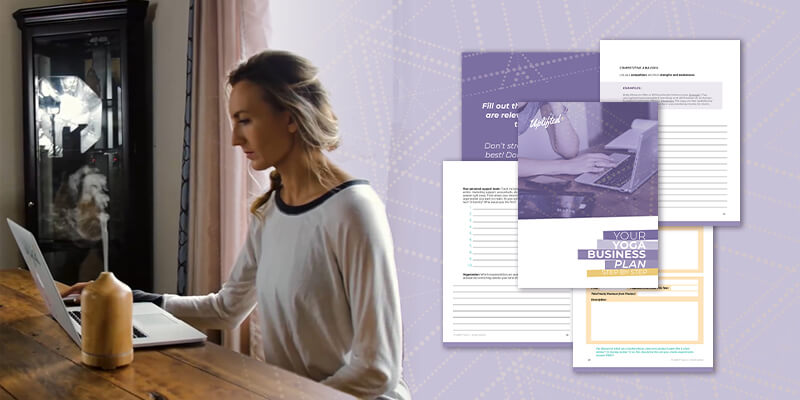
Save Hours with my Proven Formula. FREE Yoga Business Plan Download & Checklist 👇
2. How to Set Up the Audio For Your Yoga Videos
Although video quality is important, the quality of your audio is what will keep people watching your yoga video past the first few seconds.
Unfortunately, the built in microphones from cameras (whether it’s your iphone or a DSLR camera) will pick up all of the background noise and sounds from your environment (like your fridge or laundry machine) and even sounds from the camera itself when it’s running.
Read more: DSLR vs Smartphones: How To Choose The Right Microphone
These competing sounds make it very difficult to record audible yoga cues, which are extremely important when you teach yoga online.
The only solution is to invest in an external microphone and audio recorder to record your sound.
I use two different types of audio recording devices:
#1 iPod and Lapel Mic
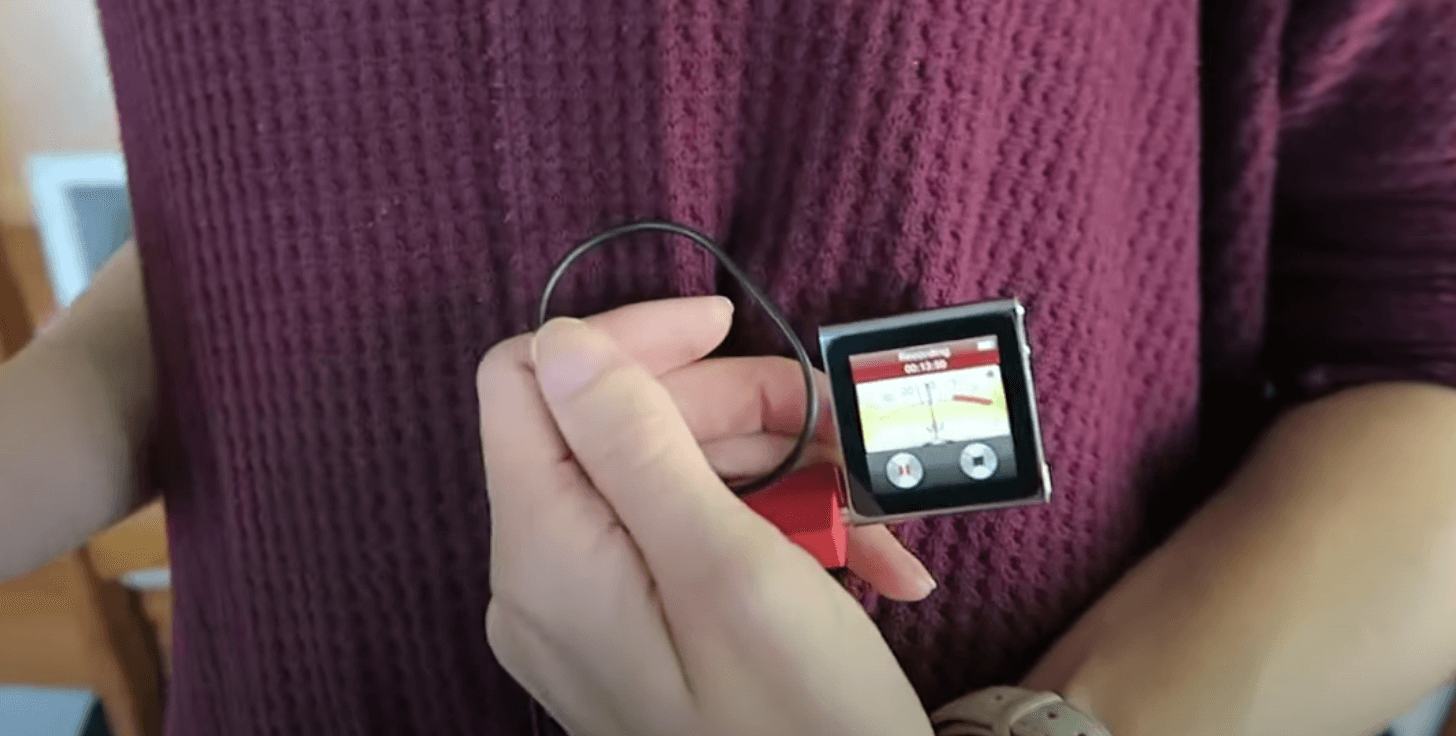
The easiest and least expensive option is by recording my voice as a voice note in my iPod nano which is connected to a lapel microphone hooked into my top.
This type of microphone is very affordable, easy to set up and gives me really nice, high quality audio.
If you’re new to teaching yoga online, then this is a good option. It allows you to develop your teaching style online while also getting used to the technical side of leading online classes. Once you feel more comfortable, you can upgrade your equipment.
#2 Wireless Mic
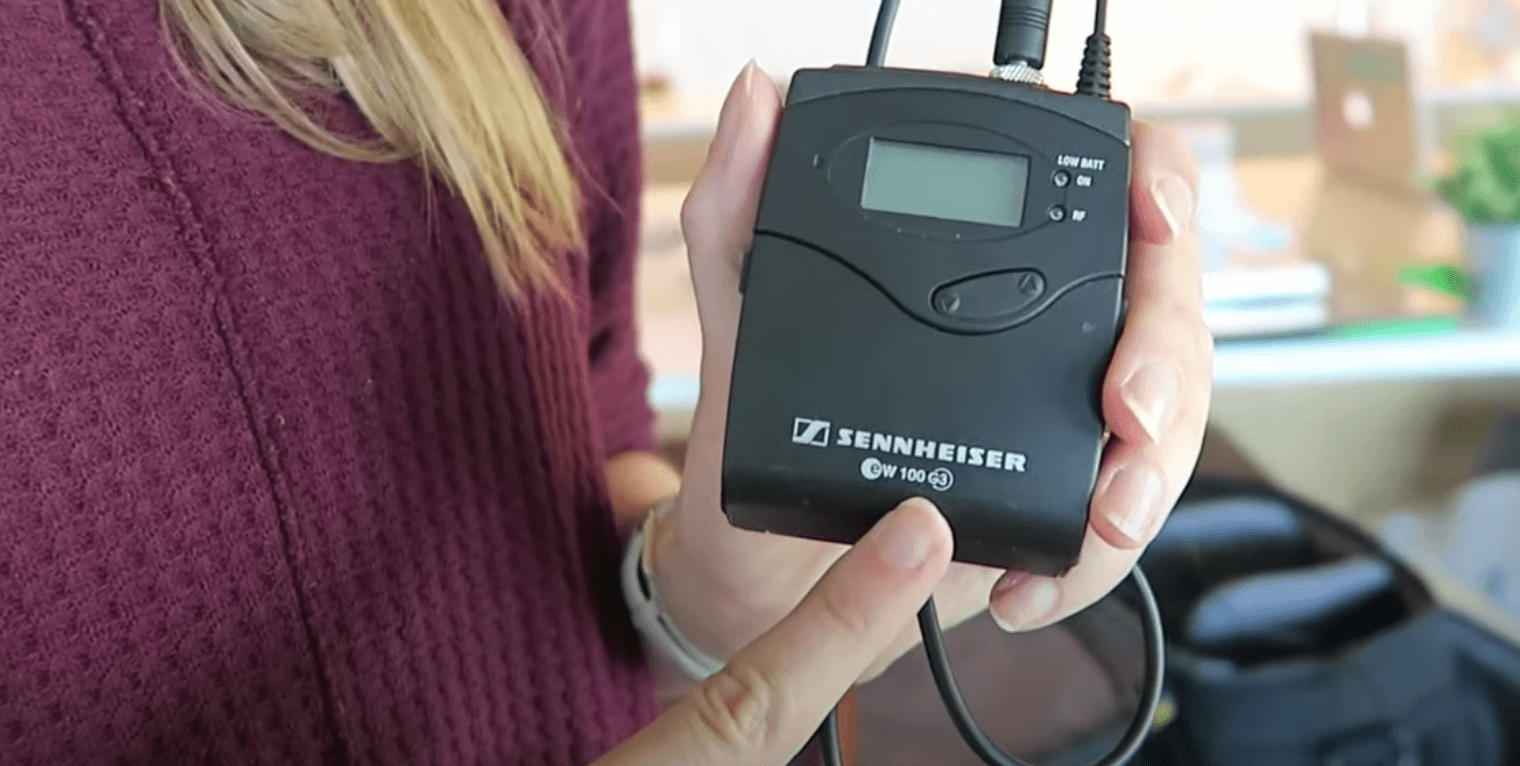
For more professional audio I use the Sennheiser G3 wireless microphones, which you’ve heard in just about all of my videos and in my online yoga teacher training program.
With these wireless microphones, you can plug them into an external recorder or directly into your camera. This makes it super easy to lead your yoga students through their asana practice without having to worry about getting caught in some wires.
Another option you can explore if you do not want to audio and video together is to do voice over, which also works really great for yoga videos. This allows you to fully dive deep in your own asana practice, connecting with your love of yoga as you demonstrate for your students. Then, when you’re ready, you can record clear and well-written instructions to play over the video.
How to Set Up Your Yoga Studio Space For Online Yoga Classes
Whether you’re recording yourself for your social media pages or for group yoga classes, it’s important to set up a proper studio space. You can do it however you’d like, with the most important thing being that you are completely visible throughout the entire class. That’s why you see many yoga instructor videos (mine included) set against blank white walls of an emptied living room or bedroom space.
Here are a few other tips for setting up your yoga studio space:
#1 Establish your filming space
If you’re filming indoors, find a place that has a good amount of indirect natural sunlight. Your space will need to be large enough for your mat as well as all of your equipment.
#2 Makeover your space
Once you’ve established your filming space, you’ll want to close any doors or curtains that will be in your frame, do some last minute makeovers to the set.
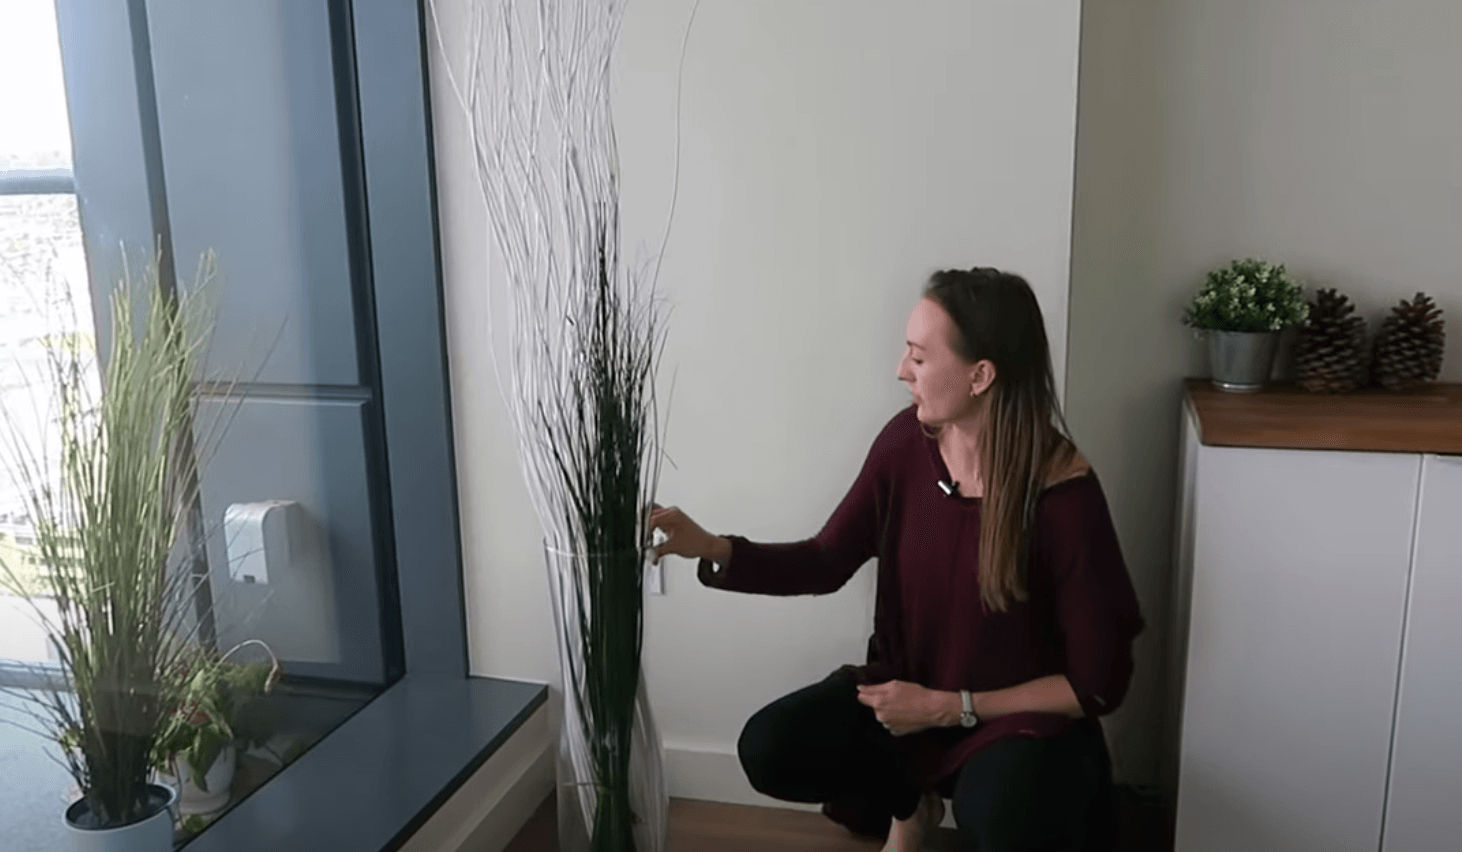
#3 Adjust decorations
I also like to shuffle around decorations to hide things in the set like outlets.
If you’re filming outdoors, film in a shaded place and avoid creating any hard shadows on your face.
How to Film Yourself Teaching Yoga
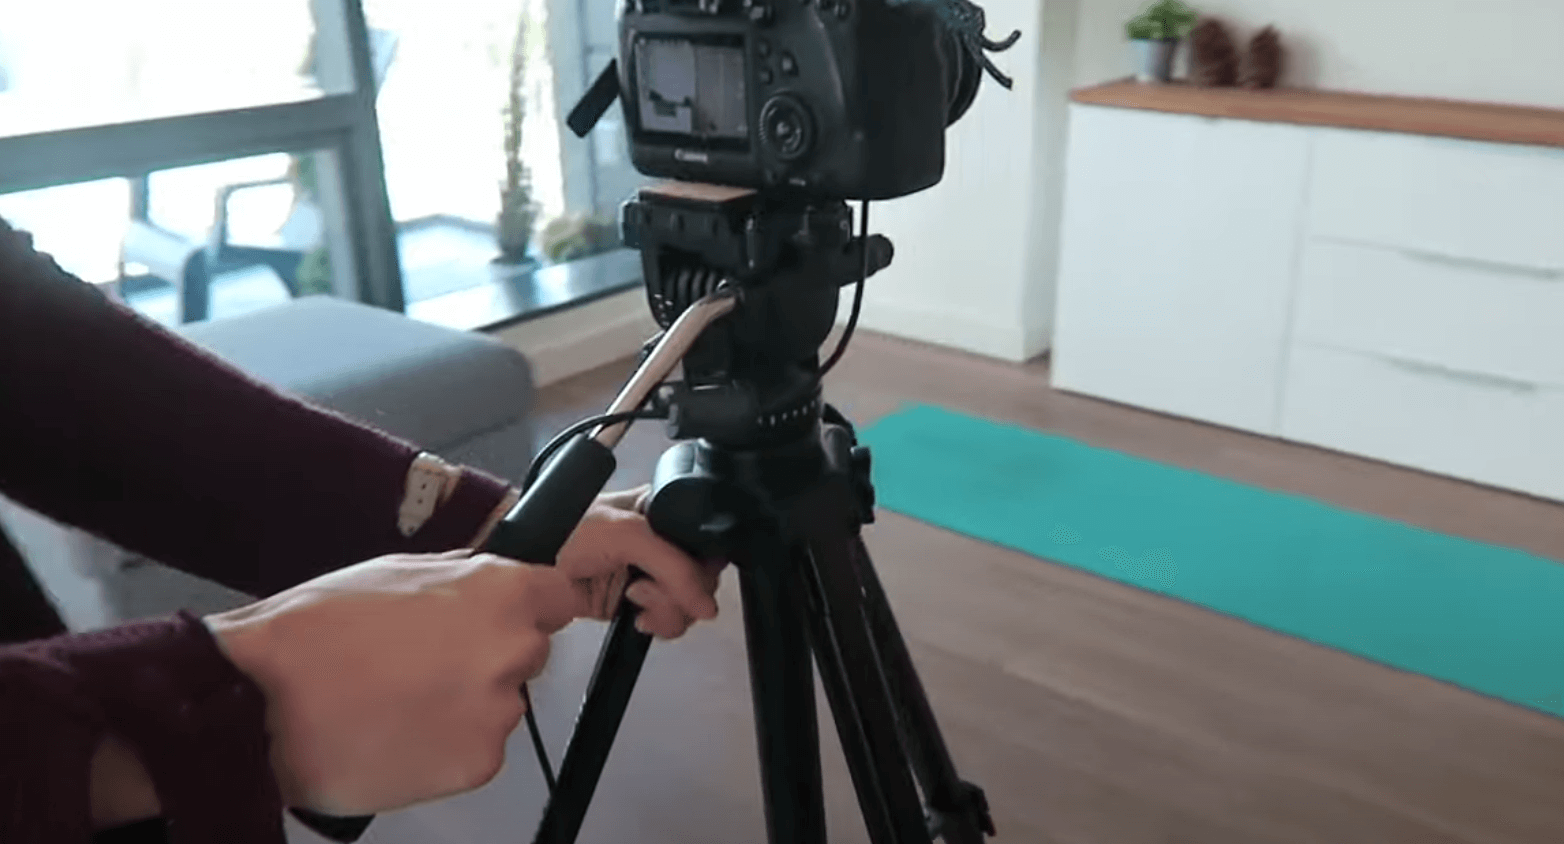
#1 Set up your tripod and attach your camera or iphone
People ask me all of the time what type of fancy DSLR camera they need to use or buy. Honestly, just starting with your iphone will work great, I would just suggest recording your audio on an external source.
If you don’t have a tripod and are using your phone, you can use a selfie stick to keep your phone safe and steady while you film.
If you’re going to start filming longer classes (over 30 minutes), this is where your iphone will start to become a limitation and you will want to invest in a DSLR camera.
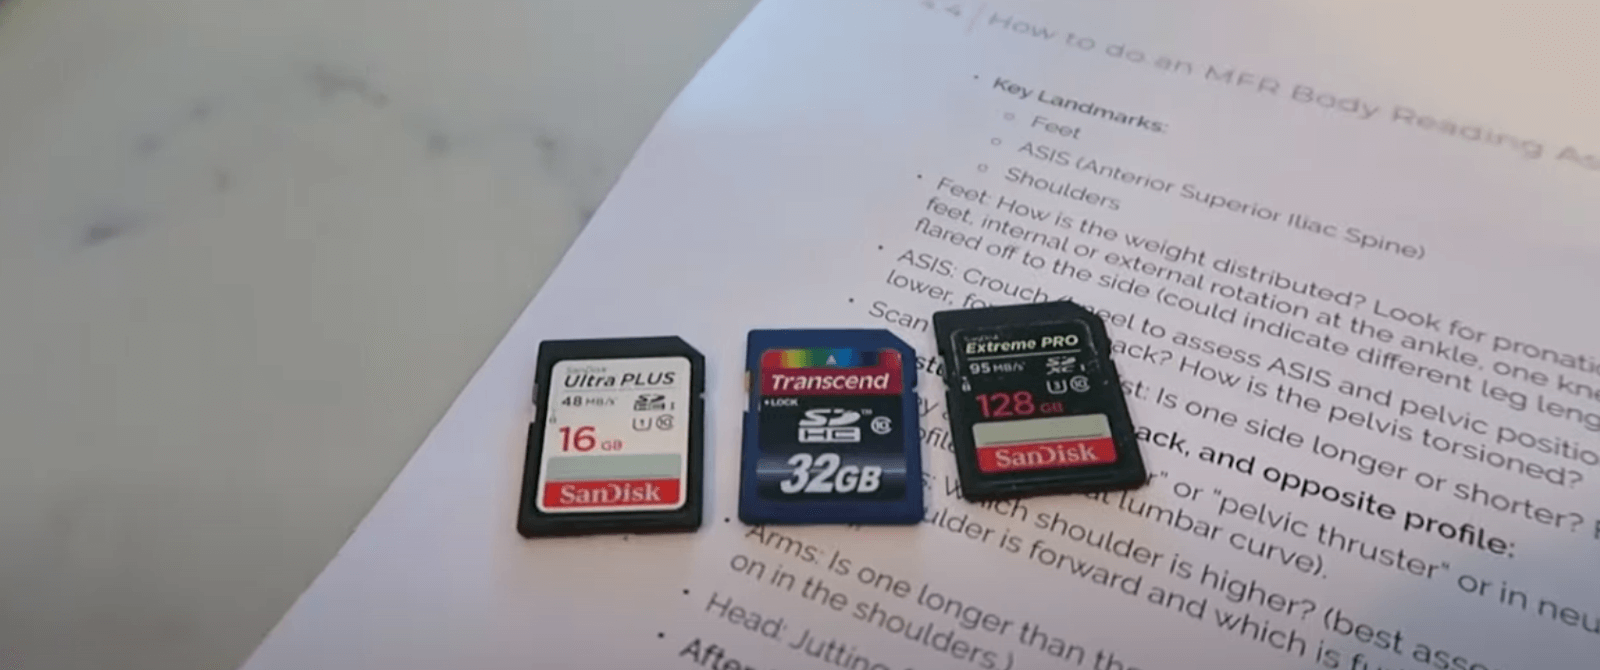
If you are filming with a DSLR camera, I recommend using a 128 GB memory card to record your video, because you can film for much longer periods of time before having to switch cards.
Read Next: My Exact Tech Tools For My Million Dollar Online Yoga Platform
#2 Adjust the frame
Once you have your camera or iphone locked safely on some sort of tripod, you’ll need to adjust the frame by moving the tripod around to find the right distance to fit everything you need in your shot.
How wide or close your shot will be depends on the type of yoga class you are filming. For example, If you are filming a Yin or Restorative Yoga class where your poses are all seated or lying down, you can film much closer.
If you’re filming a class with big sun salutations and poses with your arms above your head, you will need to move your camera further away to create a larger frame.
When you start filming make sure to position yourself so you are seated right in the middle of your mat and that you don’t have too much empty space above your head.
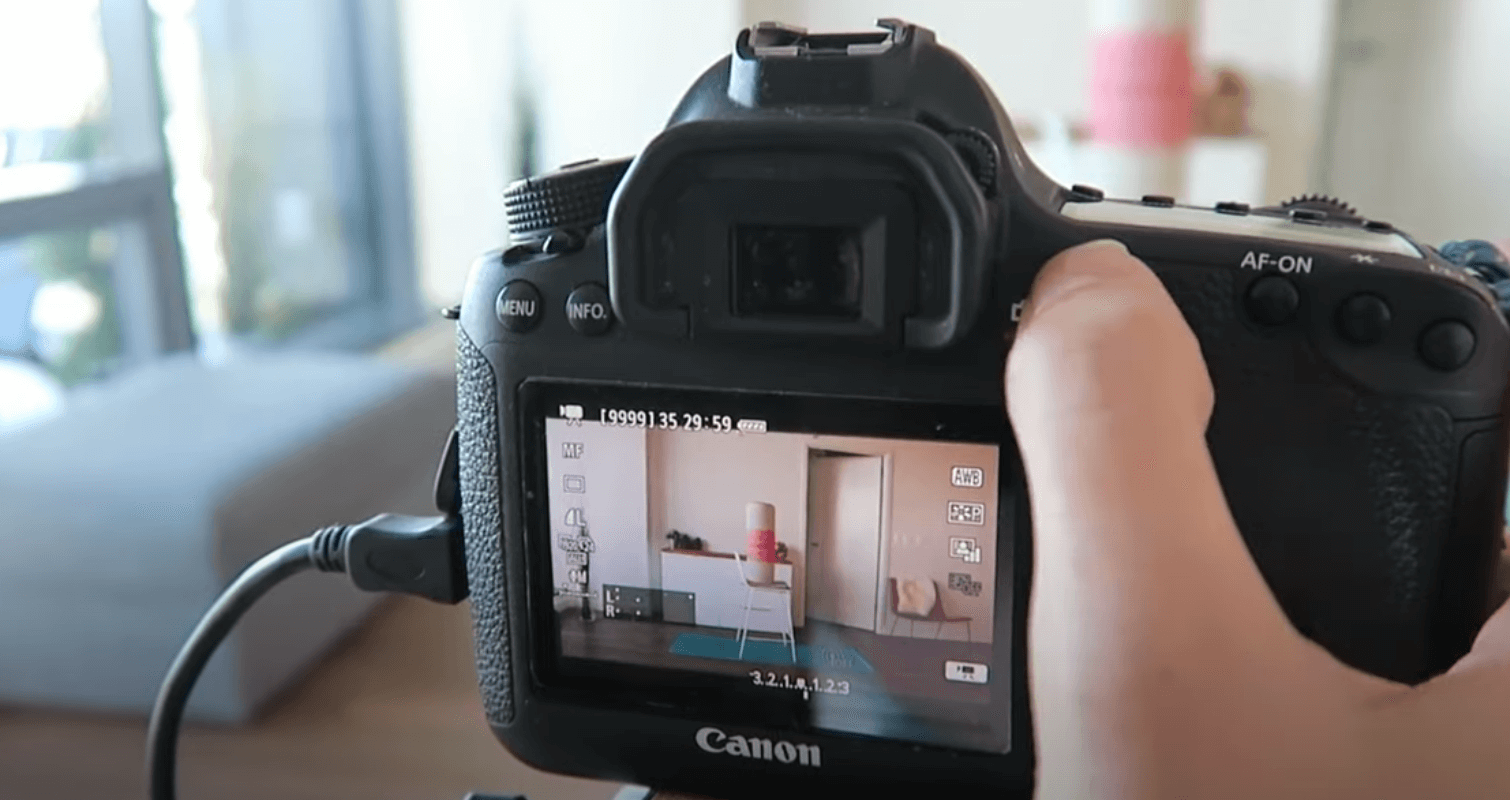
If your camera doesn’t have a flip screen, you can use a cable that allows you to connect your camera to your laptop so you can see what you’re filming on your computer screen.
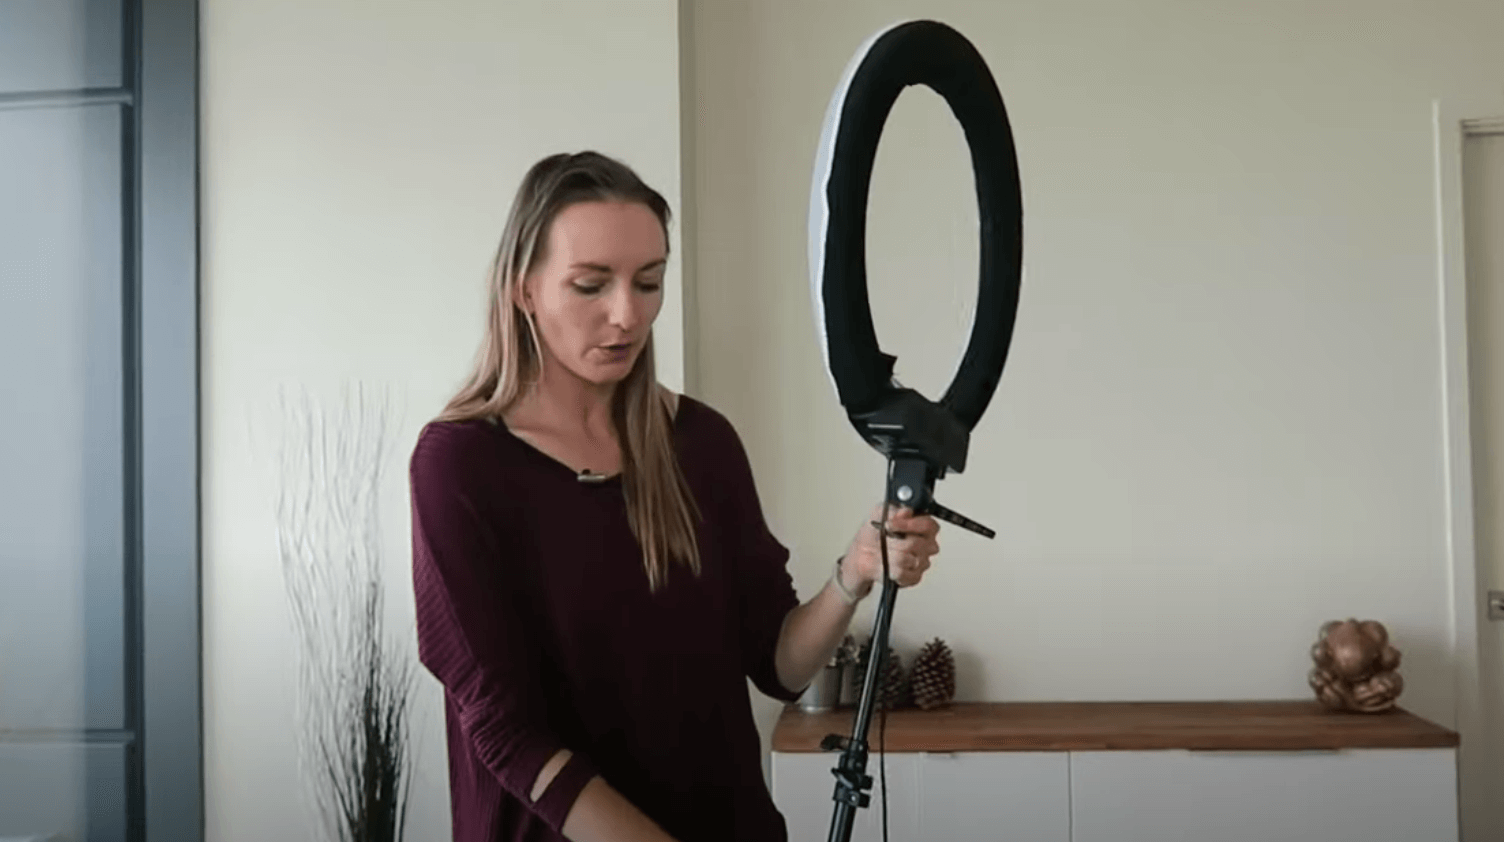
#3 Set up lighting
If you have professional lighting, set it up once you have your frame set up. Focus on lighting up your backdrop, not you.
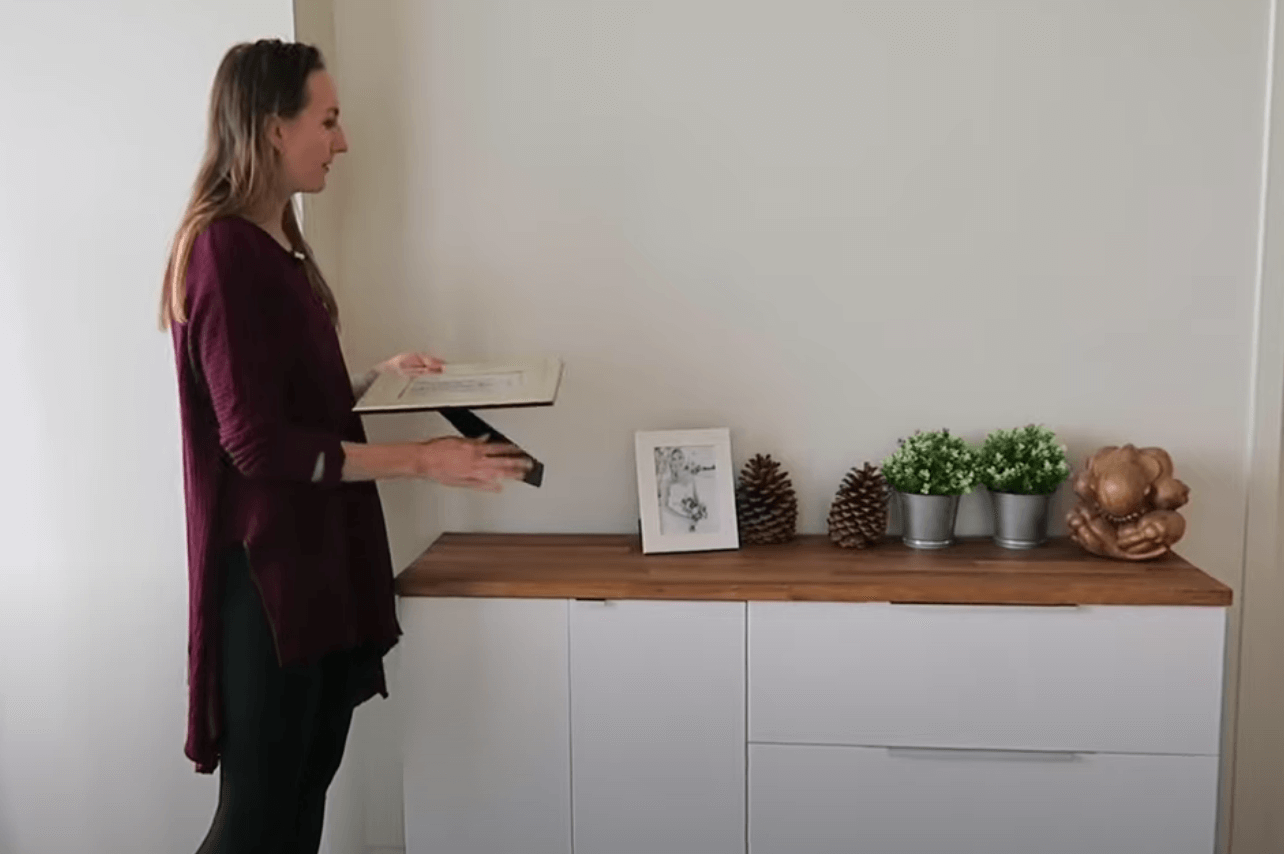
#4 Set your focus
What I do with my DSLR when I’m filming alone is place a stool or chair where I will be standing and put a yoga bolster or something bulky on top.
If your camera has an autofocus option you can use it to focus your shot. The way I do this is by changing the camera from “film mode” to “photography mode” and then change the focus from “manual” to “auto” and press the shutter down halfway to autofocus. Then, snap a photo, make sure it looks good and switch your camera it back to “film mode” and focus back to “manual”.
Do keep in mind that you will need to refocus your camera everytime you move your tripod or your mat.
#5 Do a test shot
Always do a test shot before you start filming! So many people skip this step and go right to filming their sequence, which in the long run will end up costing you more time.
Film a Mini Sequence
Remove the chair you used to set your focus, turn on your camera and audio device and record yourself doing a mini sequence that includes your highest pose and your lowest pose. Also be sure to talk as you would in your video to test your audio and mic placement at the same time.
Watch your test shot
This will give you an opportunity to adjust your set, your equipment or clothing. I prefer to watch on my computer rather than playing it back on my phone or DSLR camera.
If you want to create more professional videos, invest in high quality equipment. In my experience, everytime I have bought the cheaper version of a professional microphone, camera or accessory, they either didn’t work very well, didn’t work the way they were supposed to or ended up breaking not long after I purchased them . So I would always end up buying the one I should have bought in the first place anyway and spending more money.
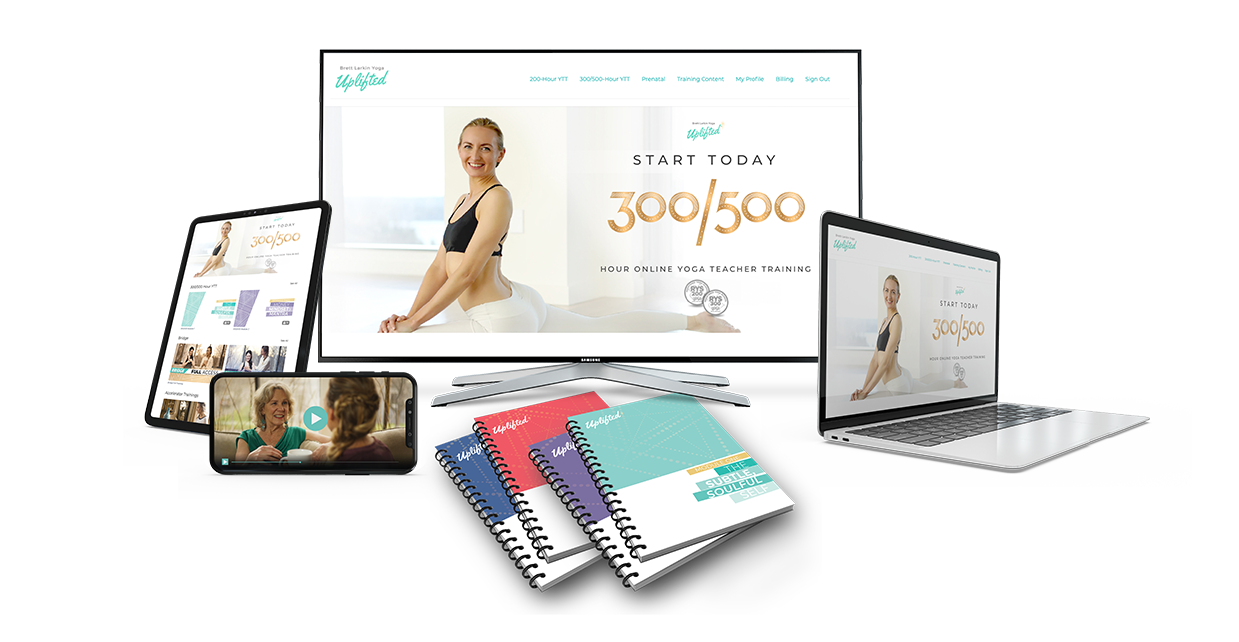
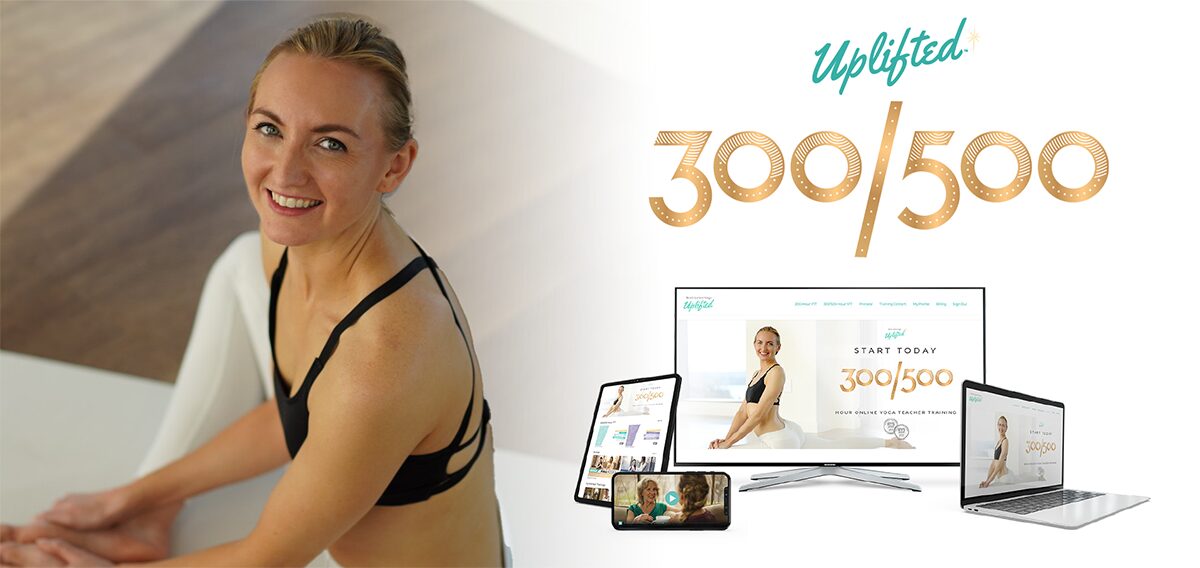
In my 300/500 Hour Online YTT I go into great detail about all things filming. I take you behind the scenes with me and show you every aspect of how I set up when I’m filming by myself as well as how I like to work with professional videographers for special series or courses I have planned.
If you are a yoga teacher looking to expand your yoga business or deepen your education, download the full course brochure here to get detailed information about my 300/500 Hour YTT program.
Next Steps:
- Explore my Yoga Teacher Resource knowledge hub for more tips about how to grow your yoga business.
- Download my sequences for a jumpstart on your upcoming yoga classes!
- For more detailed tips, processes, and worksheets to supercharge your yoga business, download my yoga business launchpad course!
YOU MIGHT ALSO LIKE
- What Is YACEP? (Yoga Alliance Continuing Education Provider)
- How to Handle a Student Injury in Yoga Class
- How to Teach Yoga in Schools
- How to Teach Yoga to Athletes
- How to Teach Restorative Yoga Classes
- How to Teach Prenatal Yoga (What You Need to Know)
- How to Teach Chair Yoga (Guide for New Teachers)
- How to Get Hired at a Yoga Studio (What Studios Look For)
- How to Find Your Yoga Teaching Niche: A 3-Question Framework for Building a Signature Program (and Why Generic Vinyasa Doesn’t Sell Anymore)
- The Real Economics of Yoga Teacher Training in 2026: What It Costs, What You’ll Earn, and When the Math Actually Works
- Yoga Teacher Training as a Mid-Life Wellness Sabbatical: Why More Women Are Using YTT to Reset Their Nervous System (Not Change Careers)
- How to Teach Trauma-Informed Yoga
- How to Get Your First Yoga Teaching Job
- How Do I Log Continuing Education Hours with Yoga Alliance?
- How to Make a Living as a Yoga Teacher (Without Burning Out)
Sneak Peak into My 300-Hour YTT - FREE Videos, Info Session, Bonuses!