Congratulations you’ve gotten your yoga teacher certification and you’re ready to get out into the world and start teaching yoga! But…. maybe, as a new yoga teacher, you’re not feeling very confident as a yoga instructor yet.
Maybe you’re worried that your verbal cues might not be so strong? Or what if you’re cueing students in a yoga studio and everyone gets so confused on a particular pose they all just stare at you?
Okay, first let me tell you that the likelihood of that happening is slim. You KNOW what you are doing and how to cue students (especially if you completed my Uplifted Training. There are teaching cues for each pose in the manual). But, just to boost your confidence, here are some tips when it comes to yoga cues.
What Are Yoga Cues?
Let’s start by explaining what a yoga cue even is. At the most basic level, yoga cues tell your yoga students what to do. Plain and simple. Your alignment cues encourage students to get into the position you want them in, whether that be mountain pose, child’s pose, and even corpse pose requires cueing.
This means, especially if you are working with newer students, you need to say something that will clearly direct those students on what to do. Things like where to place their front knee, or back heel, or what muscles should be engaging. Once you’ve got your students body in the posture, then you cue to create space and enhance the pose.
A good practice when it comes to alignment cues? The more specific the better. Why? So we can keep our students as safe as possible when they practice!
What Makes A Good Yoga Cue?
The number one most important thing to remember to cue is the breath, but I’ll go into detail on this later.
A good cue always includes a verb and is actionable. Again, the more specific the better because it will be easier for your students to understand!
You also want to make sure you cue your class from the ground up! Meaning, start your cues from the bottom of the body (whatever is touching the floor) and work your way up. Why? Because you want to create a stable foundation and remind students where that begins.
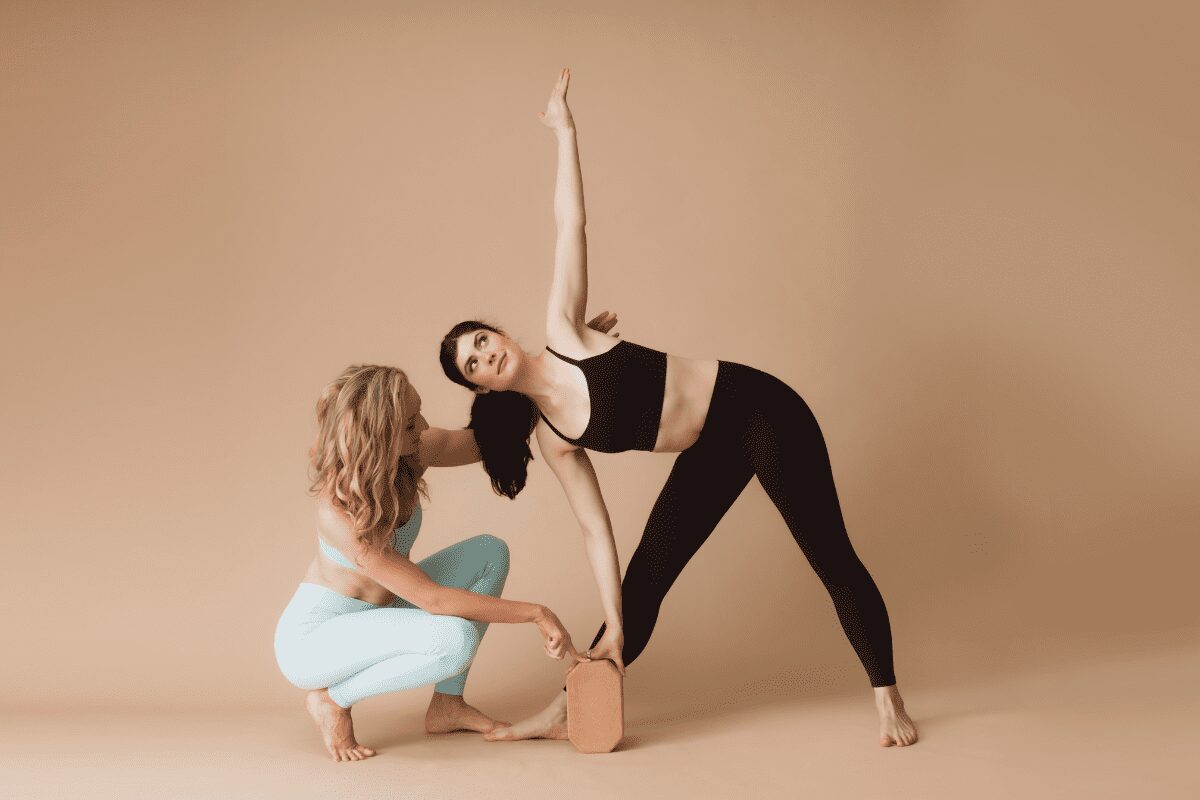
For example, if you are guiding your students into a Warrior II, start by cueing foot placement (pinky toe side of back foot parallel to the back edge of the mat, front heel bisects back arch, etc.), then legs, hips, shoulders, arms and ending with the head (turn head towards the front, gaze over middle finger).
I’ve said it twice and I’ll say it again, because this is really an important point for teachers, the more specific you can be, the better. You may think you’re being specific. But words like “move your leg” “lengthen” “stand wide” actually aren’t specific enough. For example:
Not-Specific Cues 👎
- “Move your leg” – Left or right leg? What part of the leg? In which direction? How?
- “Lengthen” – What body part are we lengthening? How do we achieve that length? From where to where? Tailbone to crown of head? Head to toe? What muscles are we engaging?
- “Stand wide” – How wide? Hips-width? One leg width apart? Feet parallel or turned out?
Get it?! There’s no such thing as “too much precision.” Be exact about how you are telling your students how to move throughout class.
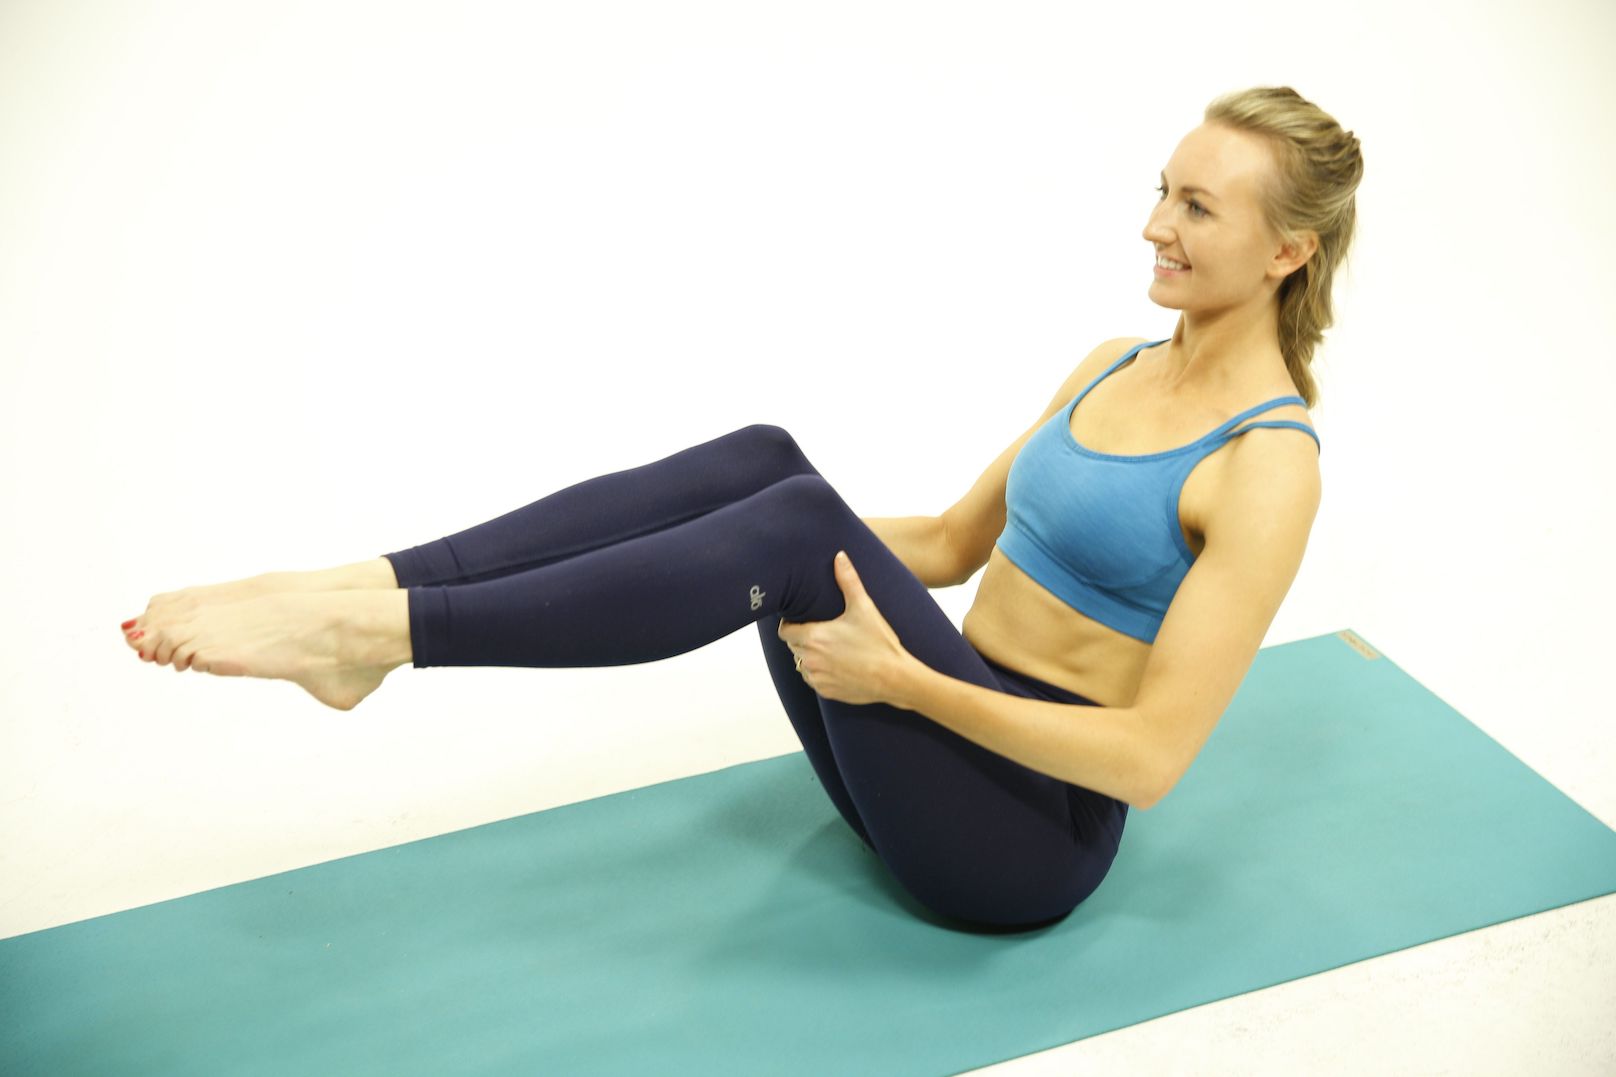
For example, you could just tell you students to “come into boat pose“, or you could say:
- Place the soles of your feet on the mat, hips-width apart and parallel
- Squeeze the inner thighs together as if there’s an imaginary block between your legs
- Lengthen your spine tailbone to crown of head, and draw your navel to your spine, engaging the core as you lean back
- Option to now lift your shins parallel to the mat and now point your toes
From there you can cue the upper body and give them different options for the arms. Do you see how this clearly gets your students in the position you want? Rather than just saying “okay let’s come into navasana, boat pose” and then waiting to see if everyone even knows what boat pose is?
This way you can make sure that students are moving into the pose without doing something that may cause strain or injury. You can also use a variety of cues to serve every body (including those with physical limitations. I’ll talk more about inclusive cueing and cueing during transitions later.
Fall in love with my 200-Hour teacher training or …

List Of Common Yoga Cues For Teaching
Ever notice there are common alignment cues that you hear most teachers say in yoga class? Can you think of any off the top of your head? There’s nothing necessarily wrong with this, obviously these verbal cues work for most people or you wouldn’t hear them so often. Let’s list a few.
Common Alignment Cues:
- Stack the joints
- Microbend your knees/elbows
- Neutral spine
- Open heart
- Tuck your tailbone – NOTE: We are not a fan of this one here in Uplifted Yoga and I would discourage using it (I go into full detail as to why in my 200-hr training), but it is one you hear from a lot of teachers.
- Release
- Relax
- Lengthen the side body
- Square your hips
- Engage your _________(front thigh, back thigh, muscles, etc)
But how can you make your cues even juicier and more diverse? VERBS ARE THE ANSWER!!
A cue is telling people what to do, but you can’t tell someone what to do without using a verb! Strong verbs make for strong yoga cues. And a strong yoga teacher has strong yoga cues, which means they are using strong verbs. See how that works?
Here is a list of verbs that I love to cue. I encourage you to pause right here and make a list of your own. Don’t worry, you’ll see how these verbs come into play soon, just keep reading.
Verbs:
- Yawn
- Cartwheel
- Scoop
- Visualize
- Broaden
- Lengthen
- Draw
- Pull
- Knit
- Shimmy
- Glide
- Resist
- Re-bend
- Fall back
- Press
- Angle
- Spread
- Gather
- Sink
- Squeeze
- Melt
- Soften
See my full list in the Uplifted 200-Hour Training Manual.
Tips For Cueing Yoga Poses
A great tip if you’re just getting started with teaching is to emulate a teacher, or teachers, you love. Obviously you are going to find your own voice and the way you want to cue things but if you are having a hard time with confidence it’s totally okay (and encouraged) to emulate someone you admire when starting out.
This could be someone from your local studio, your favorite online teacher, or the person you did your yoga teacher training with. I encourage you to keep a notebook next to you during the next class you take with them and really LISTEN to the language they use through the practice.
Take note of the verbal cues you love or the ones that really stand out to you. And it doesn’t even have to be verbs for cues, but analogies or phrases that you like as well. Starting a cue journal is one of the things I encourage all my YTT students to do early on in training. Many create collaborative spreadsheets and Google Docs of cues. It’s really cool!
For example, some words I love that my favorite teachers have used were words like “lengthen, elongate, gently step”, or “architecture, framework.” You might notice these are words that I’ve incorporated in my classes as well.
You can also write in any particular cues you want to focus on when you sequence your classes. If you’re not sure how to plan a class or aren’t confident in your sequence creation give this article a read: Yoga Class Plan Template.
Cueing The Breath
A lot of yoga teachers in the yoga community skip on cueing the breath. They’re so preoccupied on what everyone’s limbs are doing in space. I’m personally passionate about making sure the breath is a big part of cueing in my yoga flows. After all, the breath is where the magic of this practice really happens! It’s what sets yoga apart from all other exercises and makes it so special!
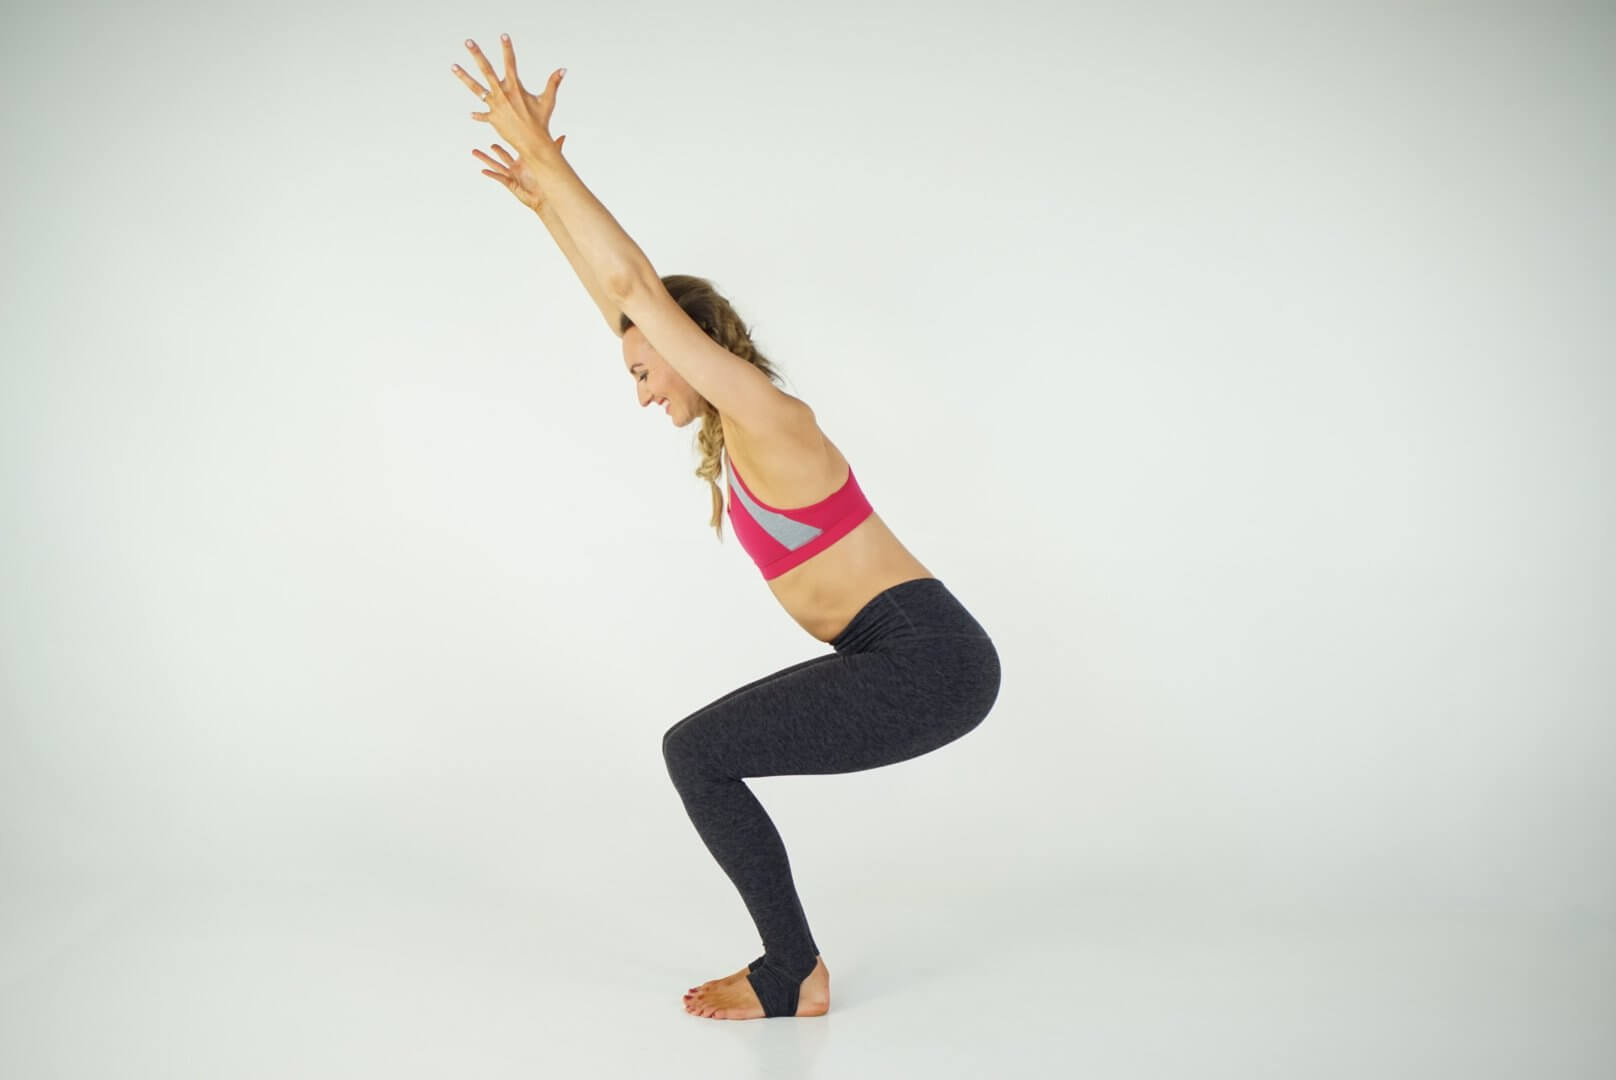
How often do you see people holding their breath when doing difficult things?! Maybe you’ve even forgotten to breathe in chair pose! If you are constantly cueing the breath, students can not forget to breathe. So I feel like it’s important to give breathing cues a little love here.
I try to talk about the breath as much as if not more than the poses. Meaning, I try to signal the breath with every move. That could look something like this:
Instead of:
- Take your arms down around and up
- Fold over your legs
- Come into a flat back
- Step back to plank
- Down dog
Try adding breath + a verb with each cue:
- Breath in, circle your arms down, around and up.
- Breath out, swan dive over your legs
- Breath in, elongate into a flat back
- Breath out, step back to plank
- Exhale to lower chaturanga
- Inhale, pull the chest forward up dog
- Exhale take your hips up and back, Down dog
Can you see how that feels different? Not only did I add in the breath but the verbs sound even better. Never forget, verbs are your best friend as a yoga teacher.
Let’s say from here you wanted to transition to Warrior II: inhale, yawn your right leg up and back, breathe out, place it between your hands. Spin the back heel down to the mat. Make sure the heel of your front leg bisects the arch of the back foot and then cartwheel your arms up into warrior II.
Adding the breath into your movement cues enhances the movement. Like if I said “lengthen the tailbone down” vs. “as you breathe in feel your tailbone lengthen down”. Which sounds like it’ll get your student more connected to their body?
Cueing the breath can go beyond just saying “breathe in/breathe out” as well. Check these examples from my Instagram for more ideas:
BVA Method
This leads to my favorite cueing method, the BVA method. I know, you’re probably like “BVA, huh?”. BVA stands for:
- Breathe
- Verb
- Analogy
This is my favorite way to create my yoga cues. You want to start your yoga cue with the breath (“breathe in”/”inhale”). Next, you’ll add in one of the many verbs you came up with from the list above. And finally you’ll create an analogy to make it easier for your students to understand. Granted there may not always be time in your sequence for an analogy, and that’s okay! But when you have students in a yoga pose for more than a single breath adding in a good analogy can help increase focus or awareness of a particular move or body part.
One of my favorites is when I’m cueing my students into a low lunge with a side opening stretch. Let’s say we are starting from down dog.
From there I’ll say:
- Breathe in, yawn your right leg up and back
- As you breathe out step your right foot next to your right thumb and lower your left knee to the mat
- Visualize the legs on railroad tracks, keeping them hips-width apart
- Breathe in, reach your left arm down around and up
- Exhale to the right, into a huge side-body stretch
- Soften your shoulders down the back and reach with your left hand even more. Imagine you are reaching UP first, then over to the right.
- Visualize your side ribs are an accordion and you’re expanding them with each breath in
See how I did breath then verb a few times? Then, when I had a moment I added a fun analogy?
This particular analogy creates visual stimulation for the ribs. The ribcage holds a similar shape to an accordion and can contract and expand in a similar way. Analogy gives your yoga students a different way to connect to and go deeper with their body by creating strong visualization.
You can learn more about this method and even some specific posture cues in my 200-hr yoga teacher training. I also have this awesome pose directory on my website if you’re looking for some inspiration on how to cue a specific posture.
Adjust You Cueing Accordingly
If you are teaching a yoga class in studio, make sure you are looking at your students to see if your cues need to be adjusted. Or if you need to offer different cues to serve people with limited mobility, injuries or other issues.
If you look at your class and see everyone has their shoulder joint hiked up by their ears, then you probably want to add in a cue to relax the shoulders down the back. Or if you see a lot of your students beginning to round their spine, it might be a good idea to throw in a cue about keeping length through the spine.
You want to do this because people learn in different ways. So it’s a good idea to vary your language, saying the same thing in different ways, to reach everyone in the class. I might say “pull your abs up and in” and only half the class gets it while some of the people will be confused. I could then say “draw the tops of your hip bones towards your lower rib cage” and it might click for the others.
Or I could say to “relax the face” in savasana, but half the class still has pursed lips. Then I would tell them to “release the jaw”, and maybe continue to cue specific parts of the face until I see everyone is fully relaxed in this posture.
It can take a while before a student understands your cues. Some people are very visual learners and need to see you demo the poses as you speak the cues. So have patience, relax and remember, everyone learns in different ways and at a different pace. Give them, and yourself, grace.
Yoga Cueing During Transitions
You also want to be very mindful when you are cueing transitions. Did you know that most yoga related injuries happen during poorly cued transitions? You don’t want to cue anything that is going to feel awkward in the body, or that is really unclear. Could you imagine being in a yoga class, you’re in a high lunge and the teacher says “okay, now bring your sit bones to the mat”. Excuse me, huh?!
Some students may be anatomically aware enough to get themselves seated safely from here, but chances are there’s going to be a handful of students that will put their body in an uncomfortable, potentially unsafe position, to make that transition. That’s the last thing you want!
So even if it takes a couple extra steps, you want to make moves that make sense. Have students come down to a yogi squat and then reach behind themselves to bring their seat to the floor. Or from downward facing dog, bring knees to the mat and push your seat to the heels. Using the arms for support, slowly roll to one side until you are seated on the mat. Notice, again, precision.
Or if going from the ground up, guide students into a tabletop position before going into downward dog to transition to standing. Things like this just make more sense don’t you think?
This doesn’t just apply to transitions from sitting and standing but also transitions from neutral to external rotation of the hips. Take a moment and feel this in your body. We’ll use a very common one. Mindfully try a transition from Warrior I to Warrior II.
Doesn’t feel so great does it? Why? Because you tried to go from a neutral hip position into an externally rotated hip position without any instruction on moving your feet!! (We talk a LOT about this in 200hr YTT!!!)
Now that’s not to say you can never sequence from a neutral hip position into an open externally rotated position. You may want to do this if you are teaching more advanced postures. You just need to fine tune your cueing so that everyone gets there safely.
For example, if you wanted to take your students from Half Moon into Warrior III you’d want to be really mindful about instructing students to keep pressing their foot into the ground with a slight bend in the knee, then mindfully move the pelvis and torso as one unit bringing the top hand down toward the ground or a block and slowly squaring the the hips up to the ground. (And don’t forget to add the breath in there too!)
Read this post for things to keep in mind to prevent yoga injury as well.
Obviously you’ll find your own voice and find your own favorite way to sequence cues and transitions, these are just some tips to keep in mind.
Yoga Cueing During Holds
When you have students hold a pose for several breaths, perhaps for a deeper stretch, this is your opportunity to really refine that pose. You can give extra cues to encourage students into their deepest breath and to help them feel their best within the posture. You might want to say something encouraging students to breathe deeper into the hips, draw their focus inward or notice the natural curves of the spine.
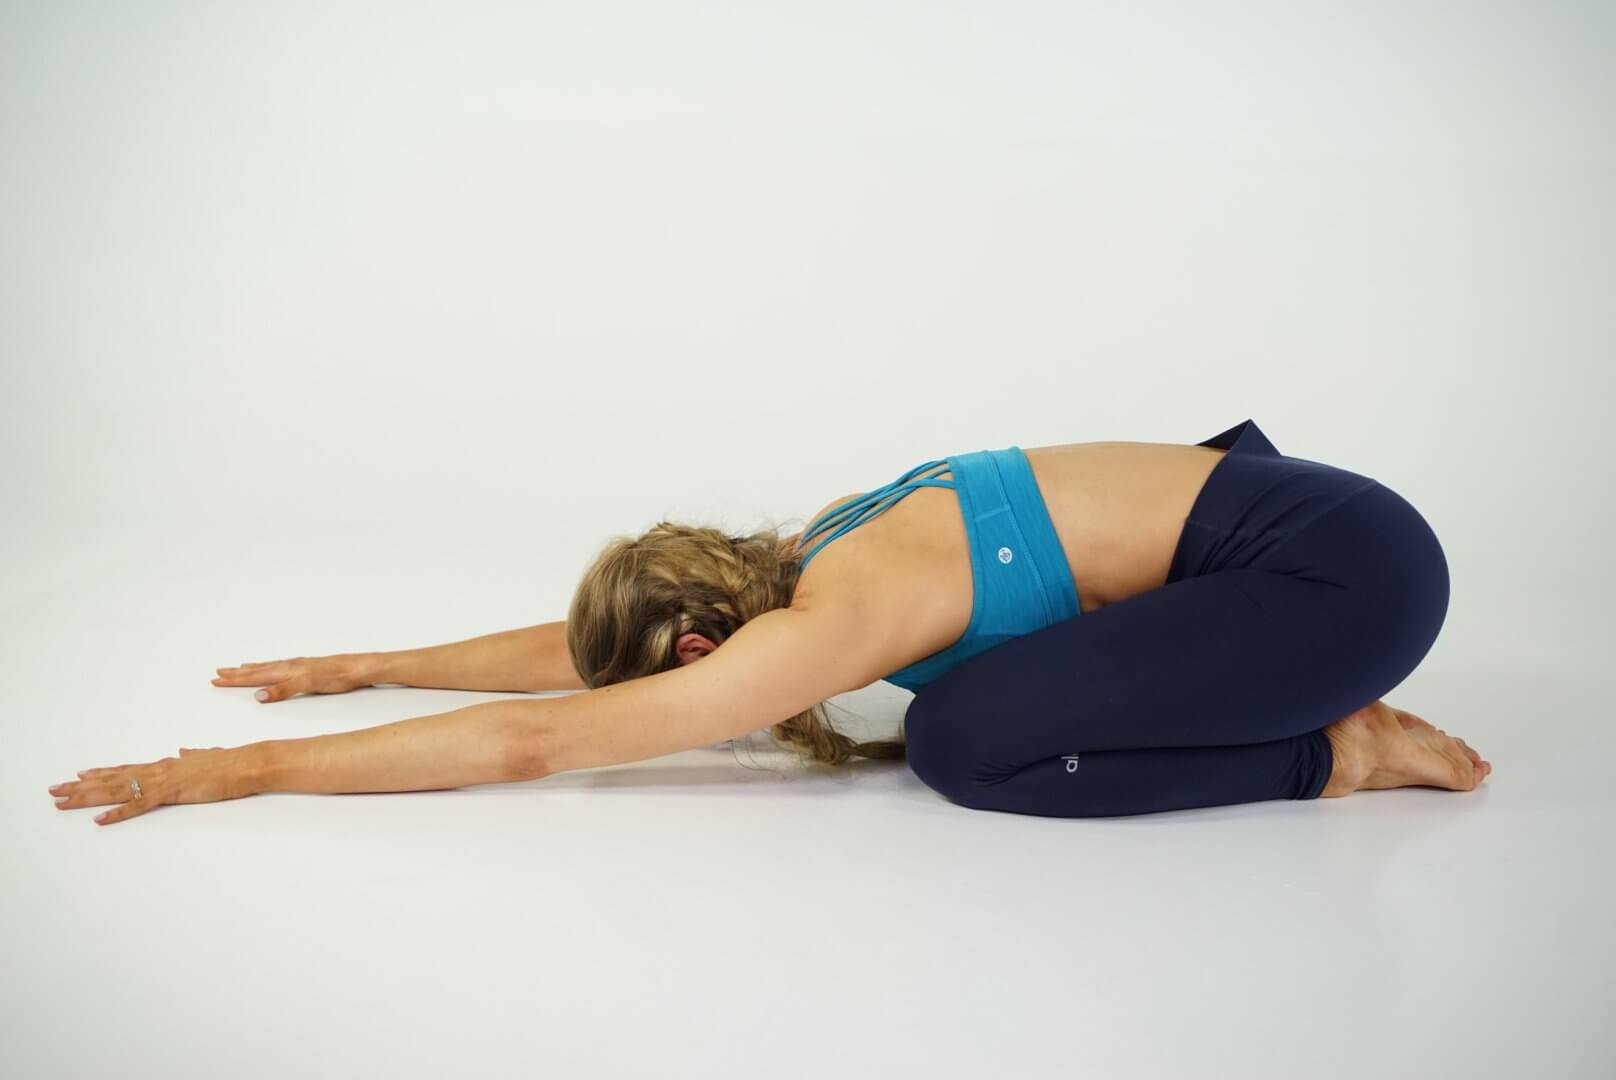
Keep in mind, if you are teaching a yin yoga class you also want to create space between your verbal cues for students to fully experience the pose in silence. For example if you are going to hold child’s pose for an extended period of time, once you have them in the pose pause cueing for several breaths. Then you may add in “sink the front body deeper into the floor”. Pause for several more breaths and then enhance the pose further. Leaving this space can make a huge difference for your student’s experience in different postures.
This is a safe space to see where your students tend to loosen their alignment. Are they starting to hike their shoulder blades or lose integrity in their lumbar spine? Make note and cue that area of the body reminding students where certain body parts should be and what muscles need to be engaged.
Think about what verbal cues help you during a longer hold in your own yoga practice, can you incorporate those into your own teaching?
Closing Thoughts
This should have given you a deeper understanding of how to use yoga cues when teaching yoga. As a new yoga teacher this might feel like a lot to remember for an entire class, but practice makes perfect and before you know it you’ll be one of those experienced teachers others want to emulate! If you liked this article you will love my online yoga teacher training (200, 300, Vinyasa and Kundalini) so explore those here on my site.
Give the Kali Yoga Challenge within the Uplifted membership a try to help you step into your power, release your shadows and feel more confident in your teaching.
Next Steps:
- Explore my Yoga Teacher Resource knowledge hub for more tips about how to grow your yoga business.
- Download my sequences for a jumpstart on your upcoming yoga classes!
- For more detailed tips, processes, and worksheets to supercharge your yoga business, download my yoga business launchpad course!
YOU MIGHT ALSO LIKE
- Yoga Teacher Training as a Mid-Life Wellness Sabbatical: Why More Women Are Using YTT to Reset Their Nervous System (Not Change Careers)
- How to Make a Living as a Yoga Teacher (Without Burning Out)
- What to Do After Yoga Teacher Training: Your Complete Next-Steps Guide
- Can I Teach Yoga Without Certification?
- What Is the Difference Between RYT 200 and E-RYT 200?
- How To Build a Thriving Virtual Community with an Online Yoga Membership
- Somatic Yoga Workshop Ideas for Teachers
- Somatic Yoga For Yoga Teachers: Everything You Need to Know in 10 Steps
- How to Teach Somatic Yoga: A Practical Guide for Instructors
- How Much to Charge for Zoom Yoga Class: A Practical Pricing Guide
- Comprehensive Guide to Your Yoga Service Agreement
- How To Create Mindful Somatic Yoga Sequences Your Students Will Love
- 5 Best Yoga Teacher Insurance Plans (2026)
- 20 Awesome Ways To Make Money As A Yoga Instructor
- Yoga Cues 101: Everything You Need To Teach Yoga
Sneak Peak into My 300-Hour YTT - FREE Videos, Info Session, Bonuses!