Kundalini yoga is a form of yoga focused on spiritual awakening and balancing of the chakras. Sometimes called “the yoga of awareness or consciousness,” Kundalini engages our vital energy by removing blockages throughout our subtle body and releasing tension in the physical body. It activates the spiritual energy rooted in the base of the spine and moves it throughout the body through specific breaths, meditations, and movements, clearing the chakras in the process.
Kundalini yoga enhances awareness and dissolves the ego (i.e. our tendency to self-focus). I love this practice because it tunes into the layers of human and spiritual existence. I had a legit panic attack the first time I tried Kundalini yoga – so why did I decide to dive deeper?
Well… I share all of the juicy details and what I learned along the way in my online course Kundalini Demystified, but the truth is this: Kundalini is a powerful form of yoga that takes time to master and practice. It’s an incredibly fulfilling journey that releases your true potential if you dedicate yourself fully to it. In this article, I share nine postures, movements, and breath techniques from the spiritual heart of Kundalini yoga. These practices are aimed at releasing tension within the body, bringing clarity to the mind, and strengthening your inner fire.
Wake Up (For Real) With These Kundalini Yoga Poses
While other types of yoga, including Hatha and Vinyasa, focus more on the physical postures, Kundalini Yoga is rooted in spiritual practices. Kundalini yoga combines breathing exercises, poses, repetitive movements, and chanting to activate certain chakras and awaken energy flow throughout the body.
Let’s get started!!
1. Lotus Pose
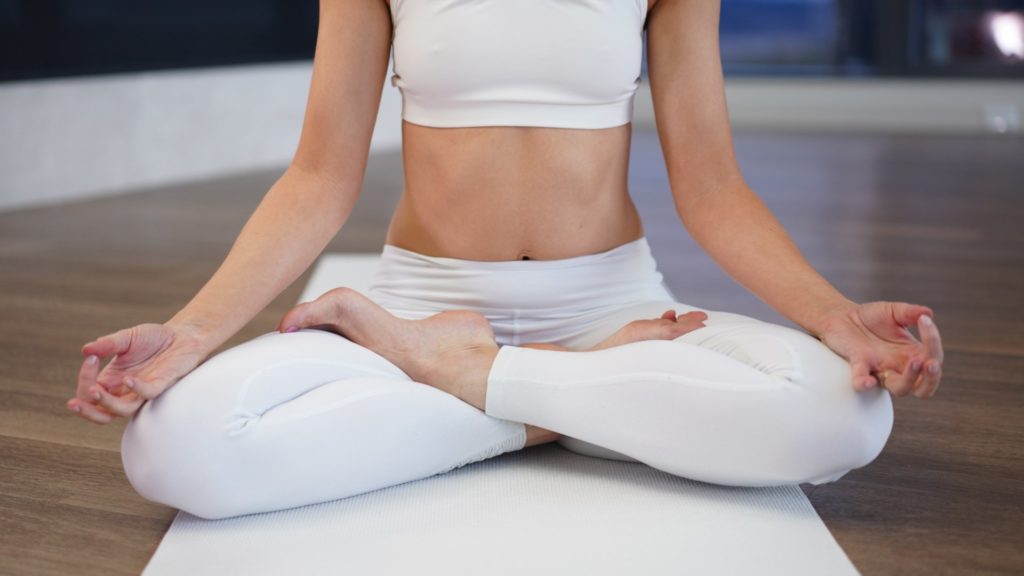
Imagine a yogi deep in mediation. Are you seeing the pretzel seat? When most people envision the stereotypical meditation pose, they think of Lotus. Lotus pose is said to allow the body to be still for long periods of time and improve mental and physical balance. This posture strengthens the pelvic region and helps develop stability of the spine. Lotus is often taught in Kundalini yoga as a way to increase presence, calm the mind, and ease discomfort within the body. To practice this pose, follow these steps:
- Step 1: Sit comfortably on the floor with a neutral spine and your legs out in front of you.
- Step 2: Bend your knees outward and bring your feet toward your body.
- Step 3: Place your left foot on top of your right thigh. After you are comfortable in this position, bring your right foot on top of your left thigh.
- Step 4: Straighten the spine and place your hands comfortably on your knees with palms facing upwards or downwards.
- Step 5: Take deep breaths and gently close your eyes.
Variations: Lotus pose may be modified to reduce pressure on the knee and hips. Common modifications include:
- Half Lotus: For this modification, stop after placing one foot on the opposite side without moving your second foot. Breathe in this position and then do the same on the other side.
- Easy Pose (aka sitting cross-legged): For this modification, sit in a normal cross-legged position (think: criss-cross-apple-sauce) and do not place either foot on your thighs. You may also put blocks under your glutes or knees to alleviate pressure on the joints.
- Legs straight in front: If bending the knees is uncomfortable for the knees or hips, sitting with your spine straight and your legs out in front of you will often relieve this pressure. If needed, sitting against a wall can help to support the back.
Associated chakra: The lotus pose is associated with multiple chakras as it is said to open energy flow throughout the body and improve spinal alignment. Associated chakras include the crown chakra, third eye chakra, sacral chakra, and root chakra.
2. Breath of Fire
This pranayama is incredibly vital to Kundalini. Breath of Fire detoxifies the body, strengthens the mental and physical bodies, oxygenates the blood, and activates the solar plexus chakra. This breath uses a bellows-like technique to create internal fire and raise the body temperature. After practicing this breath, you may feel dizzy—especially if you’re new to breath practice. Take a few minutes of slow breathing and a glass of water to re-balance if you experience this. This is how to do it:
- Step 1: Sit in a comfortable position.
- Step 2: Breath in and out naturally through the nose for a few rounds with awareness resting on the stomach.
- Step 3: Fill your lungs to half capacity
- Step 4: Exhale forcefully through your nose, contracting the abdominals to empty the lungs.
- Step 5: Inhale passively (without effort), and continue. Aim for about 3-5 breaths per second.
- Step 5: Repeat for 10-30 breaths.
Variations: If practicing this breath is uncomfortable in a seated position, it may also be practiced standing. If needed, start with only a few breaths and work your way to more repetitions.
Associated chakra: This pose is associated with the third chakra, known as the Manipura (solar plexus) chakra.
3. Cobra Pose
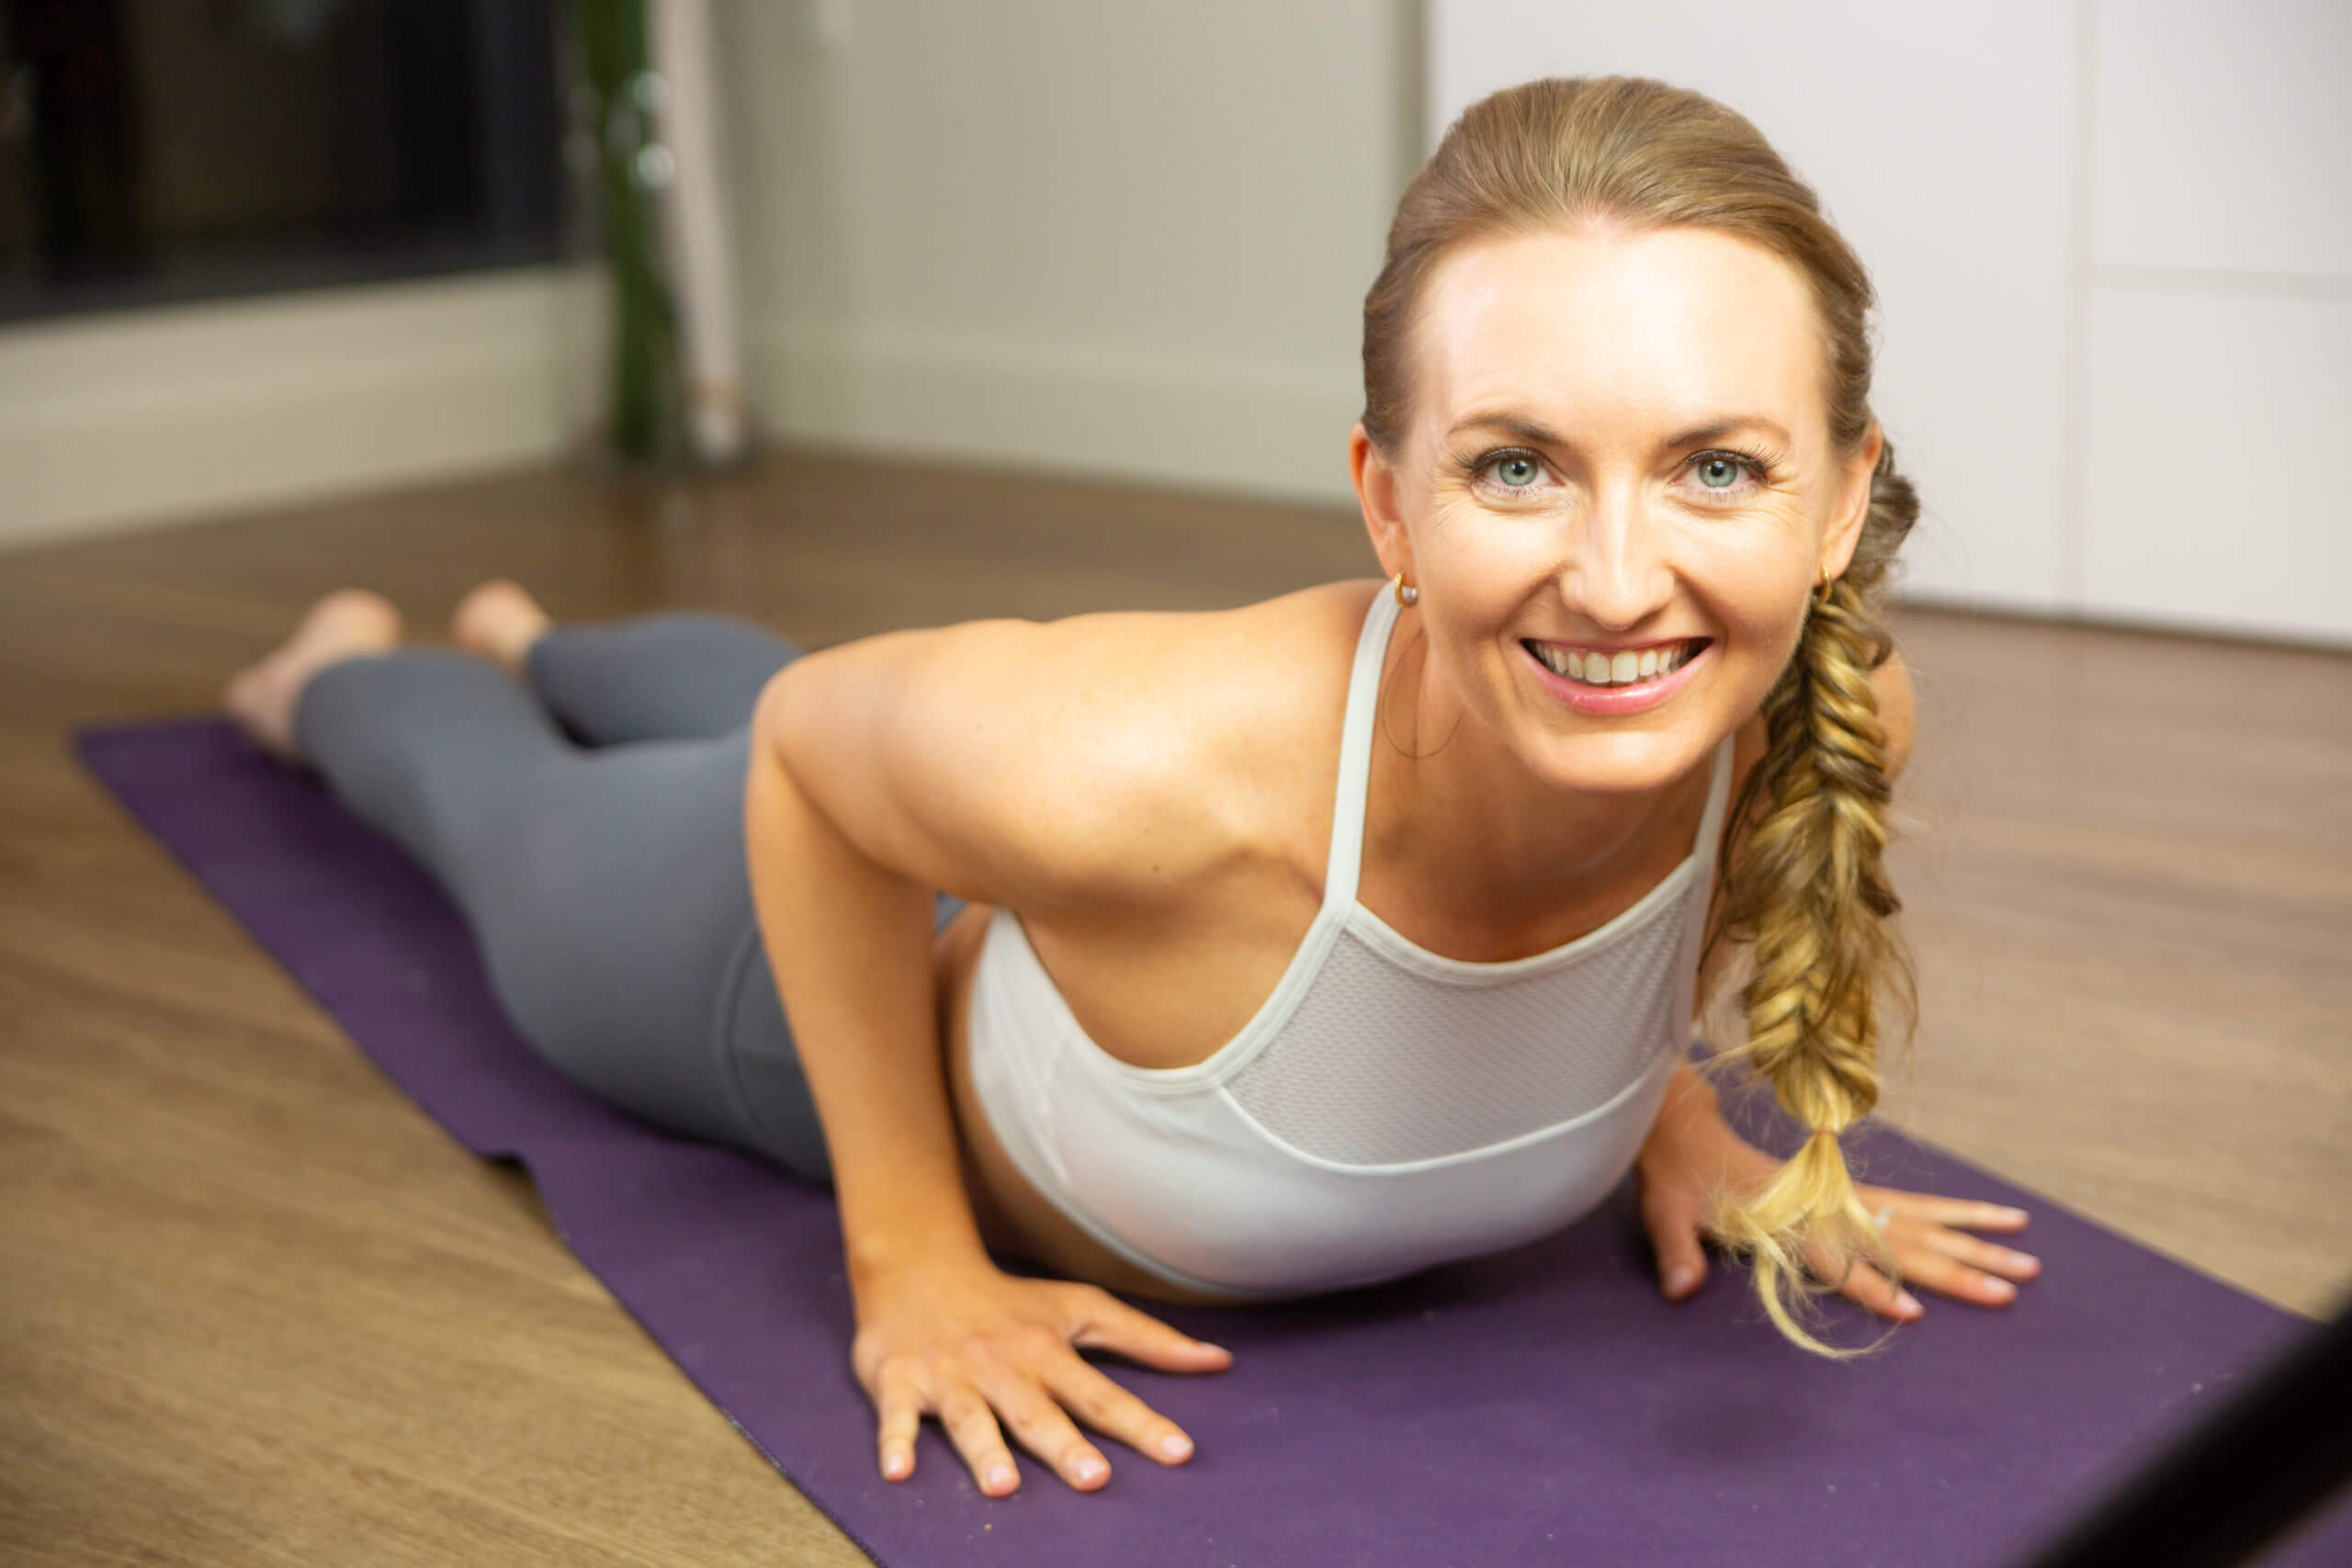
This is a popular heart-opening pose with awesome benefits for the spine as well! Cobra pose increases spinal flexibility, strengthens the core, and improves the movement of breath. In Kundalini yoga, this pose is thought to awaken self-realization and heal disease. This is how you do it:
- Step 1: Lie down on the ground on your stomach with your legs together.
- Step 2: Bend the elbows and press the palms flat on the ground beneath your shoulders with the fingers pointing forward.
- Step 3: Inhale and push through the hands to straighten the arms and raise the upper body off on the ground. Keep the hips and legs on the floor.
- Step 4: Bring the shoulders down and back and breathe deeply, feeling a stretch along the back, hips, and torso.
- Step 5: Hold for 30 seconds. When ready, exhale and lower the body to the ground.
Variations: For those with back pain, traditional cobra can be uncomfortable. In order to reduce the strain of the lower back, try these variations:
- Place blocks under the hips: To reduce the arch of the back, try placing blocks under the hips before straightening the arms.
- Place forearms on the floor: Another option is to place your forearms on the floor rather than your palms. This allows you to still open the chest without having a large bend in the spine.
Associated chakra: Cobra encourages the opening of the chest and neck, which is why cobra is associated with the Anahata (heart) chakra and the Visuddha (throat) chakra.
4. Frog Jumps
Ready for some heat?! Me too ️🔥 This exercise is taught in Kundalini yoga to tone and strengthen the lower body while increasing cardiovascular strength. This exercise requires breath control, stimulates the energy in the lower chakras, and then pushes this energy upward through your spine to the higher chakras. Yep, it’s an all-in-one! To try this exercise:
- Step 1: Place your feet on the ground with heels touching and toes out at a 45-degree angle.
- Step 2: Place your hands on the floor and bend your knees out to the side. Lift onto your toes while keeping the heels touching.
- Step 3: Take a few deep breaths, then on your inhale straighten the knees as much as you can and bring the hips to the sky. Your hands will remain on the ground.
- Step 4: On your exhale, bend the knees and return to starting position. Repeat.
- Step 5: Come to standing and take a few deep breaths to recenter the body.
Variations: This pose, while powerful, can be difficult due to hip or knee pain, or hamstring tightness. To make it more comfortable, try out these modifications:
- Place your hands on blocks: Instead of having your hands on the ground, try placing your hands on blocks or a slightly elevated surface. This can help to reduce the strain put on the hamstrings or lower back.
- Separate the feet: If it is too much on the knees to have your heels together and lifted, try placing your feet on the ground, hip-distance apart with your toes still at a 45-degree angle. Complete the movement from there.
Associated chakra: This chakra is associated with the Svadhisthana (sacral) and Muladhara (root) chakras.
5. Ego Eradicator
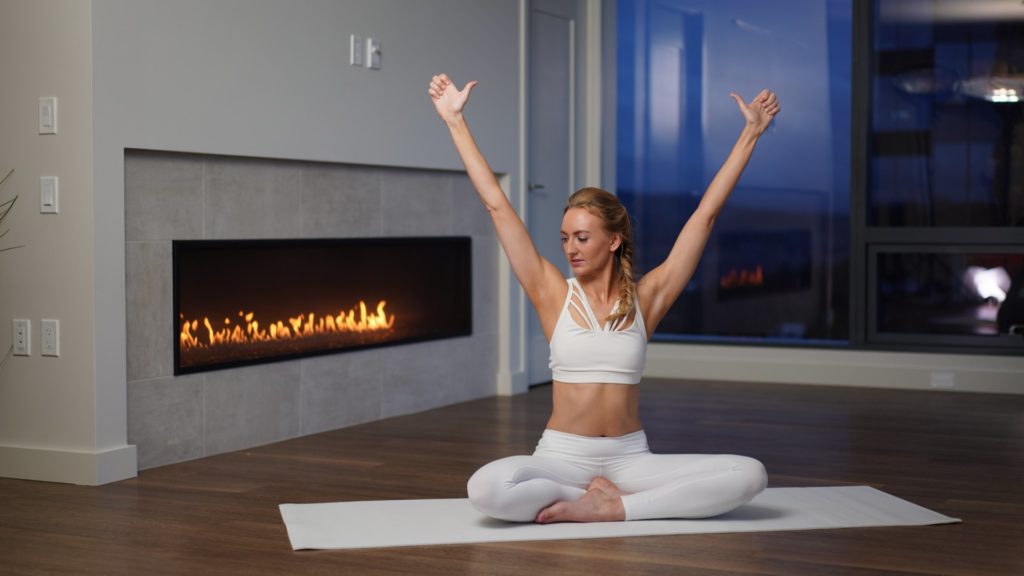
Perfect for those days when your head is spinning around what’s happening at work or home and what’s coming tomorrow. The goal of the Ego Eradicator is to bring balance and clarity to the mind and quiet negative thoughts. Physically, it’s demanding for the upper body, core, and shoulders. To practice this posture, follow these steps:
- Step 1: Sit with your legs crossed (sukasana or “easy pose”).
- Step 2: Straighten the arms into a T-position with each hand in a “thumbs up” position
- Step 3: Lift each arm so that is it at an appx 160 degree angle (about half way between being in the T-position and being lifted straight upwards). Keep your thumbs pointed up.
- Step 4: Gently close your eyes and take deep breaths.
Variations: If this pose is difficult on the back, knee, or shoulders, you can take the following modifications:
- Sit with your back against a wall: This helps to reduce any pressure on the spinal muscles.
- Sit on a block: This reduces the bend in the hips and knees in order to alleviate any discomfort in this area.
- Keep the arms lowered with thumbs pointing up: If lifting the arms hurts your shoulders, you can keep the arms lowered with the hands resting on the knees. To keep the integrity of the posture, keep the thumbs pointed upwards as you take deep breaths.
Associated chakra: This pose works to open the heart and activates the Anahata (heart) chakra.
6. Seated Cat Cow Pose (Spinal Flexes)
In kundalini yoga, spinal flexibility is associated with youth and vitality. Because of this, spinal flexes are often incorporated into daily practice. This also helps to improve circulation, digestion, and slow the aging process. To practice this:
- Step 1: Sit with your legs crossed (sukasana or “easy pose”).
- Step 2: Grab your knees or front of your ankles with your hands.
- Step 3: Gently close your eyes and inhale as you pull through your hands to bring your chest forward and lift your chin.
- Step 4: Exhale and curl the spine, lowering your chin and rounding your back.
- Step 5: Repeat
Variations: Another common variation of this pose is kneeling cat-cow pose. This is an excellent option for those with stiff knees.
- Kneeling cat-cow: To perform this, start on your hands and knees with your knees under your hips and your hands under your shoulders. As you inhale, lift the chin and lower the belly, arching the spine. As you exhale, push through the hands and round the spine.
Associated chakra: The seated cat-cow is associated with the Manipura (solar plexus) chakra.
7. Sufi Grind Pose
While the seated cat-cow targeted movement in the lower spine, this exercise in Kundalini yoga focuses more on the thoracic spine (your mid-spine). This pose starts similarly, but the movement is in a different direction. To try it out, follow these steps:
- Step 1: Sit with your legs crossed (sukasana or “easy pose”).
- Step 2: Grab your knees or front of your ankles with your hands.
- Step 3: Inhale as your circle the spine forward, focusing the movement on the lower spine and abdomen.
- Step 4: Exhale as your circle the spine back.
- Step 5: Repeat the circle a few times in each direction.
Variations: To reduce strain on the knees and hips, this pose can be done while seated on a block to reduce the bend in the joint.
Associate chakra: The chakra associated with this pose is the Muladhara (root) Chakra, where the spine roots into the ground.
8. Seated Shoulder Twist
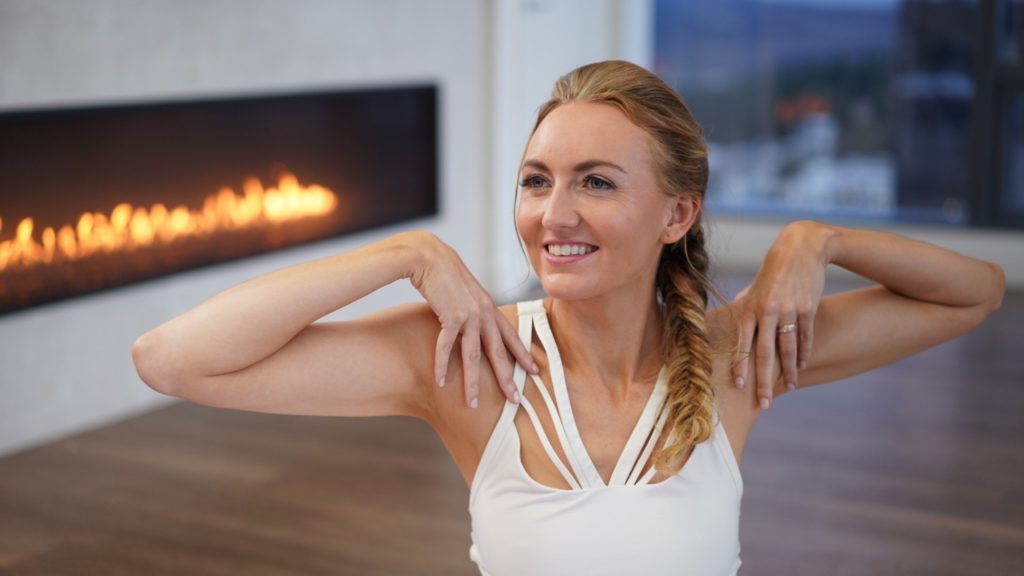
You’ll find a wide range of practices in Kundalini that focus on improving spinal flexibility and releasing tension around the upper back, neck, and shoulders. This is one of them! When coupled with breathwork, seated shoulder twists move energy throughout the body, strengthen the shoulder girls and core, and bring peace to the mind. It’s super simple! Here’s how to do seated shoulder twists:
- Step 1: Sit in a comfortable position with the spine straight.
- Step 2: Place your right fingers on your right shoulder and your left fingers on your left shoulder. Keep your elbows at a level parallel to your shoulders.
- Step 3: Begin gently twisting left and right. Inhale as you twist left, exhale as you twist right. Allow the head to follow the twisting movements.
Variations: If these twisting movements put too much strain on your spine, or sitting down puts strain on the knees, there are simple variations that can relieve strain on these areas while still getting the benefits of the stretch.
- Standing shoulder twists: For this variation, complete the same pattern of movement with the shoulders while standing rather than seated. For this, make sure to keep the hips square.
- Gentle shoulder twists: If the twist is too intense, try placing the hands on your hips or on your knees to provide more support while twisting the shoulders.
Associated chakra: This twist activates multiple chakras, including the Manipura (solar plexus) chakra, Swadisthana (sacral) chakra, and Muladhara (root) chakra.
9. Archer Pose
Archer pose is perfect for yogis seeking to reaffirm their personal power and strength. The pose activates large muscle groups throughout the body, including the hips, legs, shoulder, and core. Cultivate your inner fire with these easy steps:
- Step 1: Stand in a neutral position, feet hip-width apart and facing forward (tadasana, or mountain pose).
- Step 2: Step the left foot back and turn it towards the wide edge of the yoga mat. Keep both feet flat on the floor.
- Step 3: Extend both arms straight in front with thumbs pointed up.
- Step 4: Bring the left elbow back as if you are pulling a bow and arrow back. Keep the thumbs facing up.
- Step 5: Focus your eyes on the right thumb in front and take deep, long breaths.
- Step 6: Repeat on the other side.
Variations: Archer pose can be modified to relieve pressure on the hips. In order to modify this pose, try keeping the feet closer together or the front knee straighter. If needed, you can point both feet towards the wide edge of the mat to reduce rotation of the hips
Associated chakra: This pose is associated with the third chakra, known as the Manipura (solar plexus) chakra.
I hope you enjoy these poses! The best way to experience Kundalini is with an expert guide, of course, and I welcome you to try Kundalini Demystified for a comprehensive introduction to this beautiful practice. You’ll learn way more about Kundalini poses, but also how to use the practice to overcome your fears, contribute to mental strength, and yes – awaken your inner fire.
YOU MIGHT ALSO LIKE
- What is Kriya Yoga? The Philosophy and Practice
- Uddiyana Bandha: Tapping Into Your Deep Core
- 4 Reasons Hasta Bandha Is Essential To Your Yoga Practice
- Vitarka Mudra: What It Is and How Do You Use It?
- Shakti Mudra: What It Is and How Do You Do It?
- Garuda Mudra: What It Is and How Do You Use It?
- Kali Mudra: What It Is and How Do You Do It?
- Shunya Mudra: What It Is and How Do You Do It?
- Varuna Mudra: What It Is and How Do You Use It?
- Vayu Mudra: What It Is and How Do You Use It?
- Samana Vayu: The Energy of Balance & How to Access It
- Apana Vayu: The Energy of Release & Surrender
- Udana Vayu: The Ascending Wind
- Prana Vayu: The Breath of Vitality
- Vyana Vayu: The Energetic Secret to Flow
Trauma-Informed, Feminine Kundalini Starter Pack [Free Download]