Do you ever go through your day and then realize what a pain in the rear you’re dealing with? Literally, a pain in the rear, like a numbing shooting pain from your butt to your foot? It’s annoying, extremely painful and makes it hard to function sometimes. WHAT IS IT?!
It’s possible you’re dealing with piriformis syndrome. OUCH! Let your yoga practice take care of you and help relieve those obnoxious symptoms.
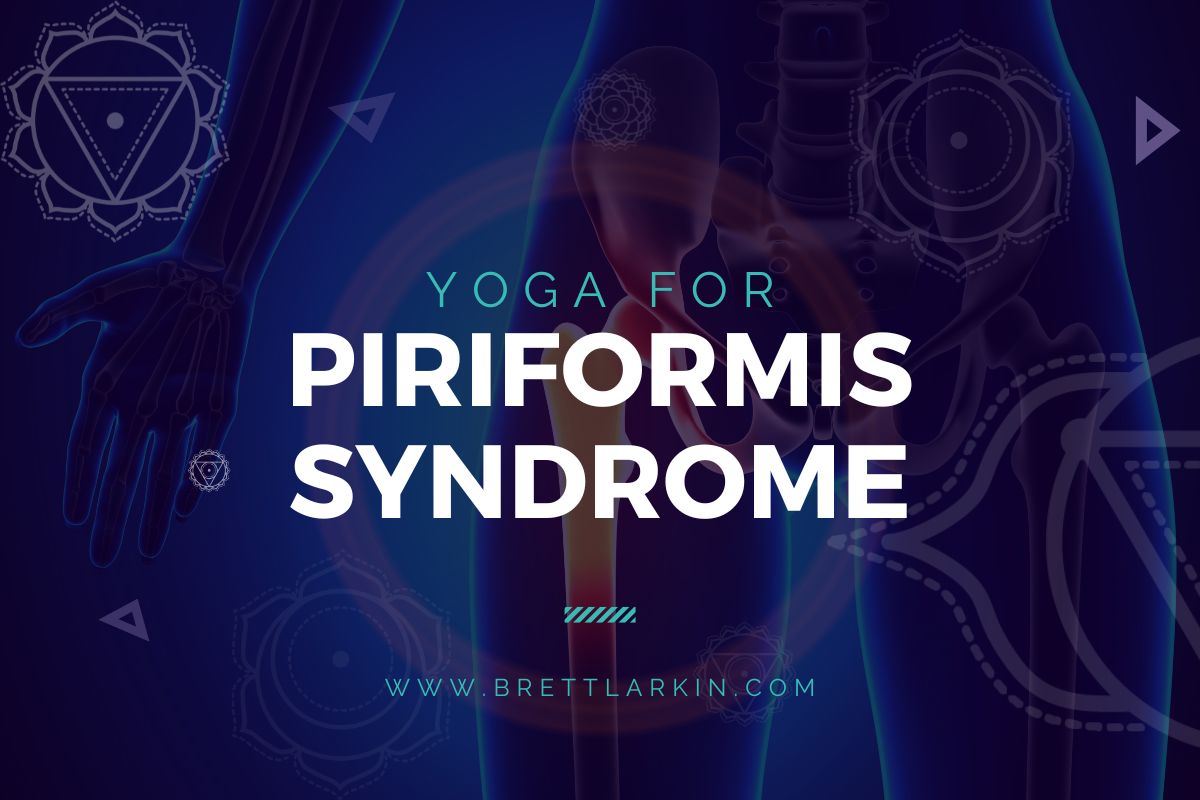
Yoga for Piriformis Syndrome

If you’ve been coming here a while then you know I believe there is not a problem that yoga can’t solve! And if you’re new here, WELCOME! Yoga helps all aspects of your life and I can show you how!
Piriformis syndrome is a pretty common condition and it’s one that your yoga practice can target directly! Through asana, postures, you can release tension through the low back and hips and maybe any emotional tension you’re storing there as well. So let me give you the deets and you can learn how….
What is the Piriformis?
The piriformis, according to the NIH is: a muscle responsible for external (or lateral) rotation of the hip along with the superior and inferior gemellus, quadratus femoris, and obturator internus and externus. It rotates the femur during hip extension and abducts the femur during flexion.
OOF!! THAT SOUNDS COMPLICATED!!! Well…it kind of is. Your hip is a very complex joint seeing as how it’s the largest, strongest joint in the body, and is reinforced with so many muscles and ligaments.
Basically, the piriformis is a muscle that sits under your gluteus maximus(big butt muscle), parallel to the gluteus medius(medium butt muscle), connecting from your sacrum(base of spine above tailbone), to the top of your greater trochanter(top of femur/thigh bone). It assists hip flexion(swinging your leg to the front), extension(swinging your leg to the back), and rotation(turning the leg from left to right).
What Causes Piriformis Syndrome?
Piriformis syndrome is a condition where the piriformis muscle compresses or irritates the sciatic nerve around the ischial tuberosity (the knobby bones at your base you often hear called your “sits bones”), causing pain and discomfort. There can be many causes for piriformis syndrome, ranging from something as simple as sitting too much to a larger issue like trauma to that specific area of the body. Regardless of what induced the syndrome, symptoms are pretty consistent among those who live with it.
Here are some common symptoms of piriformis syndrome:
- Pain in the buttock area
- Pain that radiates down the back of the leg
- Tingling or numbness in the leg
- Difficulty sitting or standing for long periods of time
- Pain when climbing stairs or walking uphill
- Difficulty with hip rotation and movement
- Pain during or after exercise or physical activity
Yoga and the Hips/Low Back
What the science says: Part of piriformis syndrome is that inflamed or tight piriformis muscles put pressure on the sciatic nerve. Your sciatic nerve runs all the way down your leg which is why this condition can affect your ability to walk. Scientific institutions are now recognizing yoga therapy as a treatment for sciatic pain. Studies have also shown that yoga greatly improves physical and emotional well being for patients with chronic low back pain, specifically persons who work at a desk all day. That’s great considering sitting too much can lead to piriformis syndrome!
The Uplifted Perspective: First and foremost, not all hip openers are created equal. You have to listen to YOUR body. If a full pigeon does not feel right, try a reclined or seated figure four instead. Something as simple as flexing or extending at the ankle (flexing or pointing your foot) can change the whole feel of a posture like pigeon or even a forward fold. You can learn all about unique anatomy and hip joint structure in my 200-hr training. Remember, you make the poses work for YOUR BODY, not the other way around.
Physical distress can lead to tension in the piriformis, but did you know that emotional distress can lead to hip tension as well? It’s not just something your yoga teacher made up, there is scientific evidence this is true. Your hips also happen to be where your second chakra is located; this is the chakra that rules your emotions. So not only are your emotions in your hips physically, but also energetically!! This is why it’s SO IMPORTANT to not only work on physical release for piriformis syndrome but also emotional release. Incorporate meditation and journaling to regulate and release trauma. For this, I suggest the Evolve and Ritual plans inside my Uplifted Membership.
It’s important to note that piriformis syndrome and sciatica are not the same thing, although they have similar symptoms. Sciatica is when spinal dysfunction affects the sciatic nerve, like a herniated disc. As you now know, piriformis syndrome is when the piriformis muscle affects the sciatic nerve. Something like a forward fold might feel good for a person with piriformis syndrome, but could be painful for someone with sciatica.
****Please check with your doctor if you think you have piriformis syndrome before trying to treat at home or starting any new exercise program****
Find a breakdown of my favorite piriformis poses below, or practice with me. Try these two classes for both a physical/therapeutic and somatic/energetic approach to your healing:
Top Yoga Poses for Piriformis Syndrome
1. Mountain Pose (Tadasana)
- Step 1: Stand at the top of the mat, feet hip width apart, inside edges parallel. Lift and spread toes, ground feet, evenly distribute your weight through all four corners of both feet. Thighs are neutral.
- Step 2: Knee caps lift, inner thighs draw toward each other. Hips are level and point forward. Low abs firm in and up, find length in front, sides and back of torso.
- Step 3: Arms gently rotate externally, palms face forward. Keep the arms straight, pull your shoulder blades toward each other and down. Arms and hands energized, fingers spread. Shoulders stacked over hips.
Variations: Hands in prayer position (Anjali Mudra). Use a wall to lean against if you have balance issues..
Benefits: Mountain pose returns the body to anatomical neutral, strengthens small muscles in the feet and ankles, and improves clarity and mental focus. Warms up thighs and tones low abs. Slouching can exacerbate hip pain or sciatica, practicing mountain pose helps keep the spine tall and helps posture.
Pro Tips for Yoga Teachers & Yogis:
- Squeeze a block between thighs to engage and bring awareness to those inner thigh muscles.
- Difficulty standing? Practice Tadasana in your spine while in a seated position.
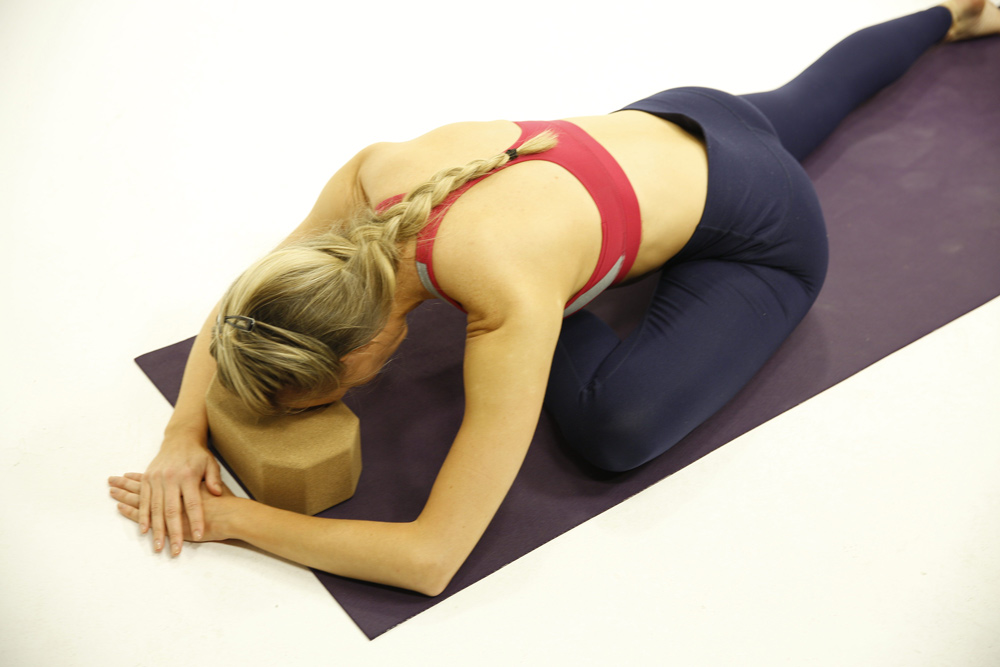
2. Forward Fold (Uttanasana)
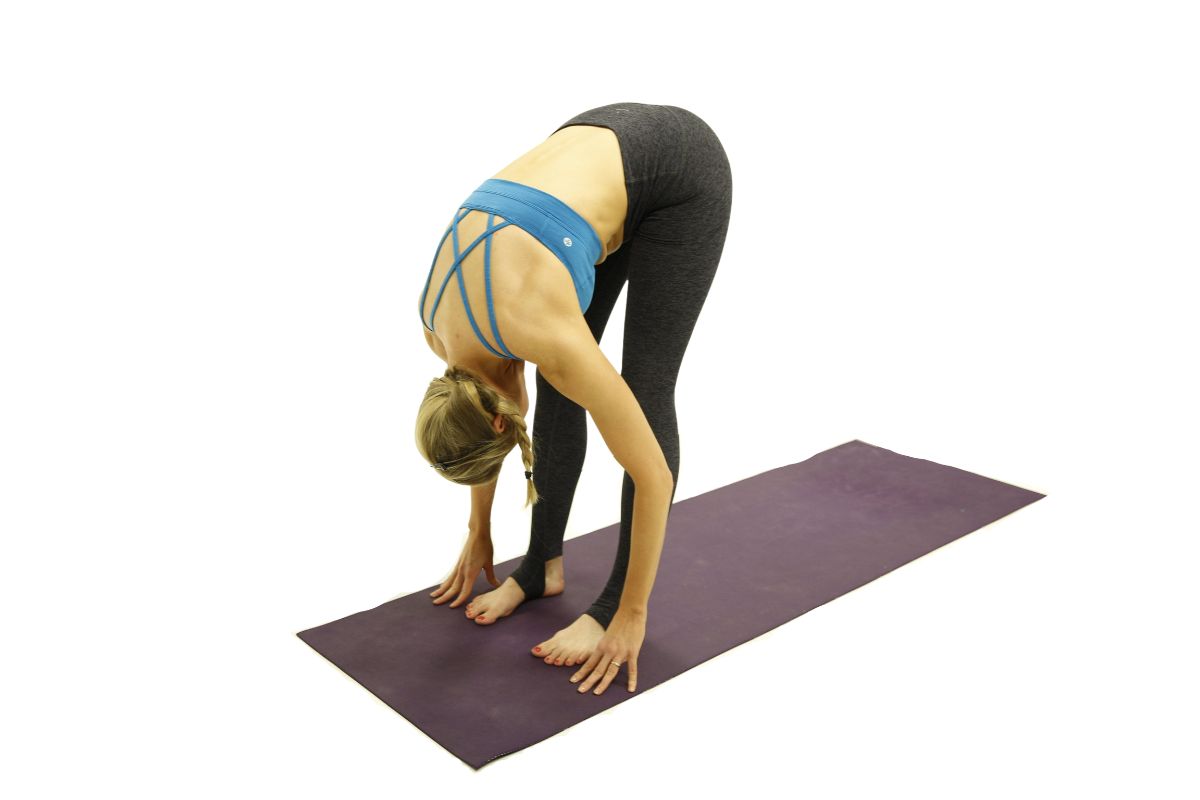
- Step 1: From standing, feet hip width apart. Inhale as the arms sweep up overhead.
- Step 2: Exhale, with a slight bend in the knees, hinge forward at the hips letting the arms float down to the floor, torso folds.
- Step 3: Let gravity have your head but not your shoulders. Stay here for several breaths.
- Step 4: To come out, inhale, bend the knees and sweep the arms up to standing. Exhale as the arms return down to your sides.
Variations: Bend the knees deeply or take the feet wider. Place the hands on blocks, clasp opposite elbows to hang, or use a chair or table to assist you by placing the hands on one and only coming halfway down.
Benefits: Forward bends increase blood circulation, lower blood pressure, help to ease headaches and pain in the backside of the body. This forward bend will also stretch into the low back where you might feel that tight piriformis connects to the sacrum.
Pro Tips for Yoga Teachers & Yogis:
- Take it to the floor! Make this a yin or restorative fold if piriformis muscle pain is making it hard to stand.
- Add in some spinal twists here: Bend the left knee generously, left hand to mat, as you inhale bringing the right arm up and open up the right side. This will invite in more clarity and aid in emotional release.
3. Tree Pose (Vrkasana)
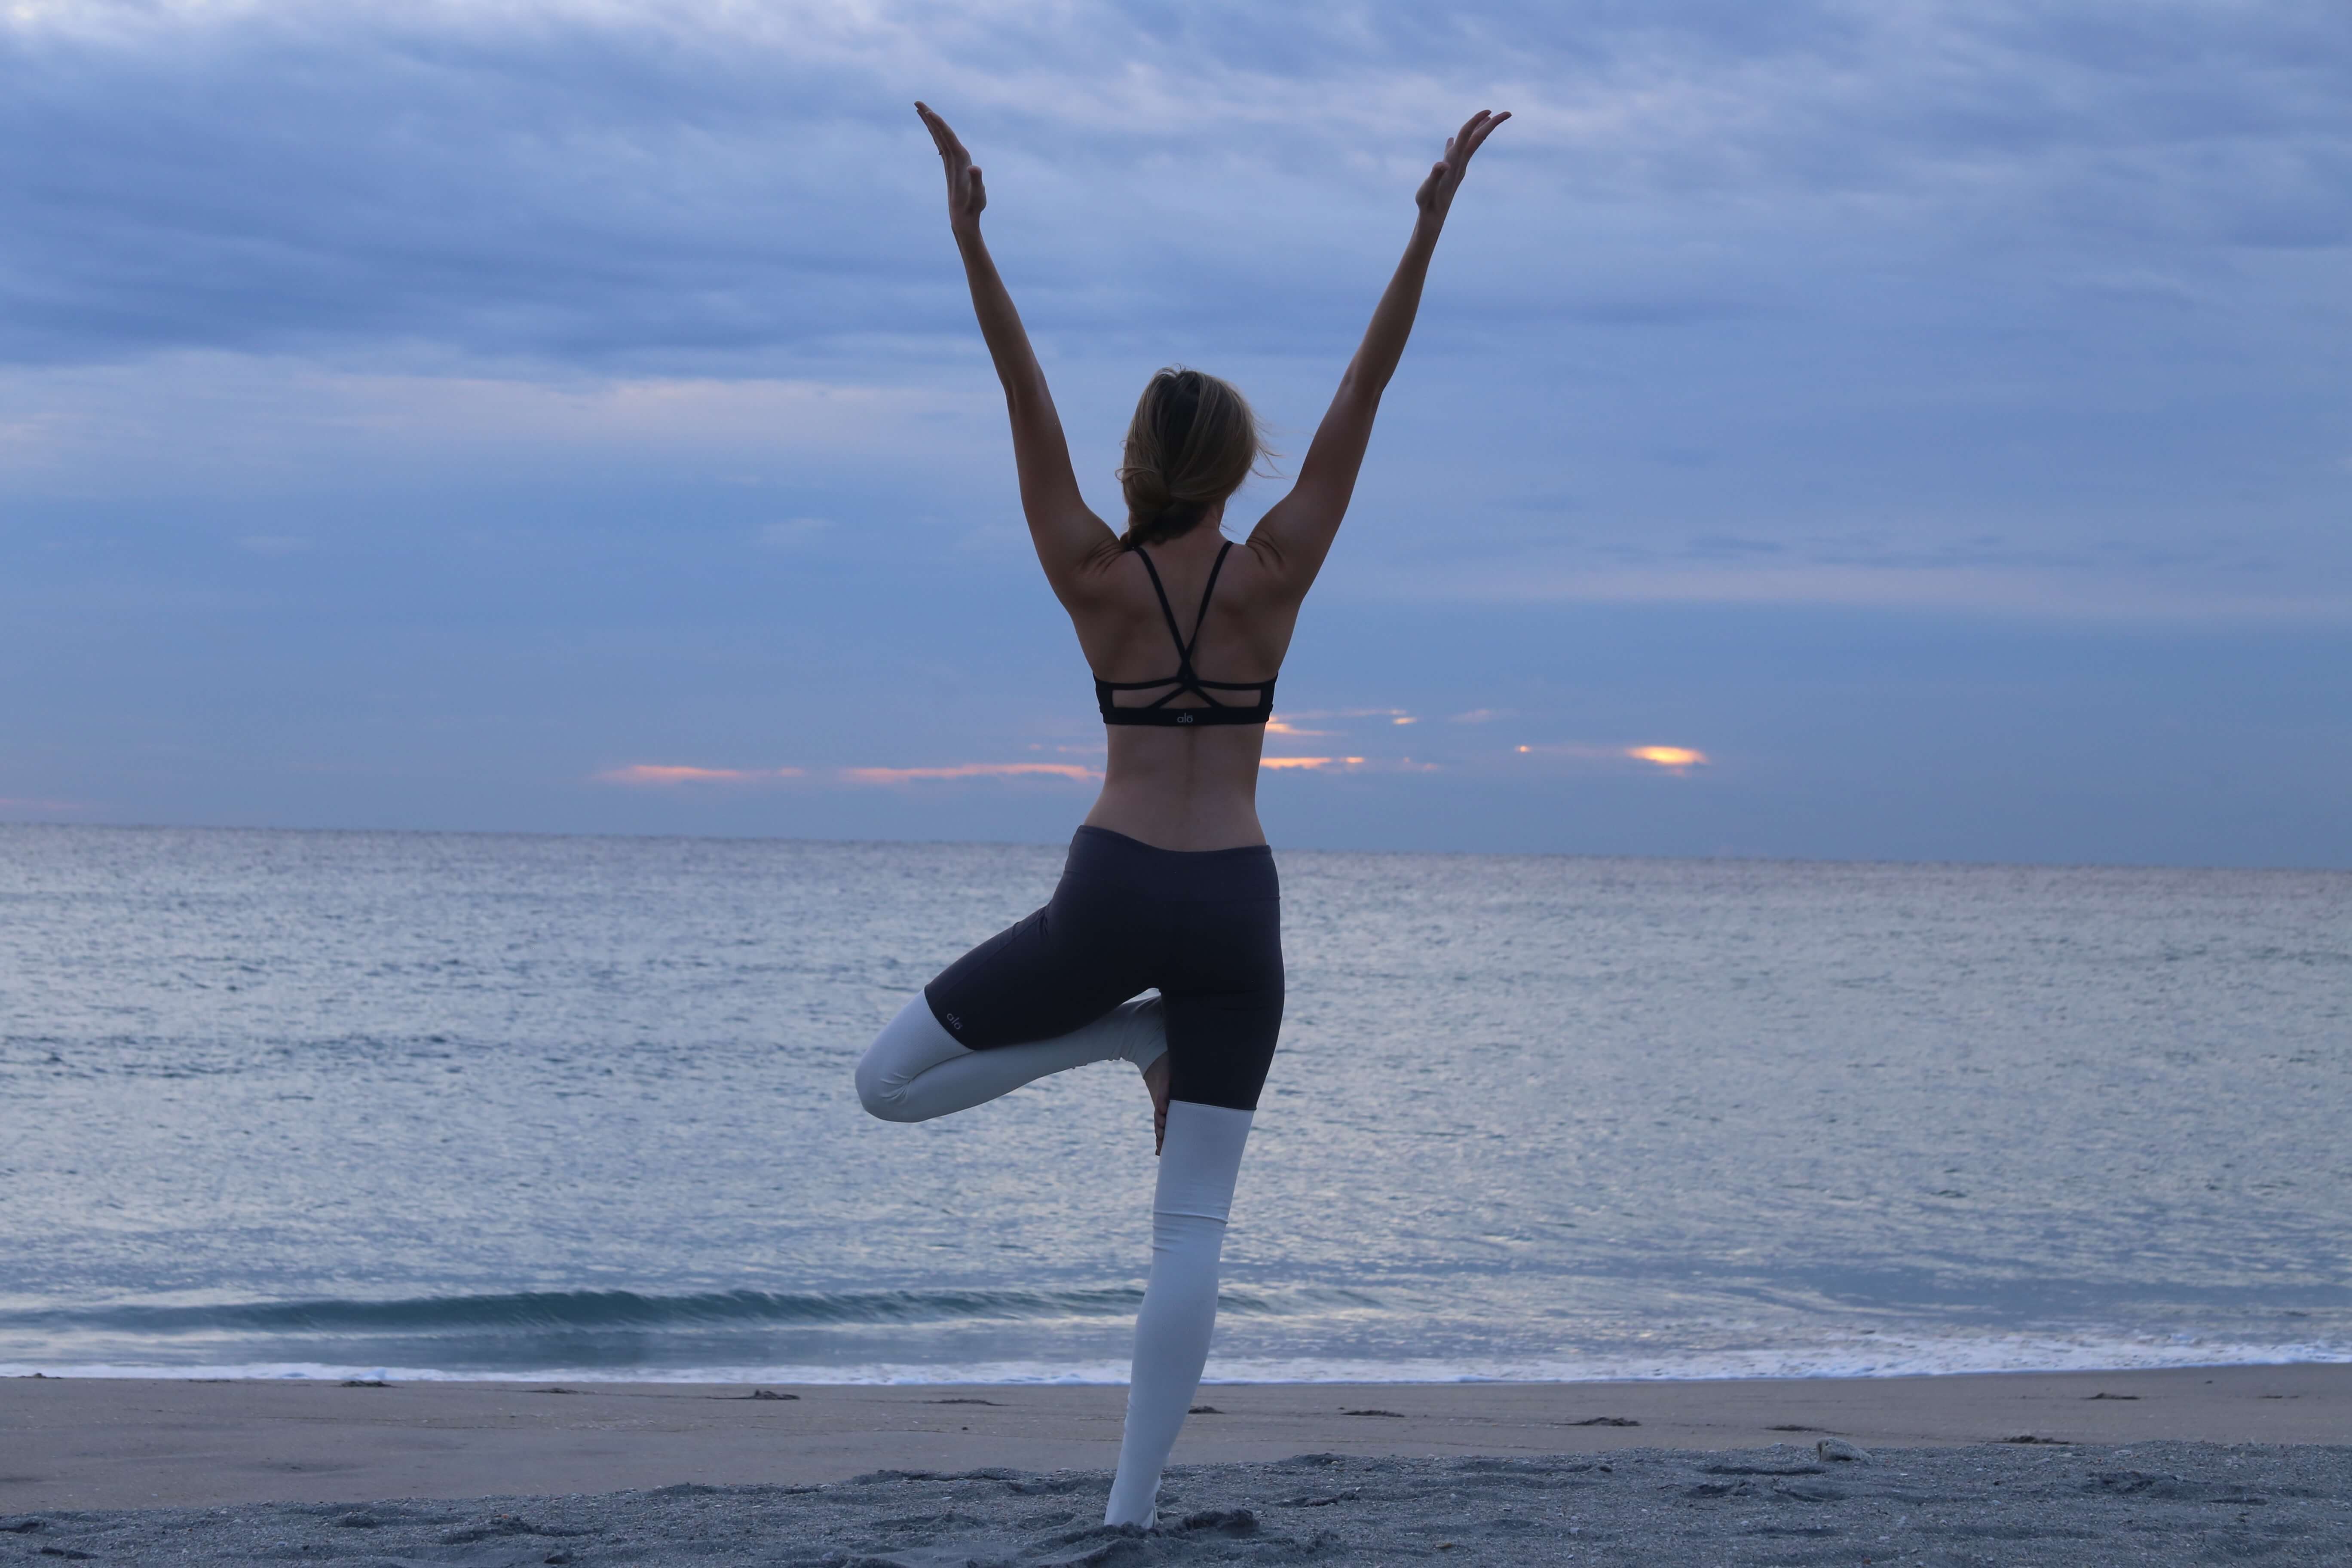
- Step 1: From standing, shift your weight into one foot.
- Step 2: Find a focal point, pull your core up and in and bring the opposite foot off of the ground either taking the sole to the shin or inside of the thigh(never the knee, ouch!).
- Step 3: Inhale bring the hands to prayer at heart’s center.
- Step 4: Bring the foot of the bent leg back down, take a deep breath as you align your body back to stand.
Variations: Keep the toes of the bent leg on the ground for balance or use the support of a chair or wall to keep you steady. To make it more challenging take the hands overhead.
Benefits: Tree pose really requires concentration and keeps you in the present moment. This is also known as mindfulness which reduces stress and increases happiness and resilience. Not only this but as a balancing posture it teaches you that you don’t have to be still to create balance. Your body still is making micromovements to stay stable. It is imbalance in motion. And isn’t that basically what life is?
It also works on strengthening all of those muscles that surround your hip. Piriformis or hip pain might not just be from tension, it could be from muscle weakness. Strengthening the gluteal muscles, or all the muscles around the hip is a great idea to help chronic hip and low back pain.
Pro Tips for Yoga Teachers & Yogis:
- Add tree into your classes for a few weeks in a you can monitor progress. This consistency increases their confidence and empowers them to truly sense their physical improvements.
- Remind your students that balance is not about stillness, but being able to “surf” all the micro-movements they will feel in their foot and ankle joint.