Myofascial release therapy is a great tool for recovery and just feeling your best. But you might be wondering exactly how or if there are specific myofascial release techniques that you should use.
YES! Let me share some with you…
How Does Myofascial Release Work?
Myofascial release works by using specific tools and techniques to release tension in the connective tissues of the fascia and fascial trigger points that may be causing pain and/or tension.
If you’re wondering what fascia is exactly, fascia is the context where all movement takes place. A web-like connective tissue that houses all of your organs, muscles, tendons, blood vessels, nerves, etc. In my 200-hr Yoga Teacher Training Tom Myers explains it beautifully. He states, “There is only one muscle, it just exists in six hundred fascial pockets. Just like the bones and tendons and organs all exist in fascial pockets.”
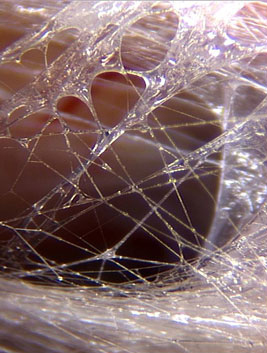
Currently fascial restrictions are unable to be seen on MRIs X Rays or CAT scans. But fascial restrictions can throw your entire body out of whack and cause pain. This is because fascial restrictions have the tensile strength of 2,000lbs per square inch 🤯!!
Myofascial release works using compression and contraction on myofascial tissues to release those restrictions. To allow more mobility and better blood circulation throughout the body. By releasing fascial restrictions you can also significantly reduce pain.
Who Needs Myofascial Release?
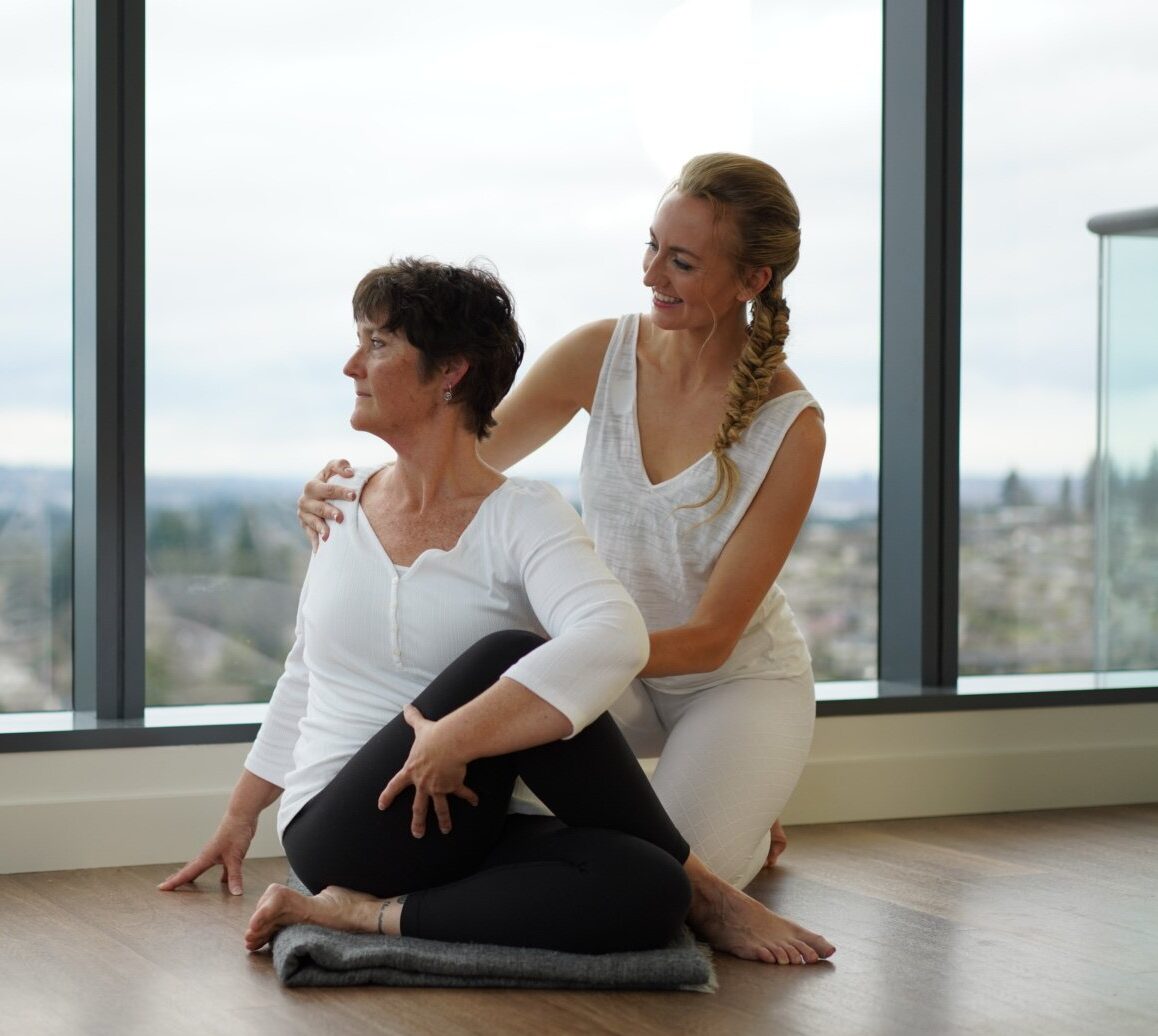
EVERYONE!!
Seriously, everyone can benefit from myofascial release therapy. Even if you don’t need to treat myofascial pain syndrome or another chronic pain disorder caused by fascial restrictions. You could have habitual bracing patterns or poor posture causing widespread pain. Or, your entire body could simply feel stiff.
There are numerous conditions treated with myofascial release therapy.
- Myofascial release is for you if you’ve experienced:
- Trauma – physical or emotional
- Referred pain
- Muscle tension
- Pain in the joints/loss of mobility
- Poor circulation
- Poor posture
- Widespread pain
To get even more specific if you’ve got conditions like carpal tunnel syndrome, fibromyalgia, TMJ, etc. Myofascial release therapy is a great method to help you manage pain.
How does myofascial release help these conditions?
There are so many benefits to myofascial release. People who practice myofascial release techniques, whether at home or with a physical therapist, experience:
- Higher quality sleep
- Overall pain relief
- Enhanced range of motion/flexibility
- Improved circulation
- Overall better quality of life
9 Myofascial Release Techniques
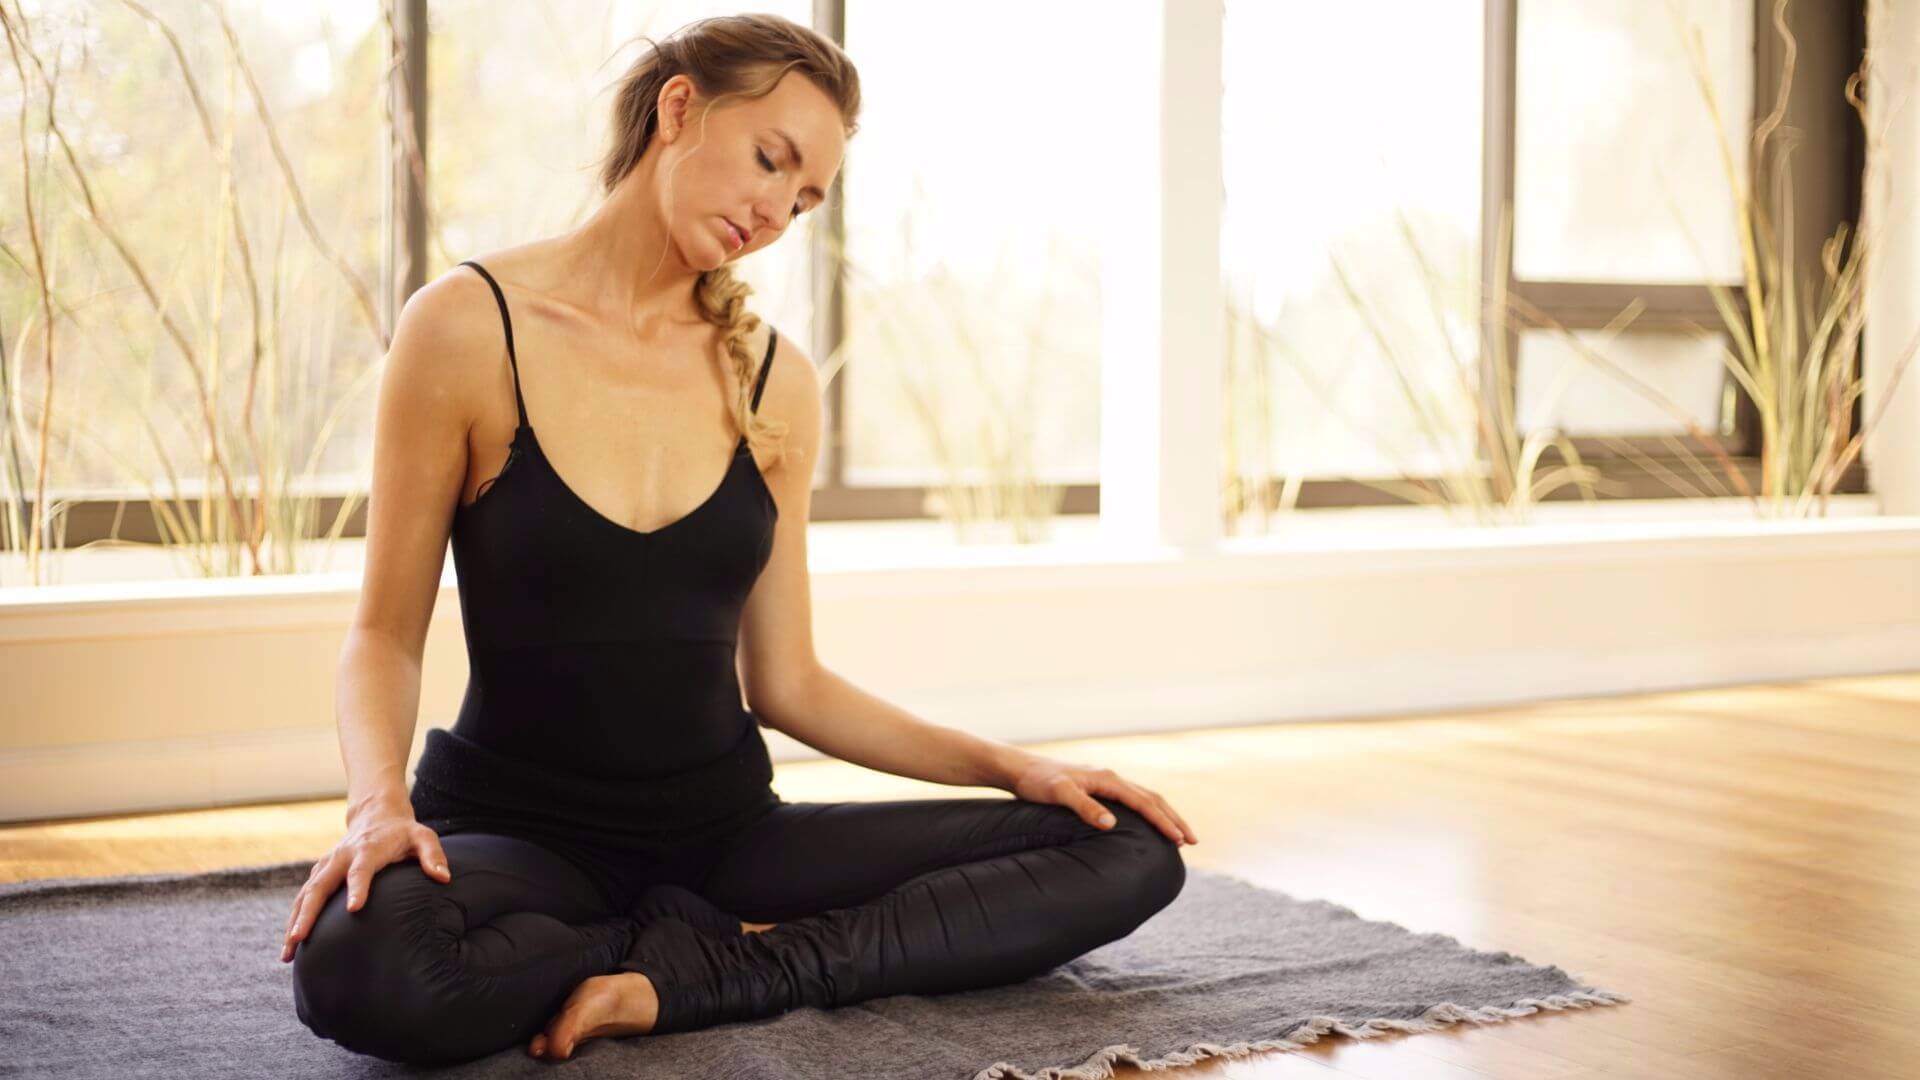
Myofascial release is often a technique used in massage therapy or physical therapy. And while being able to go to myofascial release therapy with a licensed myofascial release therapist is amazing, it might not be feasible for every person. Thankfully there are self myofascial release techniques you can do at home! Start with my Fascial Fitness Series in my Uplifted membership.
Below are some self myofascial release techniques using stretching and MFR tools you can do for specific areas of your body. I bet you’re already doing some of them and didn’t even know it!
NOTE: Always check with your healthcare provider before starting any new physical programs to make sure they align with your goals and abilities. Nothing should cause you intense pain. These techniques should provide a sense of relief.
1. Neck
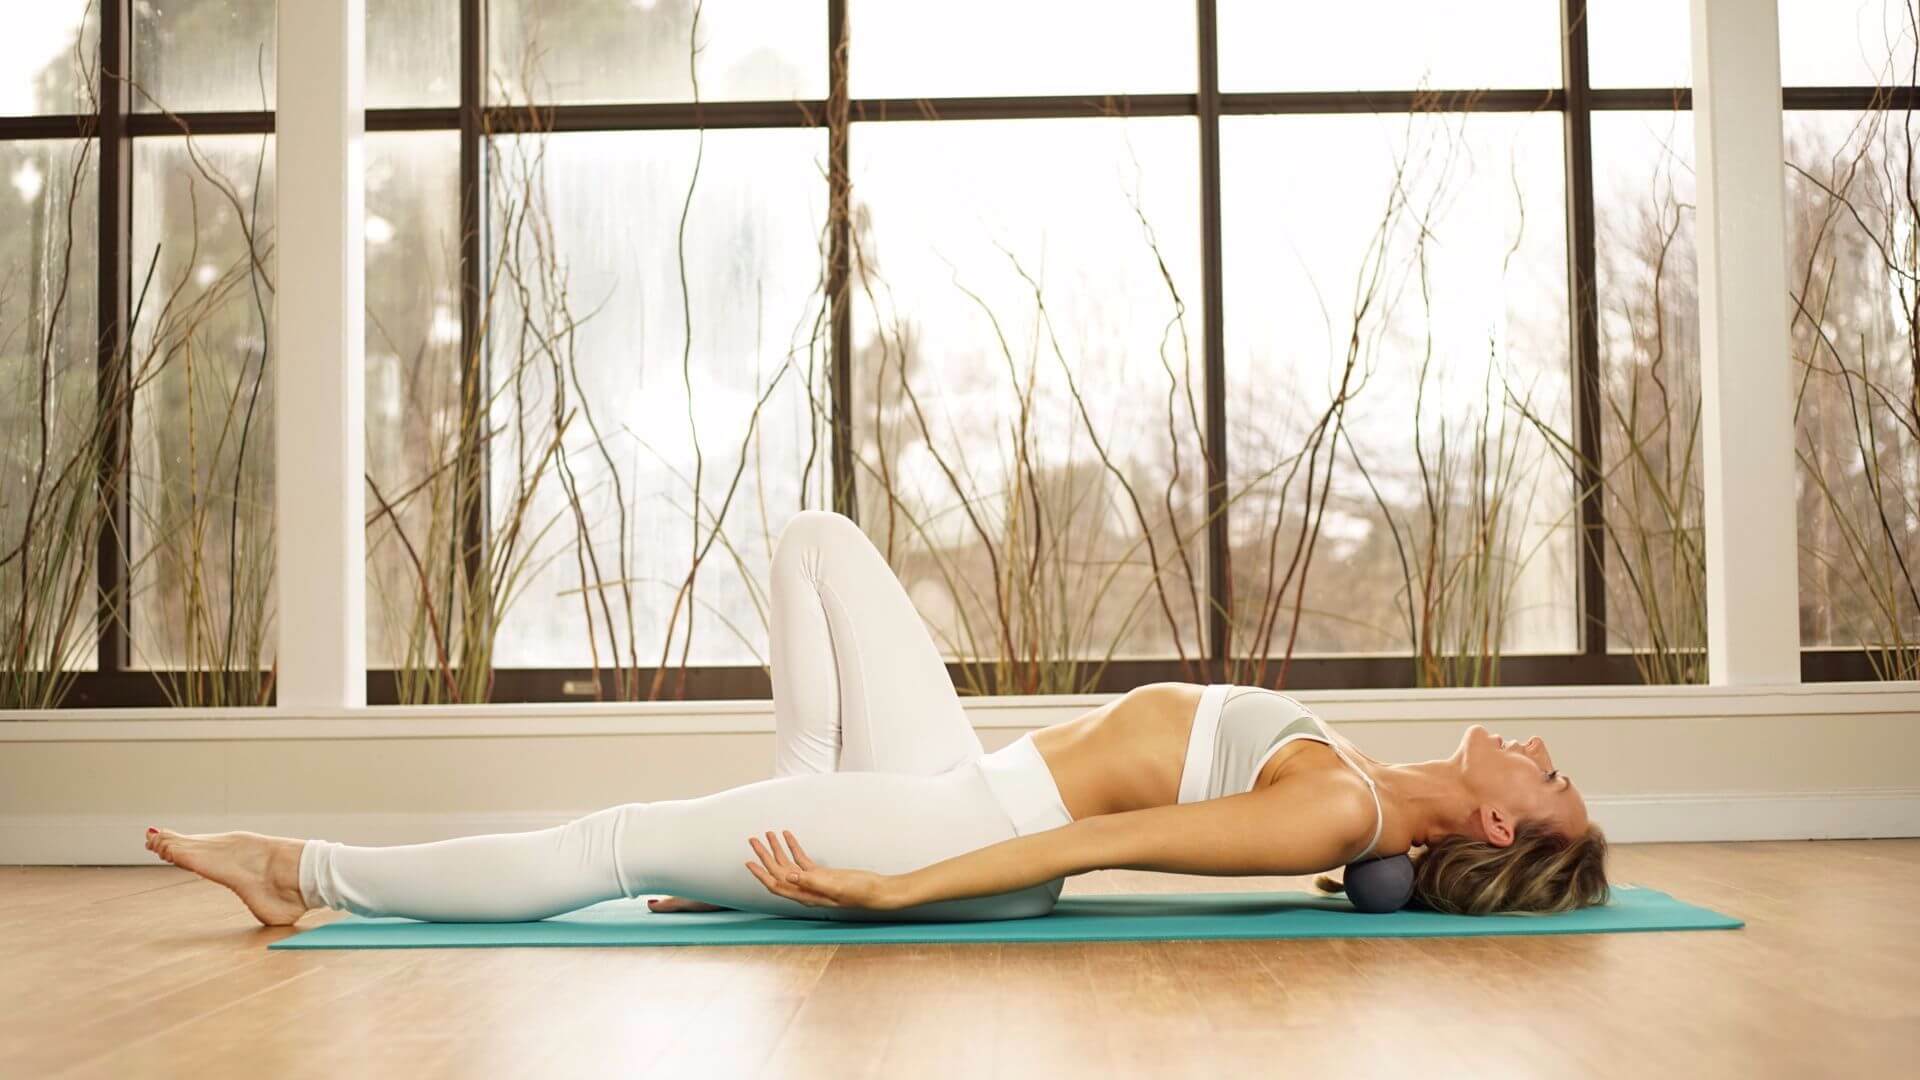
There are two great techniques to release fascial tension in the neck. The first is a simple yin forward fold. This stretch is great for the entire back body, but you’ll notice that it’s first point of release is at the neck. Using gravity and the weight of your head, you’ll create traction in the myofascial tissue of the neck. Traction is one of the best ways to find a release in the fascia.
The second myofascial release technique is to use massage balls. You can put two in a sock, or if they come with a bag, to hold them together. Lay down on the balls placing them at the base of the skull with each ball on either side of your spine. You can then move them up and down the neck applying pressure and massaging the area.
2. Shoulders
You can then take the same set up, tennis/massage balls, or grab a foam roller to work on the shoulders/upper back. Place your tool on the floor and lay back on it, positioning the tool in the center of your upper back and creating light pressure between the shoulder blades. Breathe as you cross your arms over your chest. Stay here if you feel like it is enough, otherwise add micromovements like gentle rocking.
If you’re ready you can take the hands behind your head, plant the soles of your feet firmly on the ground as you lift the hips in order to roll up and down the back body to your hip bones. NOTE: If the pressure is too much back off or try leaning onto only one side of the body to lessen the pressure.
3. Chest
Come to the floor and lay on your belly. Take your massage ball and place it in the space where your chest meets your shoulder. Towards your underarm. You can stay here and just let the pressure release those tight chest muscles. Or you can slowly move your arm up and down to massage the area and search for tight spots. This is super soft tissue so make sure to be very gentle.
Supta baddha konasana (reclined butterfly pose) is also an amazing way to open the front body and create traction across the chest.
4. Low Back
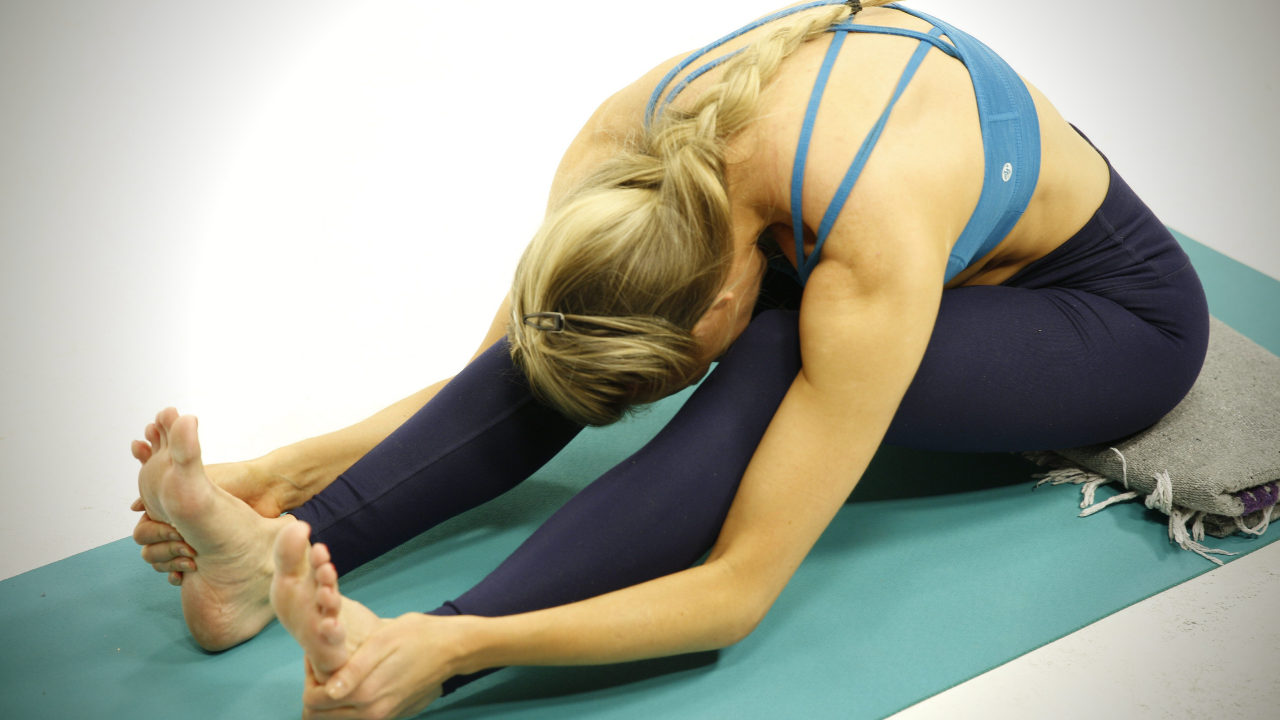
So many of us have low back pain. Let’s circle back to that yin forward fold. It’s incredibly simple but one of your greatest methods for myofascial release along the entire back line of the body. That traction running from the neck all the way down the lower back is the best way to release low back tension too. However, if you’re unable to do a forward fold you can always use your hands!
Simply apply gentle pressure to the muscles surrounding the lower back. You can create traction with your hands or apply pressure to fascial adhesions. You can also position your foam roller at the low back and gently rock up and down it. These methods of self massage or the use of a foam roller have proven to improve low back pain.
5. Glutes
Start on your glutes with the versatile figure four stretch. You can do this seated, standing, or(my personal favorite) laying down. Lay down on your back, knees bent and soles of the feet on the floor. Take the right ankle and cross it over the left knee(make sure to keep that foot flexed). If this feels like enough, stay here. If you want more grab the back of the left thigh and pull the legs in towards your chest.
Use your tools by coming to sit on the ground and resting your forearms behind you, soles of the feet on the floor, knees up. Place your massage ball or foam roller under the glute and slowly roll back and forth from your hip bone down to the top of your hamstring. Remember to breathe and shift your weight accordingly if you get too uncomfortable. Pause on any particularly sticky spots.
6. Hips
Using a massage ball is perfect for getting into that hip area. Lying on your side, you can prop yourself on your arm for support and put your ball under the side of your hip bone. Just stay here. Adjust the ball as needed or maybe add in some gentle rocking. Breathe and feel that tension melt away.
Get some traction in that same area with Ardha Matsyendrasana (Half Lord of the Fishes Pose/Seated Twist Pose). Start seated with the legs outstretched. Cross the left foot over the right leg, placing the sole of the foot on the outside of the right thigh(left leg can remain straight or bent). Inhale as you take the arms up and exhale as you twist, hooking the right arm around the left leg. Gaze should be towards or over the left shoulder. Use your breath to keep length in the spine. Don’t forget to do both sides!
7. Hamstrings
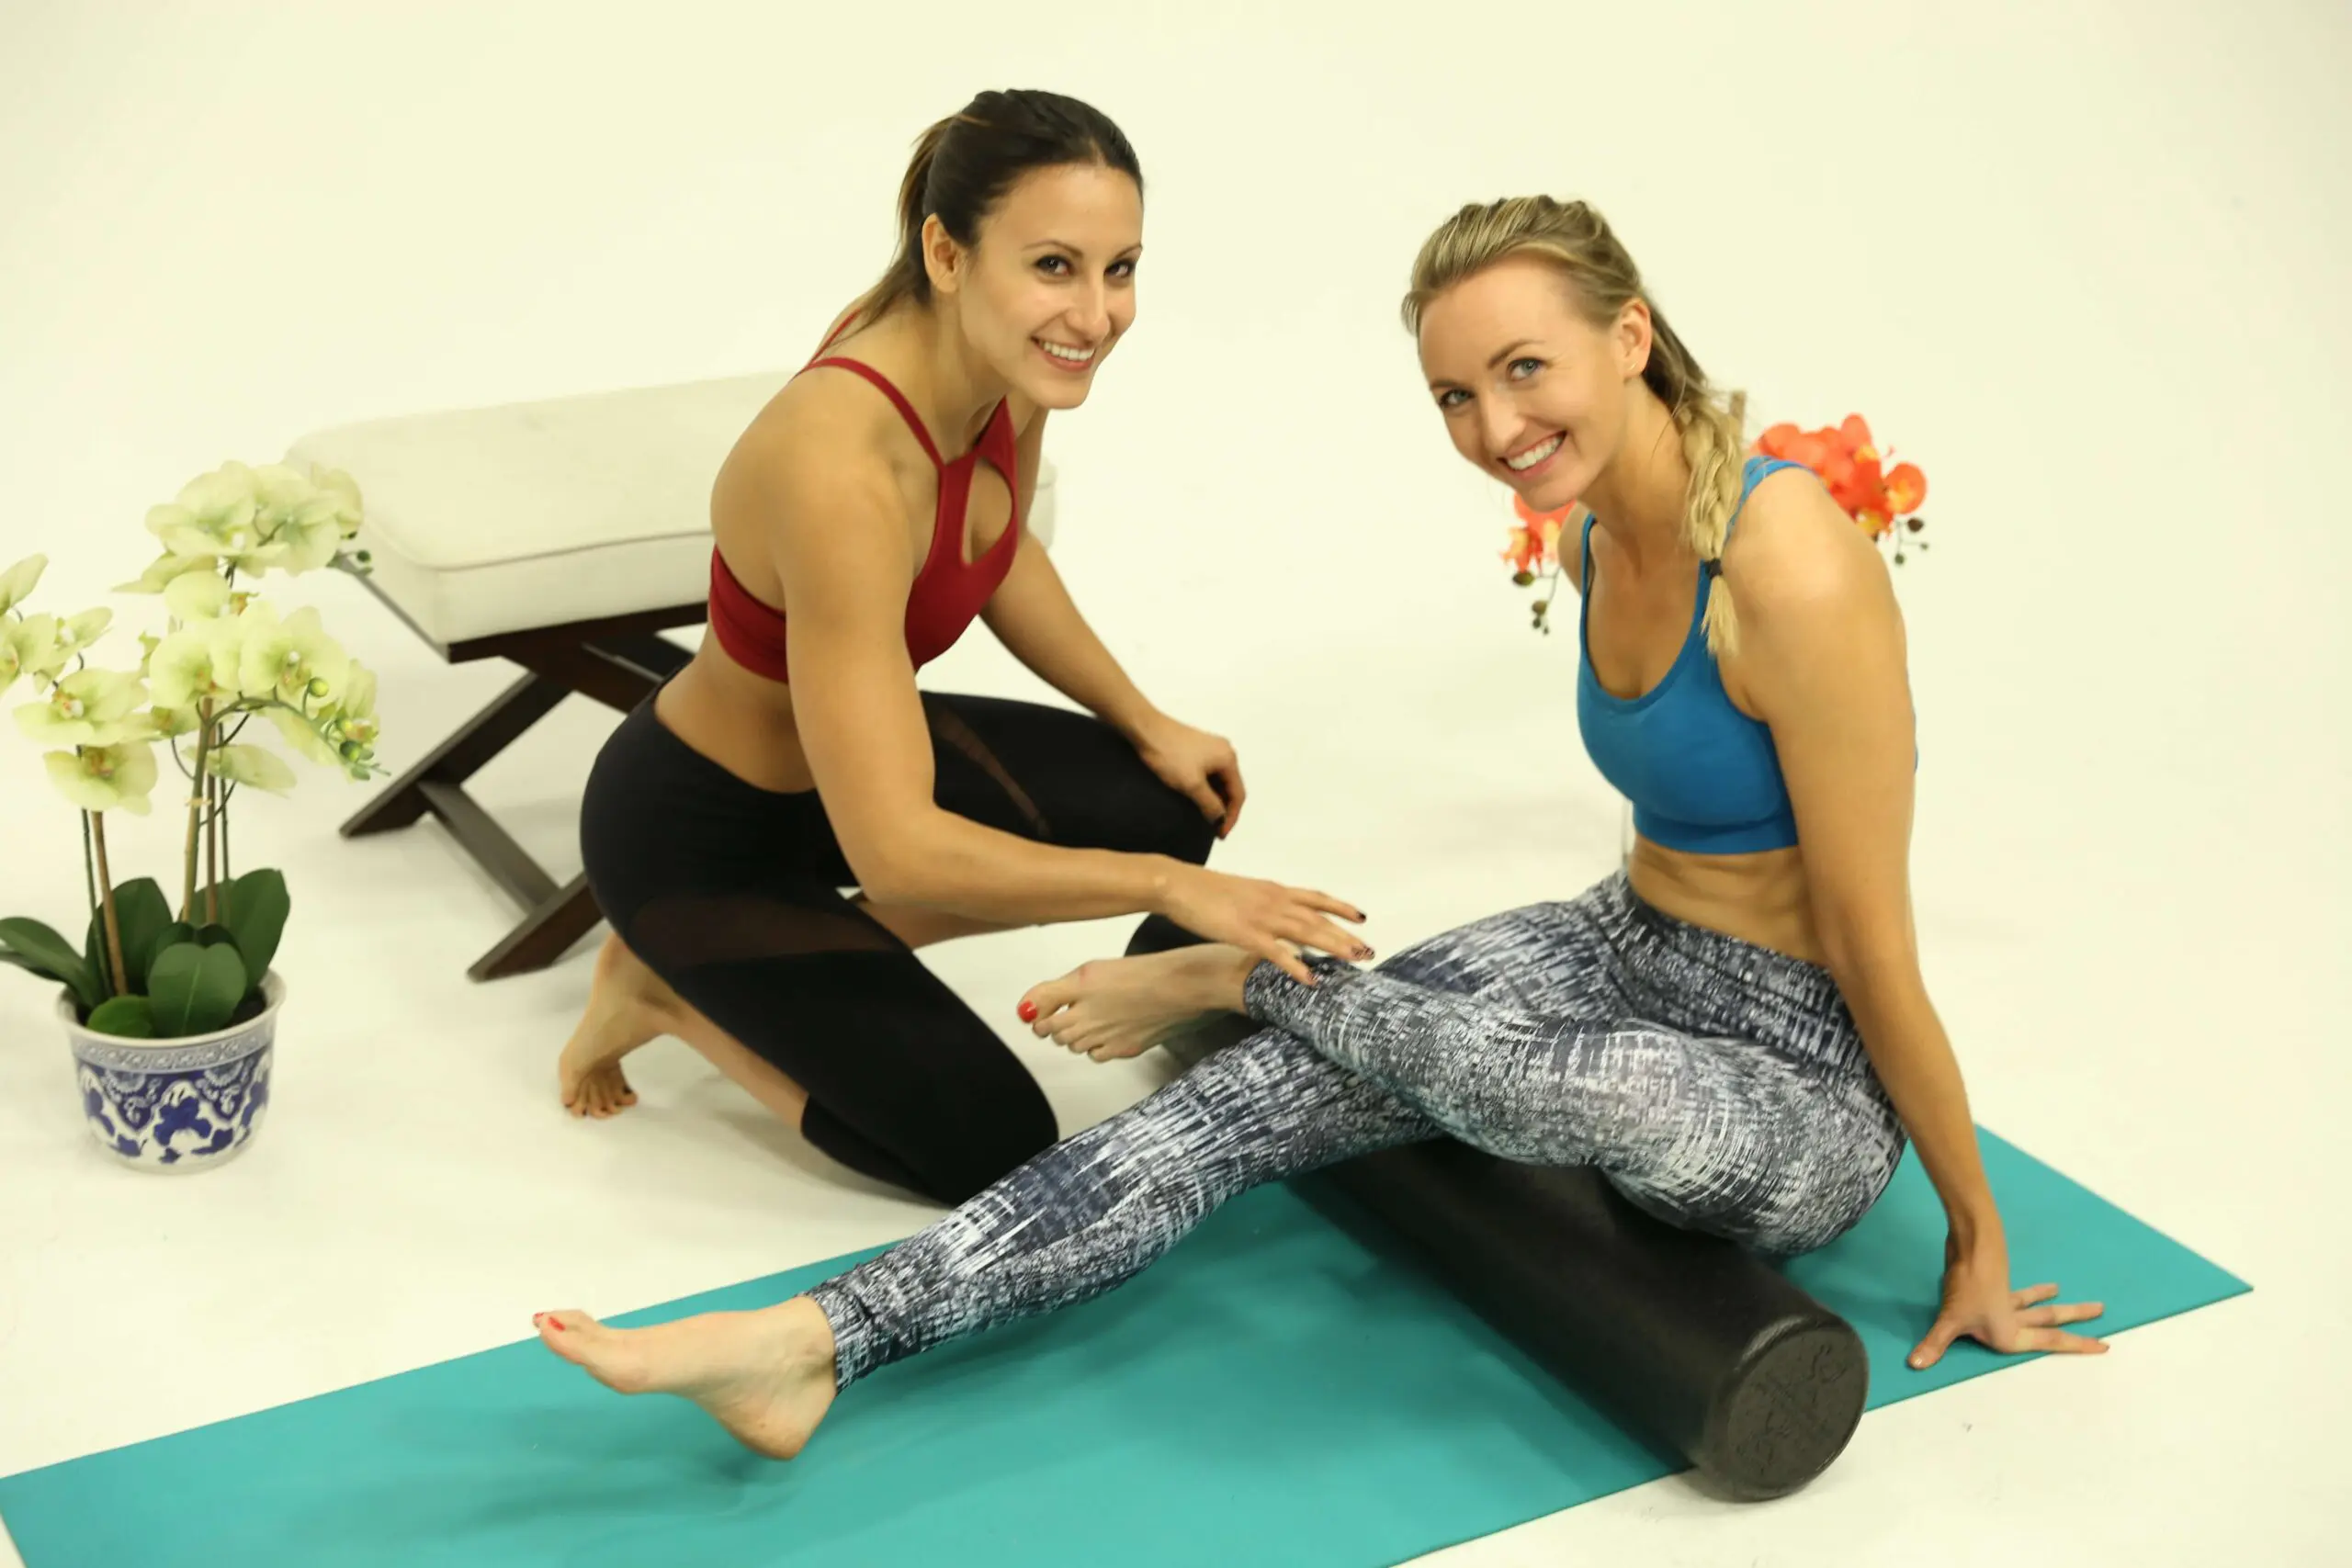
From seated, place your foam roller or massage ball under the top of your left thigh. Keep the left leg straight. With the hands behind you on the ground for support and your right knee bent, foot on the floor, softly roll back and forth from the bottom of your glute to just above the space behind the knee. Play with the position of your extended foot to target different portions of muscle. Switch sides.
There are so many stretches to choose from when trying to create traction in the hamstrings. From downdog to triangle and prasarita (wide legged forward fold), it’s yogi’s choice on this one. Or you can go straight to this amazing class for tight hamstrings: 20 Min Yoga For Tight Hamstrings and Hips | YOGA FOR BEGINNERS
8. Quads
Your quads can often be an overlooked source of tension. You might be surprised what you find once you start using these techniques. Lie prone(face down) on the floor Use your hands for support placing your foam roller under your left thigh. Bend your right knee on the ground to support you as you slowly roll the foam roller from the top of your thigh to just above the knee. Move back and forth this way pausing for a few breaths if you find a trigger point. You can rotate the thigh over the roller as well. Do what feels good for your body and then switch sides.
Pigeon pose is perfect for targeting the quads. From downdog, or tabletop, carry the right knee behind the right wrist. Externally rotate the right hip in order to lay the shin down parallel to the front of the mat(it does not have to be exactly parallel). Inhale, get tall, look back to ensure the back leg is straight and then exhale fold over your front leg. Bonus, you can even use one of your massage balls in this position too! Do both sides.
9. Feet
Your feet are your foundation. An imbalance in the foot will affect your entire body’s alignment. That is why it is so important to keep your feet healthy and feeling good. Grab a tennis ball or an MFR ball. Sit in a chair and position it under the ball of your foot. From here, slowly roll along the arch to the heel. Roll up and down and if you feel a sticky spot apply sustained pressure or gently rock back and forth on it.
You can also use your yoga strap to stretch your feet! Start seated with the legs outstretched in front of you (staff pose). Take your strap and hook it around the balls of your feet and gently pull the feet towards your face. This will get a nice stretch in the legs too.
Closing Thoughts
Myofascial release therapy is an amazing addition to your practice. And if you can see a massage therapist to help you find relief I encourage you to do so. But using a hands on technique for yourself is great for releasing tension with very few risks. Give a couple of these a try and let me know what you think!
Next Steps
- If you’re interested in learning the three skills that empower you to embody your yoga off the mat to get the results you desire in your personal life, check out my Yoga for Self Mastery course.
- Explore my knowledge hub for How to Become a Yoga Teacher or consider becoming a Somatic Yoga Coach in my newest certification program.
- Practice yoga with me on my YouTube channel with over a thousand free classes.
Experience 3 Training Videos from Inside My 200-Hour Online YTT
YOU MIGHT ALSO LIKE
- 7 Top Somatic Yoga Books to Regulate Your Nervous System
- 5 Best Somatic Yoga Apps for Nervous System Regulation
- Top Somatic Coaching Programs And How To Choose One
- Somatic Yoga Workshop Ideas for Teachers
- Somatic Yoga for Cortisol Detox: A Gentle Path to Stress Relief and Nervous System Healing
- Gentle Somatic Yoga: Heal Chronic Pain, Release Trauma, and Reclaim Your Bod
- Somatic Meditation: A Body-Based Approach to Healing Stress, Anxiety, and Trauma
- Advanced Pelvic Floor Breathing: A Somatic Approach to Healing
- Somatic Yoga For Yoga Teachers: Everything You Need to Know in 10 Steps
- How Somatic Shaking Can Release Tension and Reset Your Nervous System
- Discover Somatic Pilates: Enhance Your Body Awareness and Flexibility
- Kundalini for Feminine Energy: Ignite Your Creative Power and Passion
- 6 Effective Somatic Yoga for Neck and Shoulders
- How to Teach Somatic Yoga: A Practical Guide for Instructors
- The Best Somatic Exercises for Grief: Find Healing Through Movement
