I’ve heard it all:
“I don’t care for them.”
“I occasionally enjoy them.”
“I only show up because of them.”
And everything in between!
There’s a whole gamut of opinions out there about receiving hands-on adjustments.
And since our relationship to receiving them usually creates our relationship to giving them as teachers, there’s an entire array of opinions out there when it comes to giving them too.
It’s a rich, intricate, and sometimes delicate topic indeed. One with many aspects to consider such as why we do them, what’s the impact, and more.
No wonder so many of us teachers are left feeling a bit confused about offering hands-on adjustments!
Beyond all of the different schools of thought and philosophies, there a few go-to guidelines to help you navigate the “touchy” world of hands-on adjustments (couldn’t resist!).
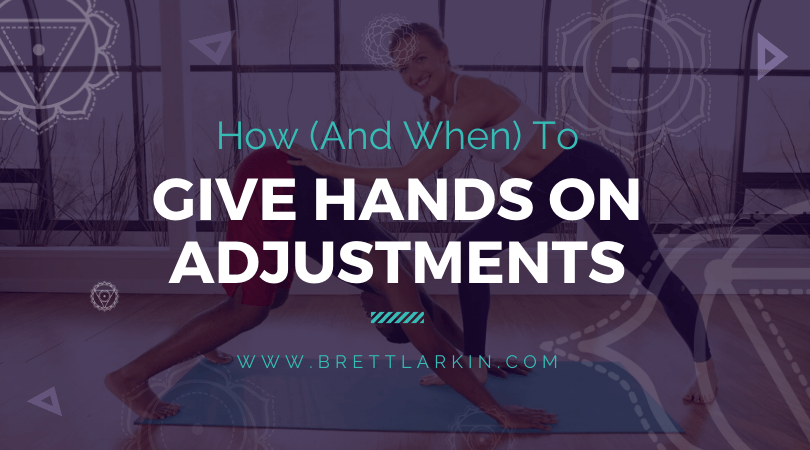
When to Do Hands-On Adjustments
1. When the student has given consent
Whether it’s by asking them individually before class, using “yes/no” hands-on assists cards, or asking the whole group while they’re in child’s pose at the beginning of class for a “confidential” hand wave from those not wanting adjustments, ALWAYS make sure you have consent. Not everyone wants to receive adjustments so getting consent is THE EASIEST way to keep everyone happy… and I don’t know about you, but I’m all for keeping things easy!
2. When you know both the WHY and the HOW of the adjustment
Having a solid grasp on WHY you’re doing the assist will help you choose the right students: those who need it. To step up your teaching game and help your students get the most possible benefit from your classes, really look at your students and do the adjustment on someone who will gain the most insight from it instead of doing the same assists for everyone. Knowing HOW to do the assist well will give you confidence so the student trusts you more so that they’ll get more out of it.
So before doing adjustments in class, study the WHY with your teachers or with online content. Practice the HOW with other teachers or learn from the web and test what you learn on yogi friends and get their feedback.
You might also like: 5 Tips For Building Creative (And Safe) Yoga Sequence
3. When you have time
We’ve all experienced a teacher leaving us hanging in a pose for what feels like decades, or perhaps lifetimes, while they assist another student… don’t be that teacher!
Leaving the other students feeling forgotten dissipates your connection with them and interrupts the flow of the class. When you’re newer to adjustments, plan into your sequences poses with longer holds where you will have more time to walk around and give QUALITY assists (read the “how” section below on giving quality adjustments). Then, be near the student you will adjust before cueing them into the pose and be mindful of how long you keep the students there to maintain that connected vibe.
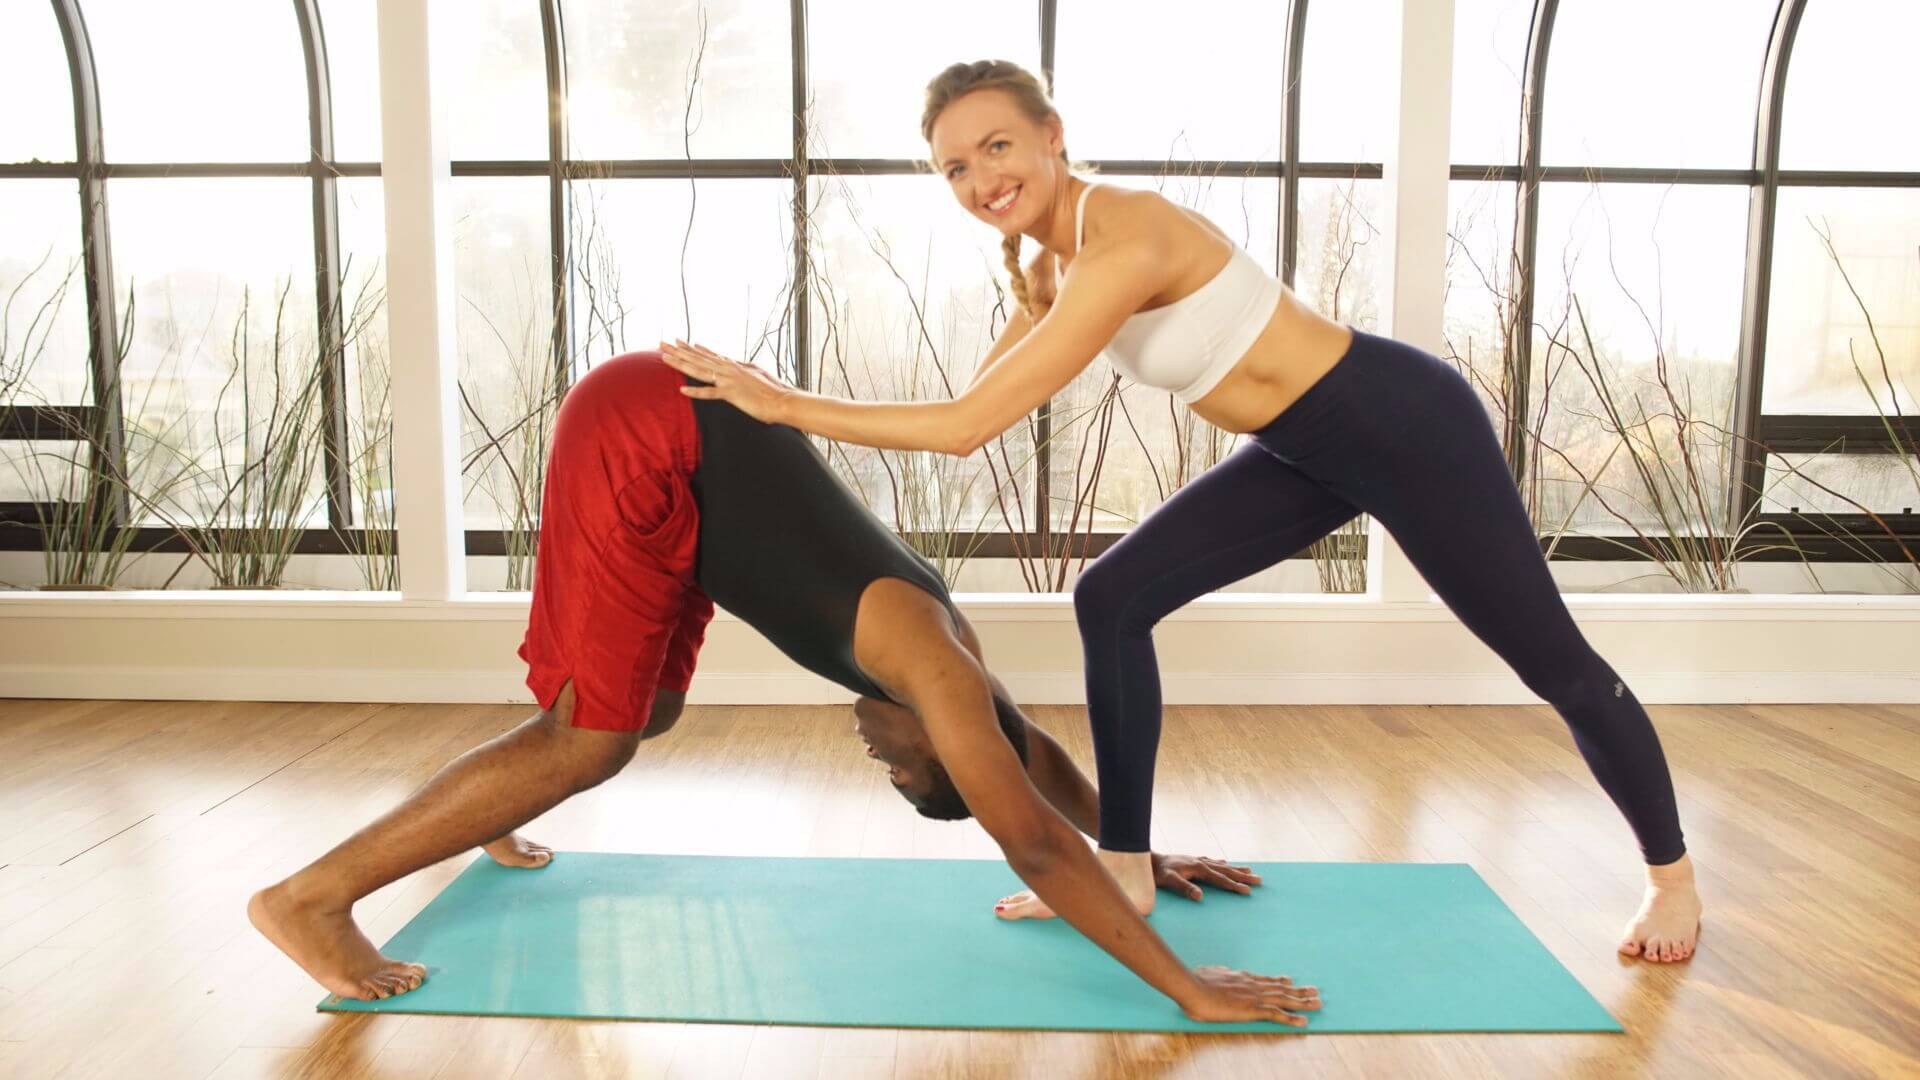
4. When you need to “put out a fire”
You see a student putting themselves into a shape their body looks like maybe it’s not supposed to make (it happens!). You try a verbal cue and demoing and they don’t respond (also happens!). A hands-on adjustment could be just the thing to help the student avoid potential harm when other types of cues aren’t landing.
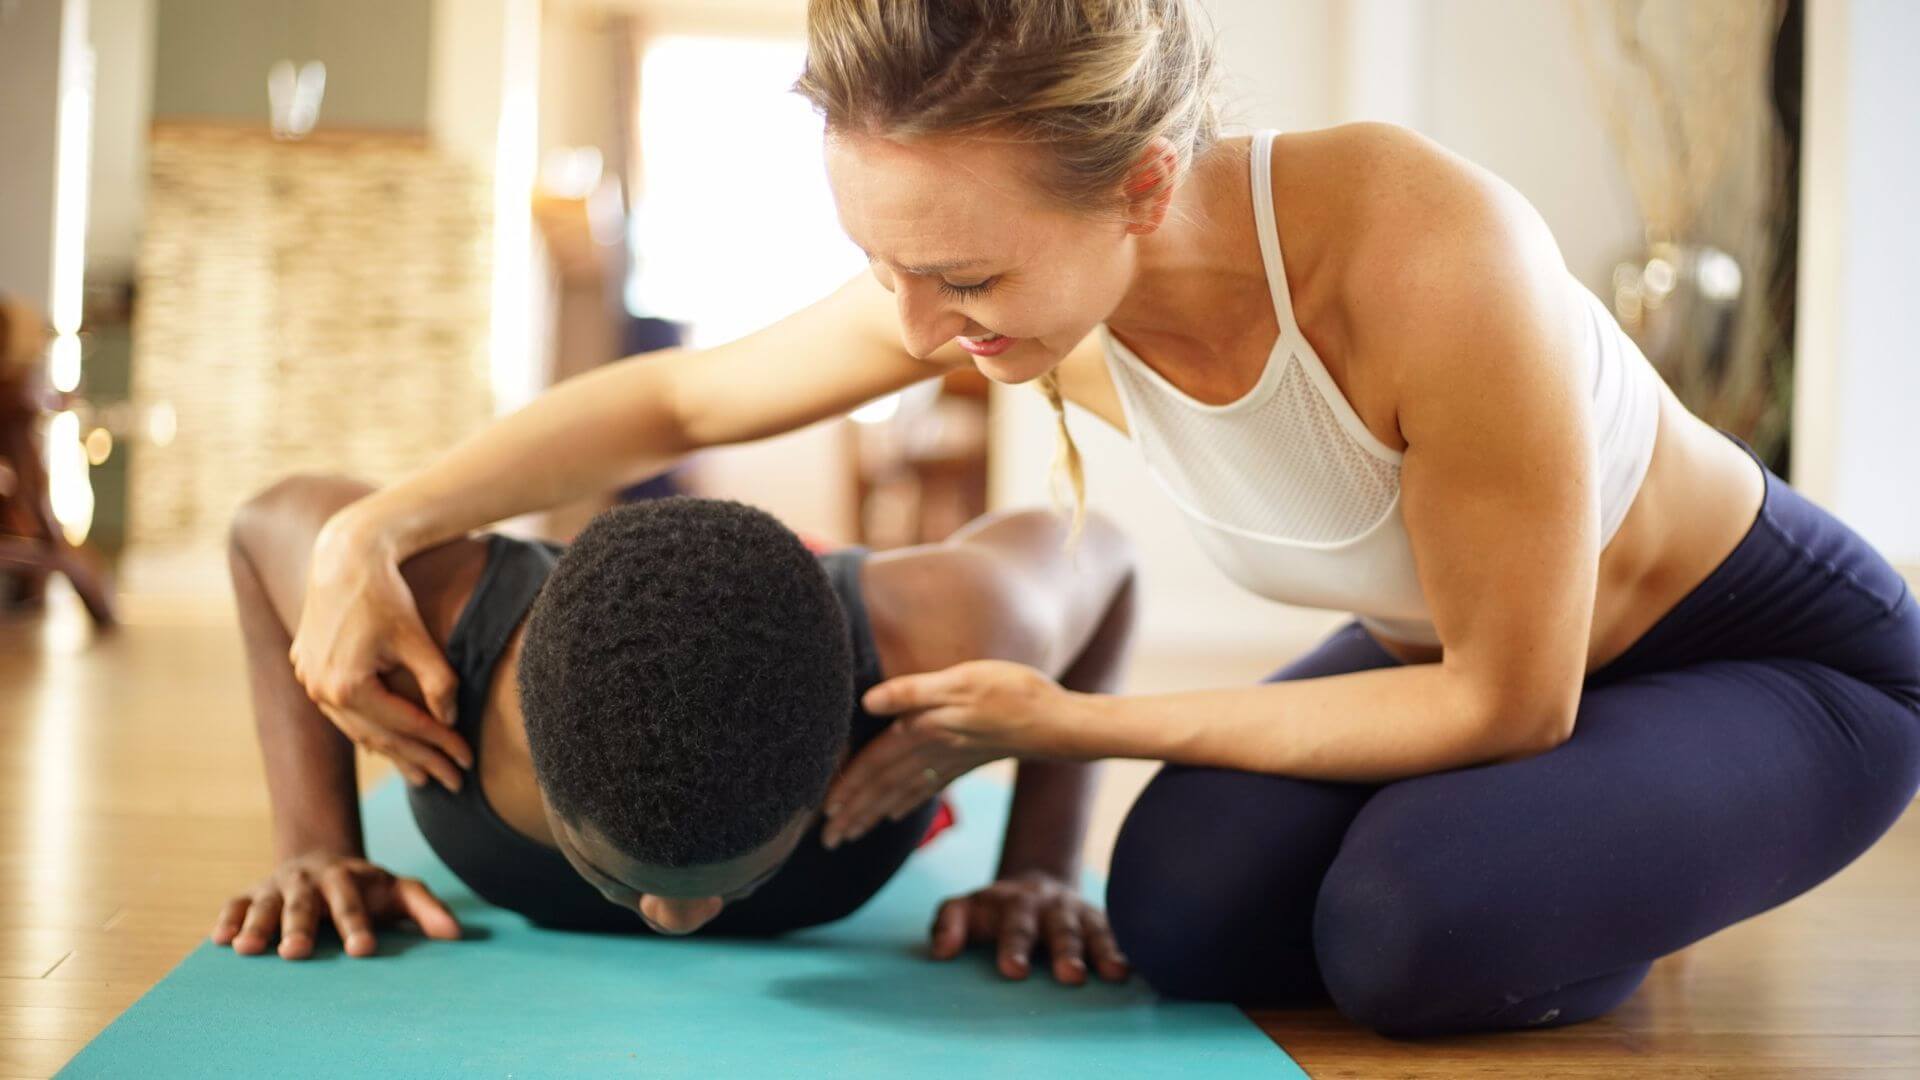
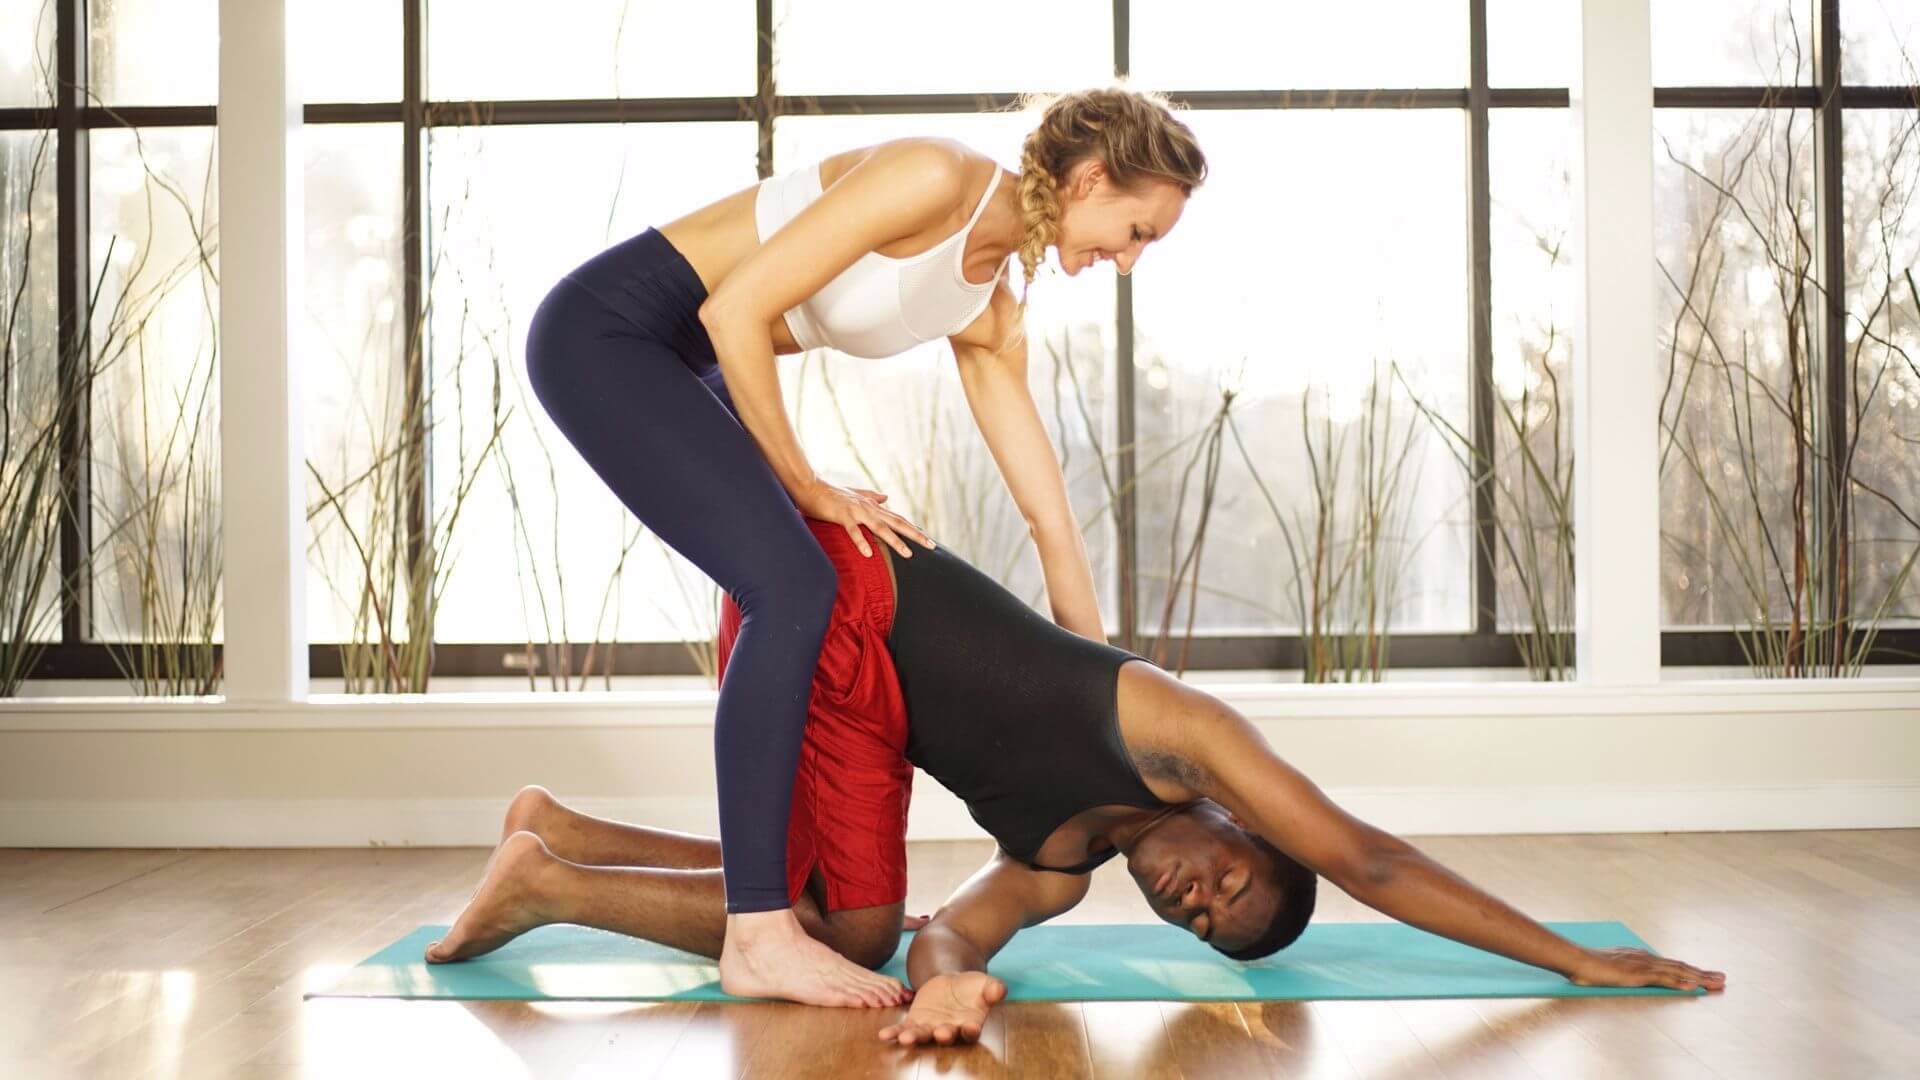
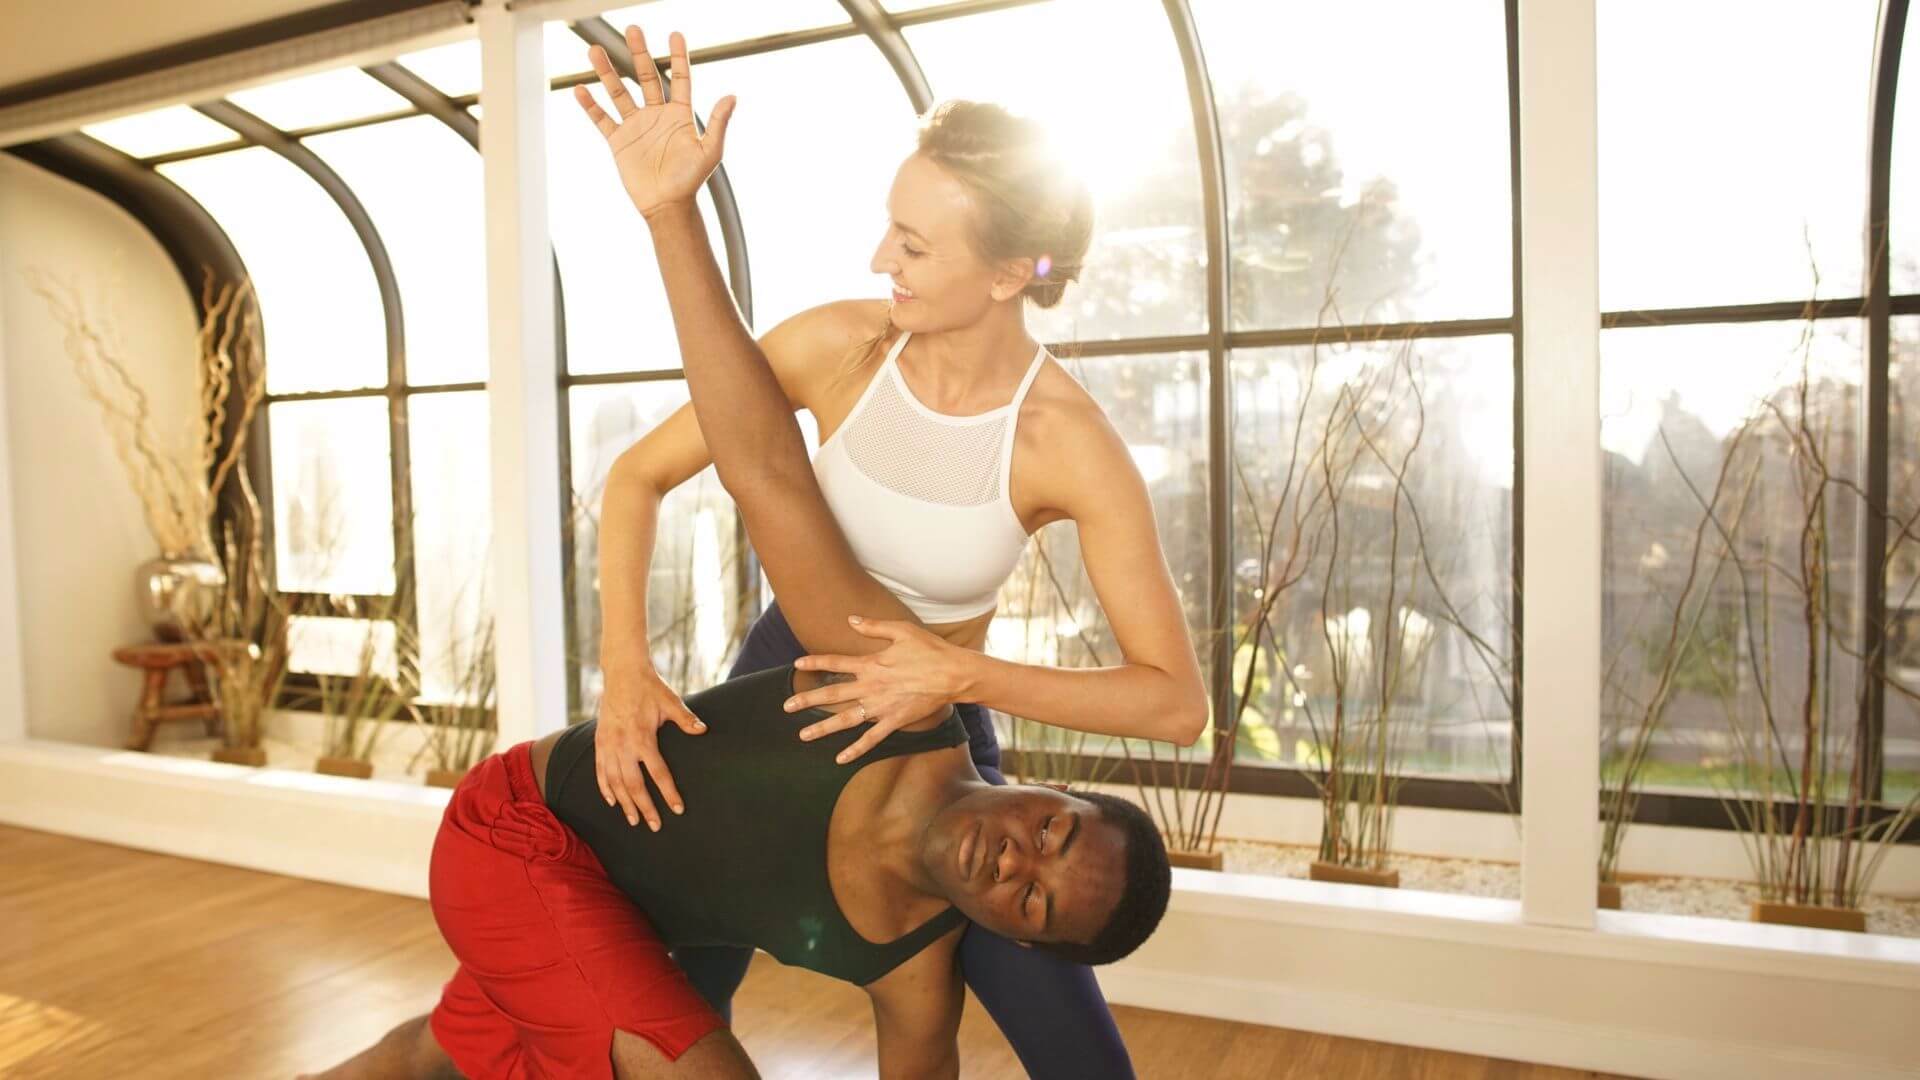
How To Do Hands-On Adjustments
1. Avoid the sneak attack
You’re in the zone and zenned out when out of nowhere someone touches you and you jump three feet out of your skin! Kinda ruins the zen moment, hey? Again, don’t be that teacher! If you have to approach your student from an angle where they might not see you (avoid this when possible), help your student know that you’re there. Talk and step louder as you approach, audibly rub your hands together before you touch them, or even ask permission saying quietly, “Is it okay if I assist you in this pose?” before doing the adjustment.
You might also like: 6 Steps to Negotiating a Pay Raise at Your Yoga Studio
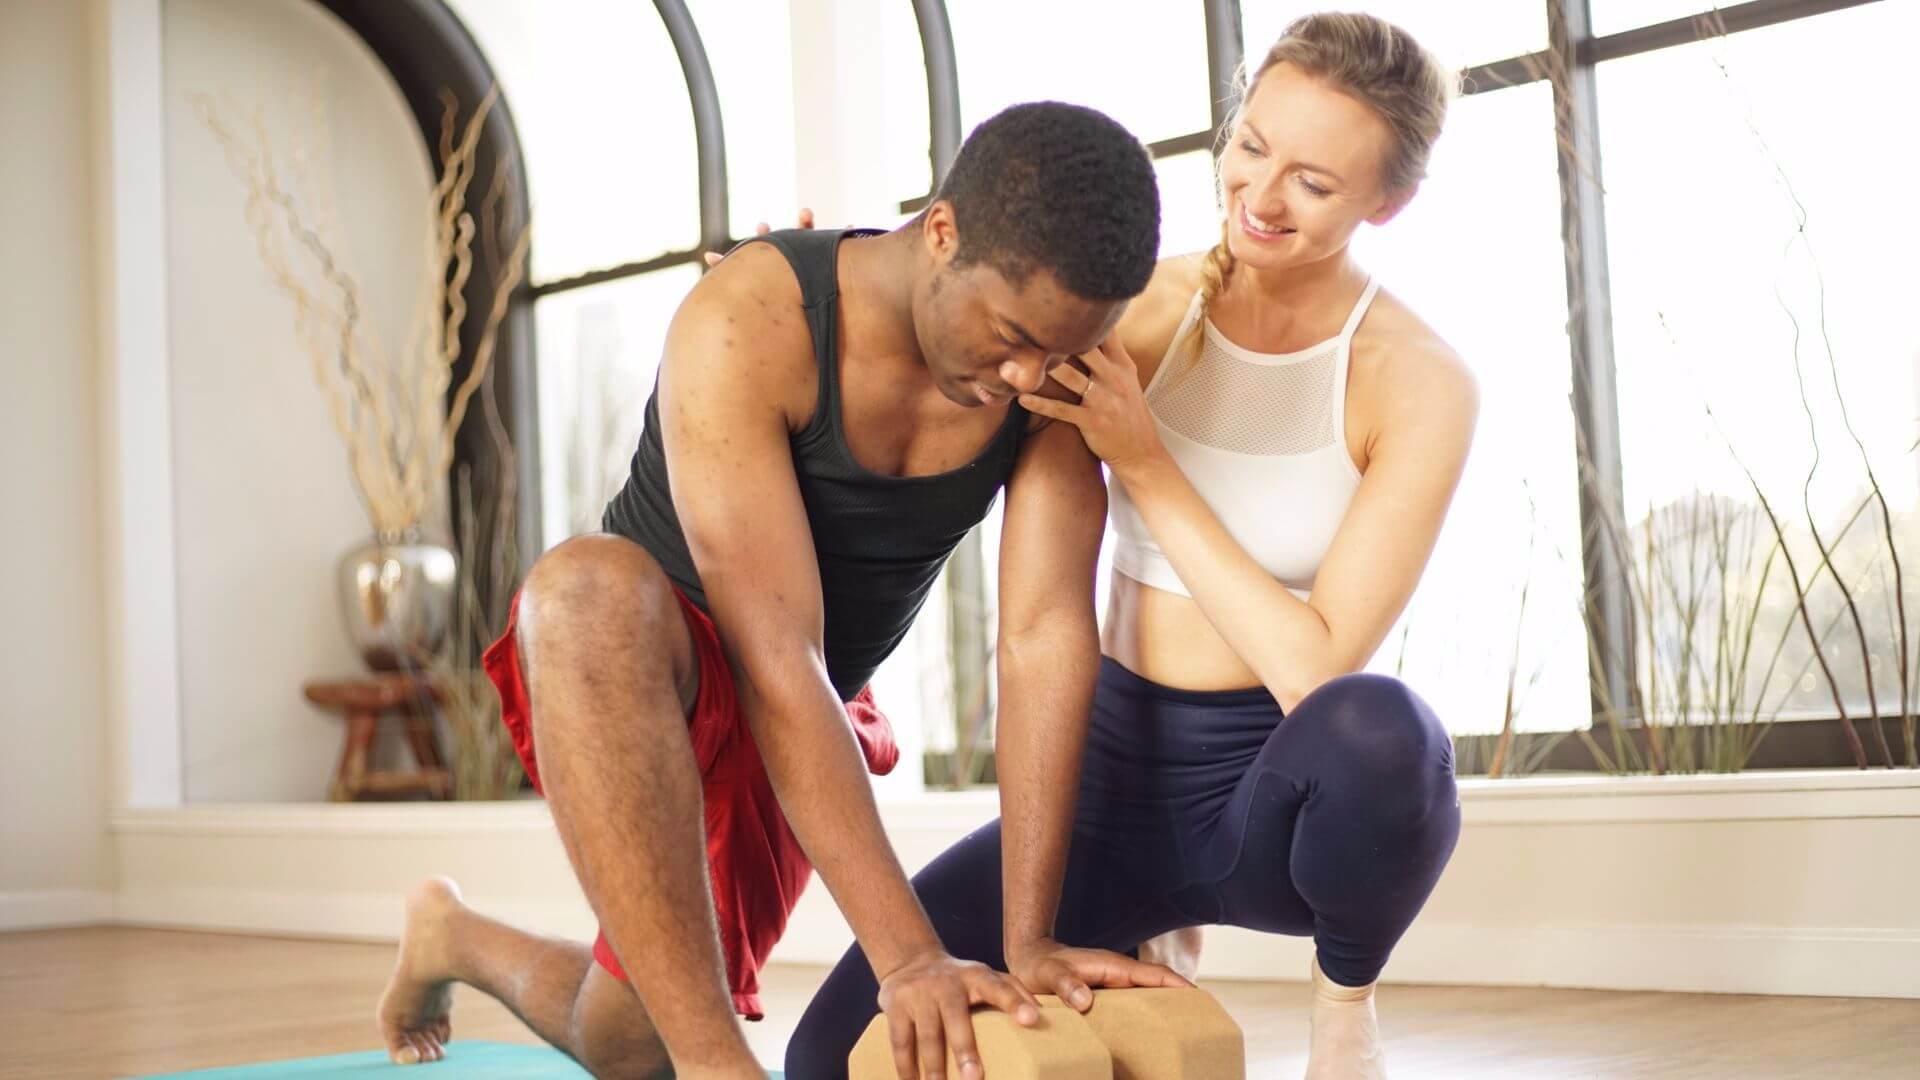
2. Maintain verbal communication
There are two great ways to create a connection during assists that makes students feel safer. First, get feedback on your assist while doing it by asking, “Would you like more or less pressure?” Second, you can help the student better understand and integrate the adjustment by making it clear how you want them to respond to your touch with a verbal cue. For example, you might say to them quietly: soften here, breathe here, or engage this so they get the point.
3. Use quality touch
This sounds vague but it’s totally actionable! It’s basically about being highly aware of how you enter into, stay in, and exit the adjustment. Enter slowly, starting with a lighter touch and making it increasingly more steady until you arrive at that perfect balance of soft and firm for the adjustment you’re doing (if you’re not sure what that amount is, ask!). Spread your pressure evenly throughout the area of your hands. During the assist, stay with the student as long as possible (while being mindful of the other students) as opposed to assisting quickly and running—you don’t want it to feel like a “drive-by assist”. Exit the assist slowly so the student can re-support themselves as necessary, i.e. regain their balance so they don’t fall over.
Just like all things, practice makes perfect.
And when in doubt, don’t hesitate to ask a student individually after class how your adjustment was for them.
After all, feedback makes us better. If you’re still feeling shy about this part of teaching, consider doing a training on hands-on adjustments as mastering this skill can help you serve your students even better!
YOU MIGHT ALSO LIKE
- What is Kriya Yoga? The Philosophy and Practice
- Uddiyana Bandha: Tapping Into Your Deep Core
- 4 Reasons Hasta Bandha Is Essential To Your Yoga Practice
- Vitarka Mudra: What It Is and How Do You Use It?
- Shakti Mudra: What It Is and How Do You Do It?
- Garuda Mudra: What It Is and How Do You Use It?
- Kali Mudra: What It Is and How Do You Do It?
- Shunya Mudra: What It Is and How Do You Do It?
- Varuna Mudra: What It Is and How Do You Use It?
- Vayu Mudra: What It Is and How Do You Use It?
- Samana Vayu: The Energy of Balance & How to Access It
- Apana Vayu: The Energy of Release & Surrender
- Udana Vayu: The Ascending Wind
- Prana Vayu: The Breath of Vitality
- Vyana Vayu: The Energetic Secret to Flow
Sneak Peak into My 300-Hour YTT - FREE Videos, Info Session, Bonuses!