People don’t often connect yoga with running. But start stretching for a few days just before stepping out for a run, or after, and you will see why yoga and running are meant to be together.
I come across many runners who are recovering from a pulled hamstring or a twisted ankle, or just the act of running itself.
Maybe the reason why runners often injure themselves or need a “recovery period” is that running aggravates the existing imbalances in the body.
Incorporating yoga into your fitness routine can truly transform the way your mind and body react to running. It’s amazing how a little bit of stretching can improve your strength, flexibility, breath control, balance, and posture.
If you want to try a 40-minute yoga routine for runners, then check out my Yoga For Runners class on YouTube.
Otherwise, here are 7 yoga poses for runners that you can do at home.
1. Downward Facing Dog (Adho Mukha Svanasana)
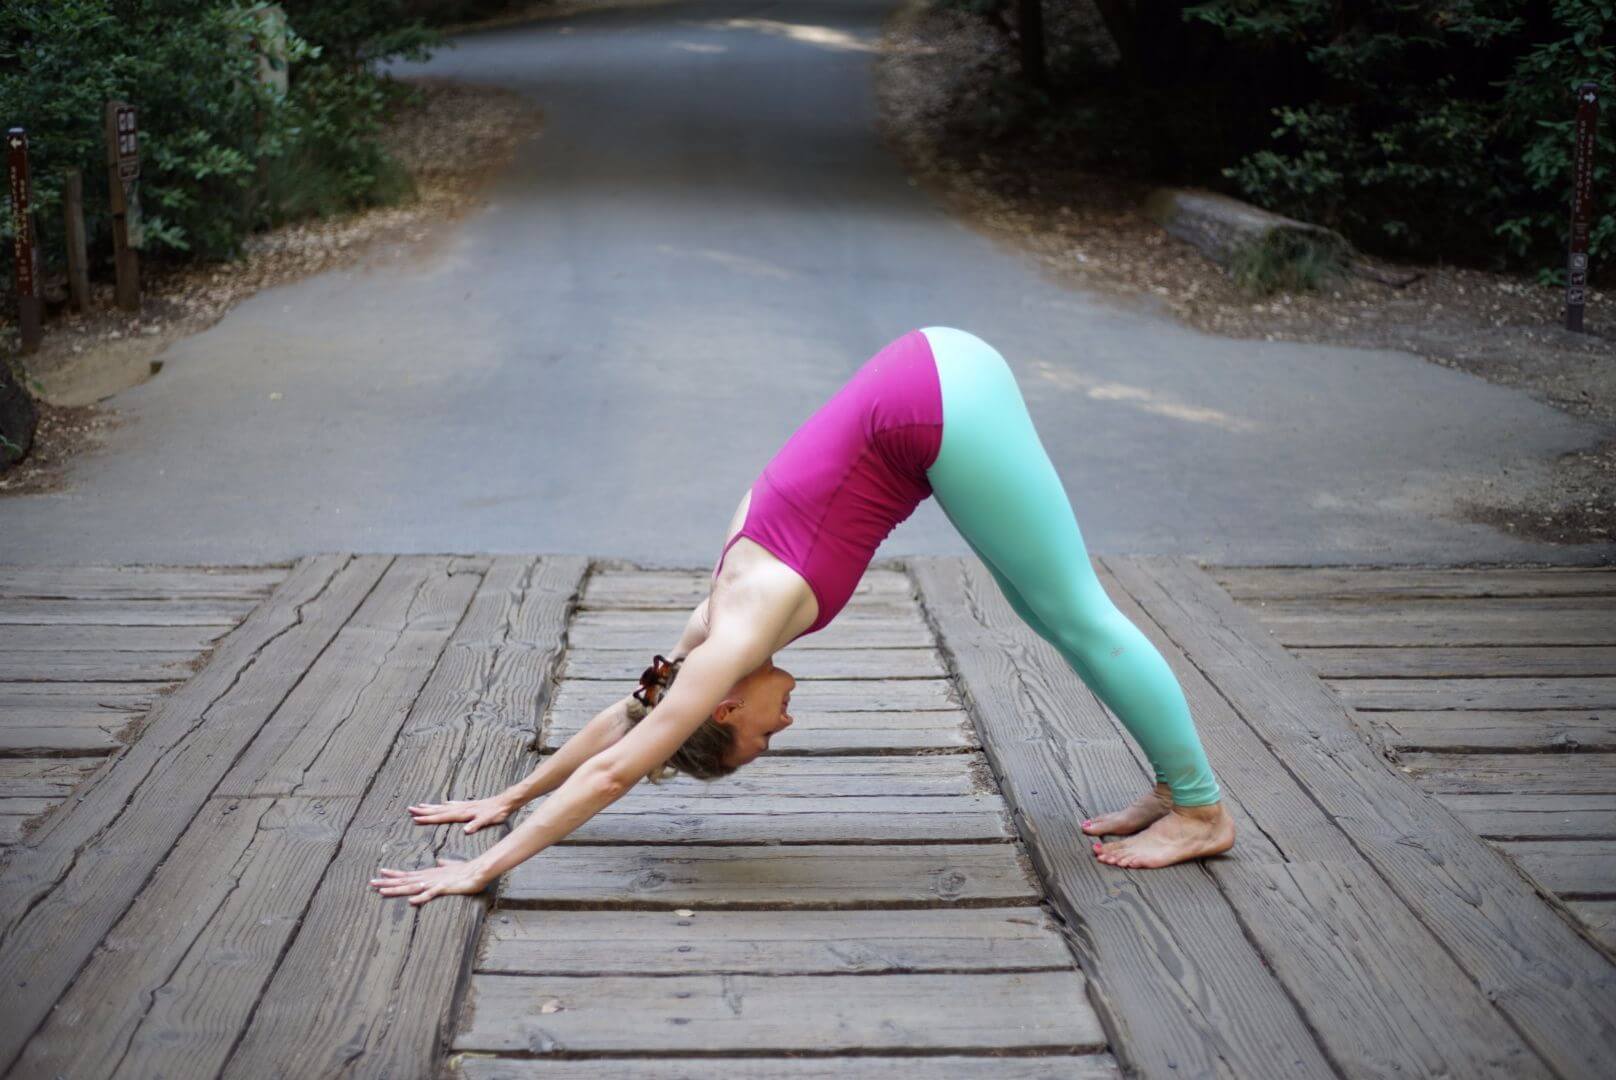
How it’s done:
- Begin on your hands and knees, with the knees stacked directly under the hips and hands forward of your shoulders. Draw your lower abs up and in, curl your toes under.
- Spread your palms, focus the pressure on your knuckles. With the first inhalation, lift your sitting bones toward the ceiling, lengthen legs and press thighs and ankles up and back.
- Place your feet hip-width apart, heels yearn back and down. At this stage, your thighs are in neutral rotation and your muscles engaged. Keeping your pelvis neutral, draw your pubic bone and tailbone up and back. Draw your abdominal muscles back and in, creating an even length in the front, sides and the back of the torso.
- Distribute your weight evenly across knuckles and hands. Rotate your forearms internally as your upper arms rotate externally so that your elbow creases face your thumbs. Keep your ears in line with your biceps, jaws relaxed and breath steady.
- Come out of the pose on an exhalation by lowering the knees and resting in the Child’s Pose (Balasana)
What it does:
- Calms the mind and relieves stress
- Strengthens the shoulders and arms
- Elongates the spine and torso
- Relaxes hamstrings
- Stretches the calf muscles and lower back
2. Bow Pose (Dhanurasana)
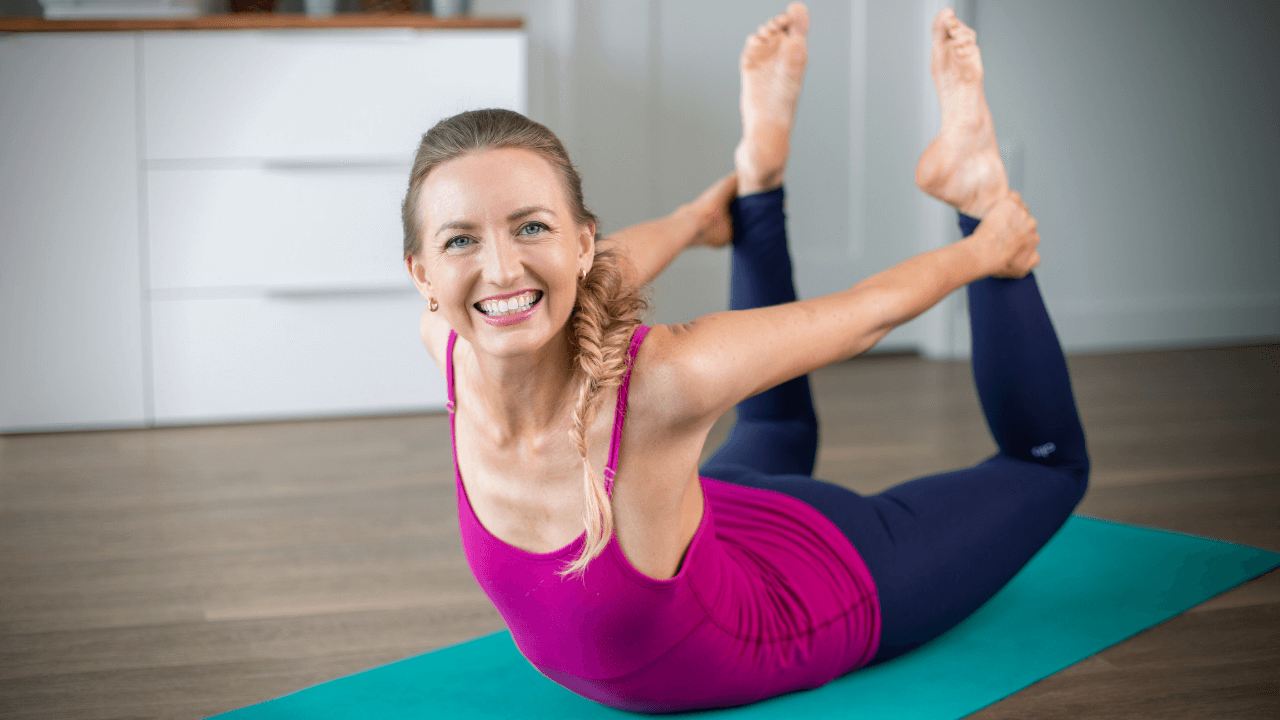
How it’s done:
- Begin in the prone pose (by lying down on your belly) on the yoga mat. Place a blanket under your hips and lower abdomen for better balance. Rest your forehead on the mat, arms by your side, palms up, legs stretched long, feet facing outward. With the first exhalation, bend your knees and pull your heels towards your buttocks. Stretch your arms backwards and take hold of the outside of your ankles. Curl your toes inwards.
- Draw your shoulder blades slightly toward your spine and pull them back again, away from your ears. Make sure your knees are hip-width apart. Keep your buttocks firm but not clenched.
- With the next inhalation, lift your thighs and torso away from the mat, moving your heels away from the buttocks. Draw your lower abs up and in, lengthening the sides of your waist evenly from the hips to the ribcage. Move your shoulders away from the ears as your chest broadens.
- Position your gaze forward or slightly down; relax your jaw. Breathe steadily as you soften the top of your shoulders away from the ears. Lift your inner thighs slightly as the outer thighs roll down, all the while keeping your knees hip-width apart.
- Come out of the pose on an exhalation by releasing down and relaxing your body back to the prone position.
What it does:
- Improves breath control
- Boosts energy and stamina levels
- Expands the chest and shoulders
- Strengthens all major muscles in the back
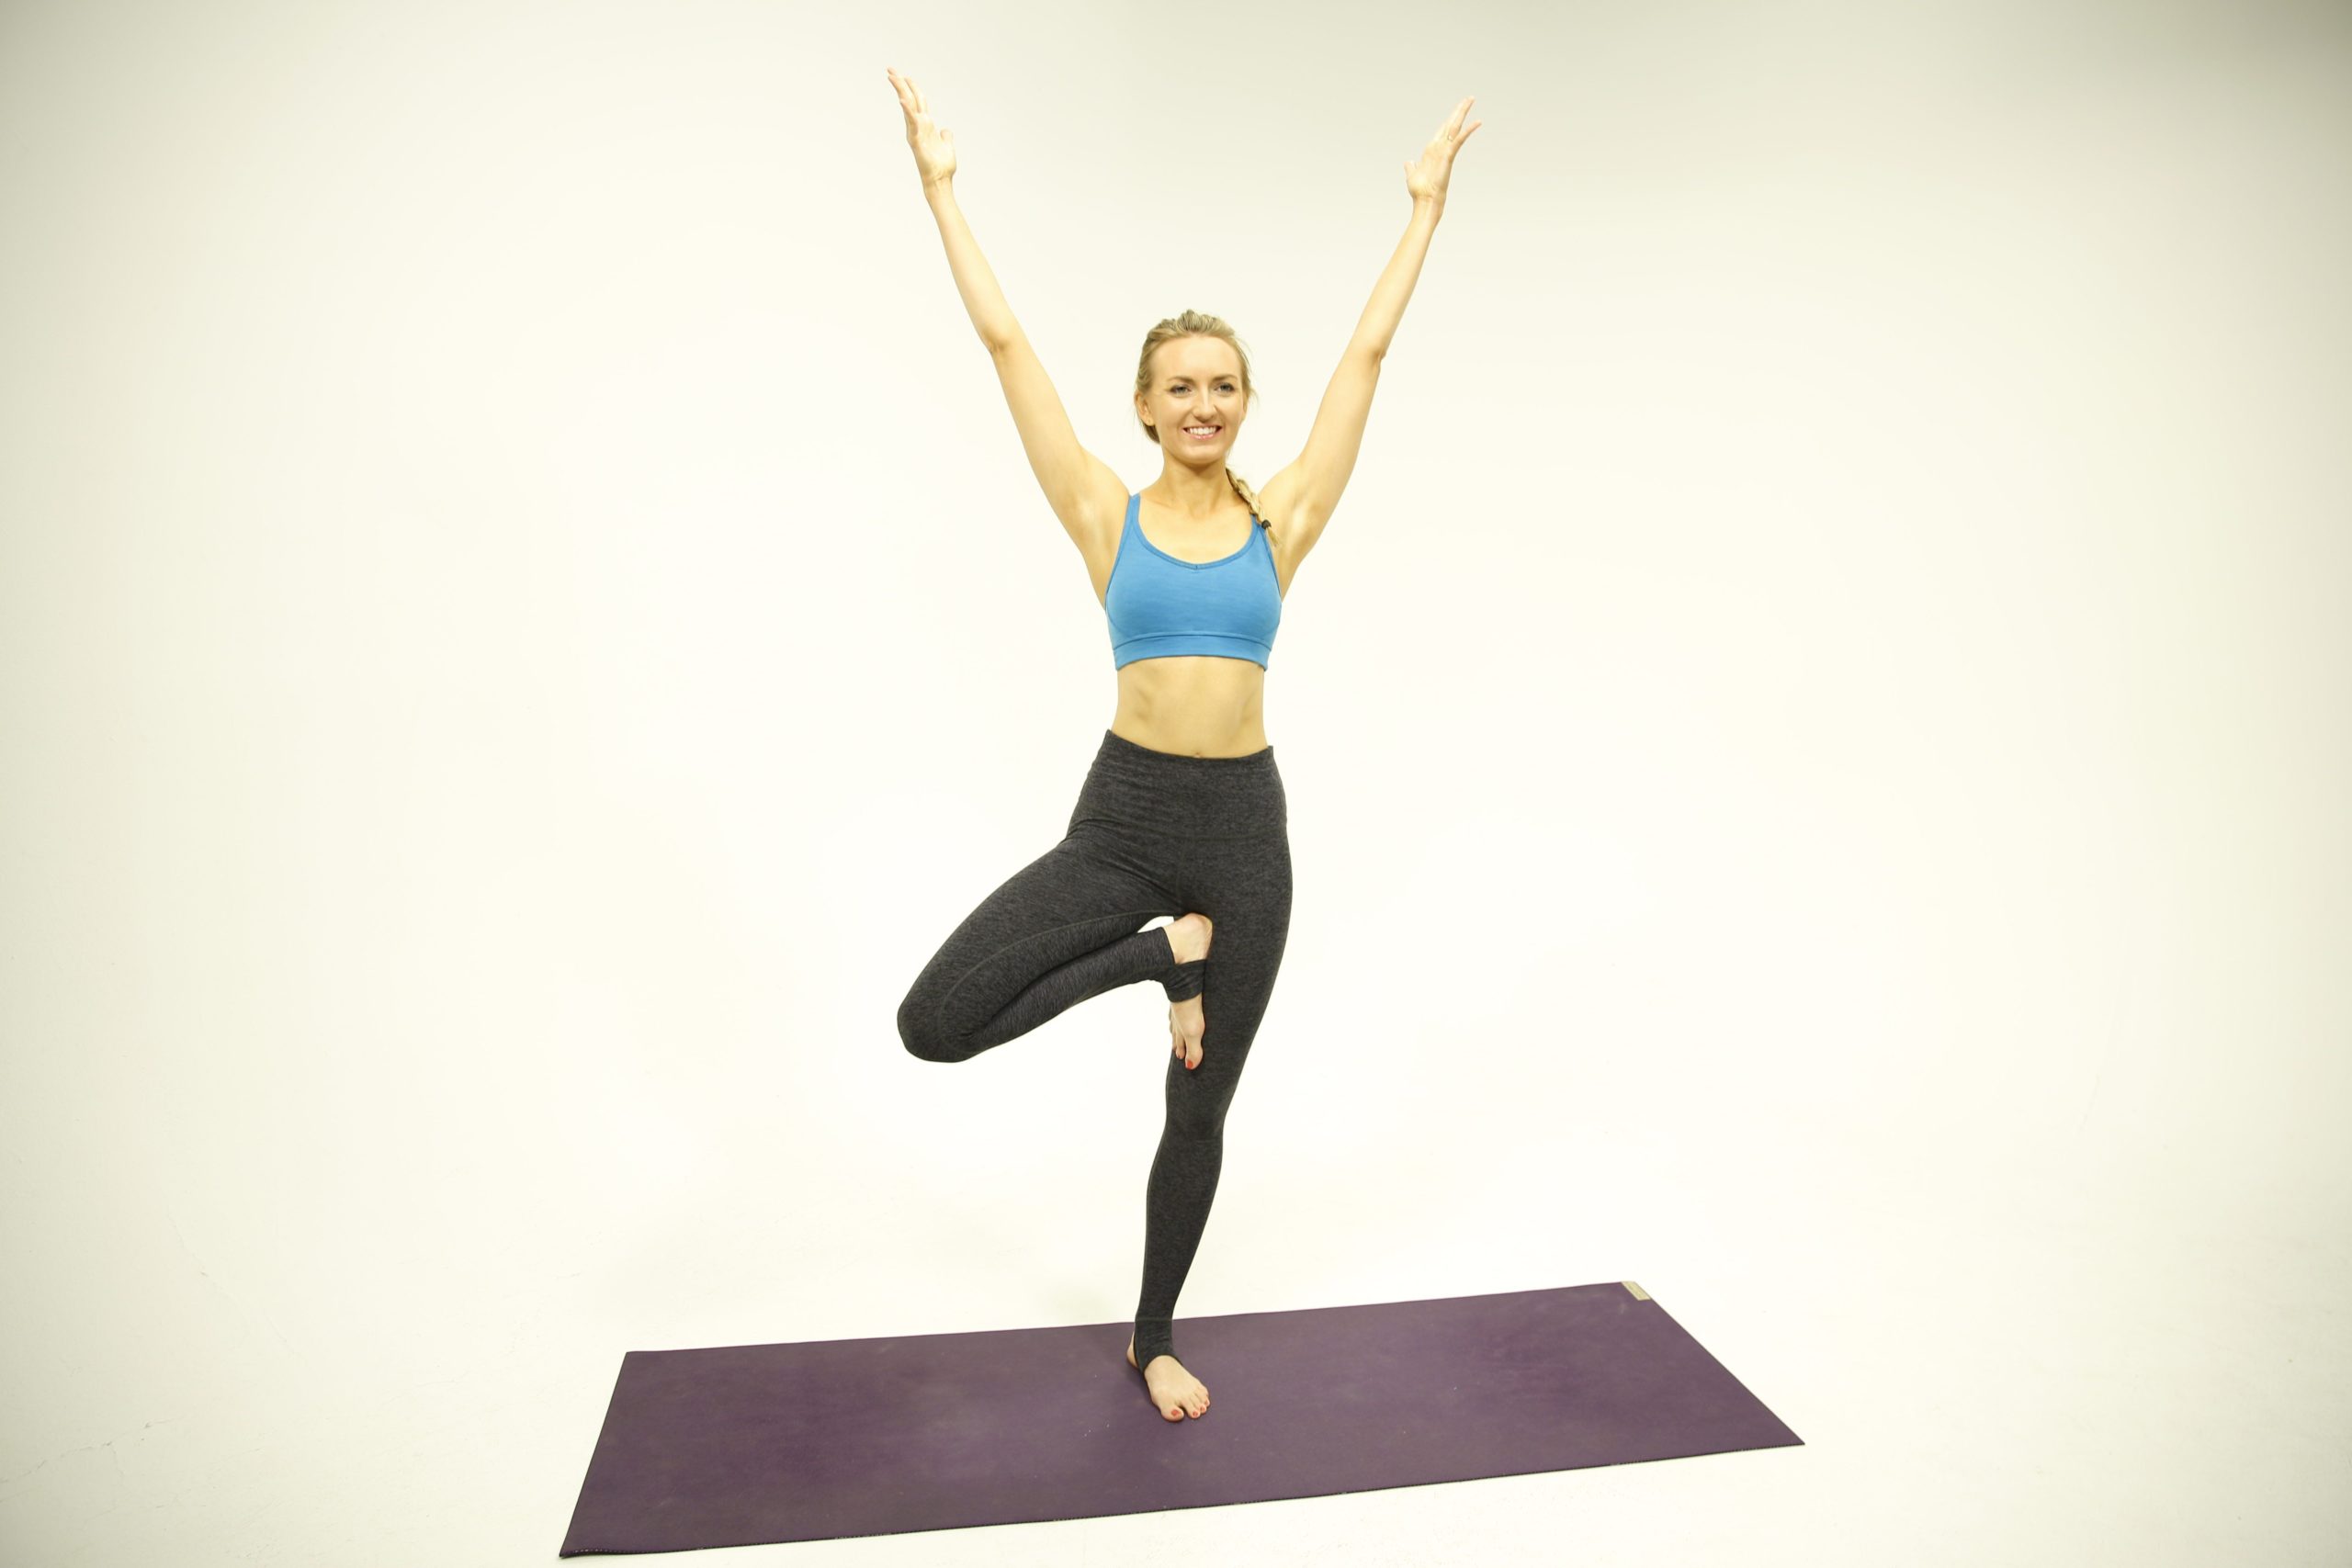
3. Mountain Pose (Tadasana)
How it’s done:
- Start with a comfortable standing position. Keep your breath steady and legs, abdominal muscles, and arms engaged. Soften the tips of your shoulders away from the ears. Keeping your eyes closed, take a few deep breaths to be fully aware of your body.
- Place your feet hip-width apart, the inside edges parallel. Ground your feet, maintaining space between the toes. Make sure your weight is evenly distributed across all four corners of both feet. Ensure that your thighs are in a neutral position—the center seams of the thighs should point directly forward.
- Engage the thigh muscles by slightly lifting your knee caps, drawing your inner thighs towards each other. Level your hips so they point forward. Firm your lower abs in and up, knitting your ribs, thus elongating the front, back, and sides of your torso.
- Gently rotate your arms externally, palms facing forward. Keeping your arms straight, gently converge your shoulders towards each other and away. Ensure that your arms and hands are energized, fingers spread and shoulders stacked over the hips.
- With your shoulders stacked over the hips, bring your arms slightly forward and up over your head with an inhalation. Energize your hands and arms by stretching them straight overhead and spreading your fingers.
What it does:
- Grounds the body
- Improves breath control and focus
- Rewinds body to the anatomical neutral
- Aligns posture
- Tones the lower abdominal muscles
- Strengthens the muscles in ankles and feet
Do you have tight hips? Try my 30-second quiz to find out if you have tight hips!
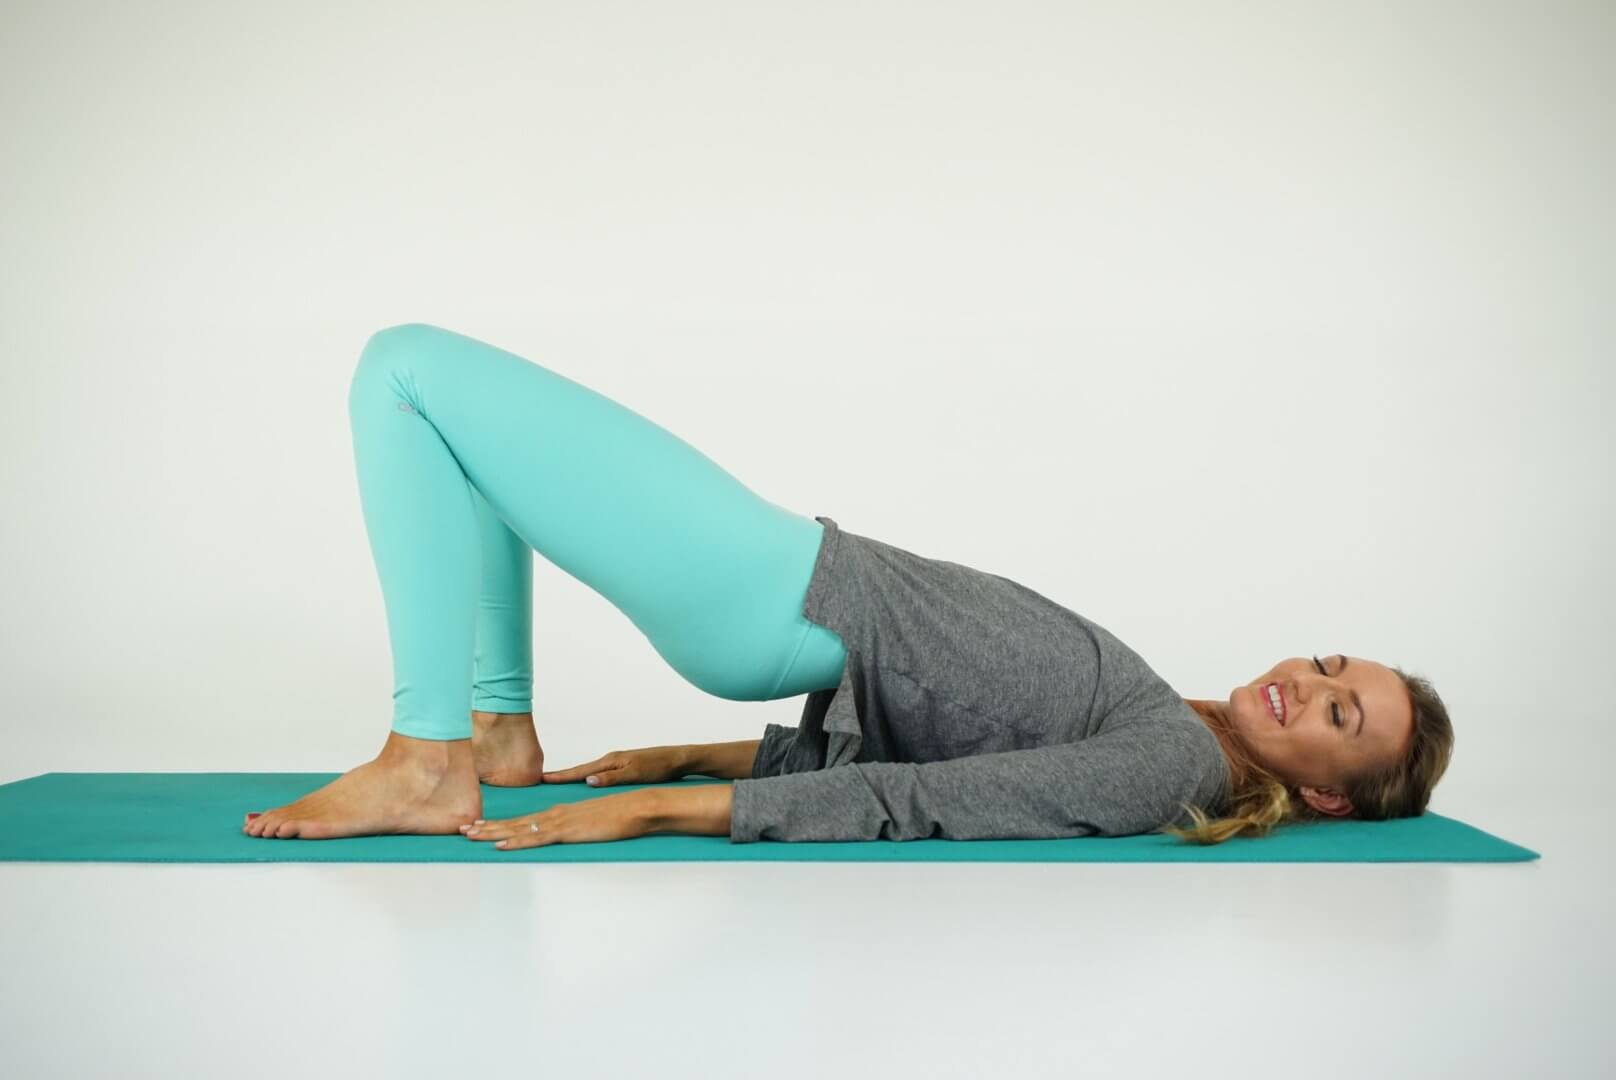
4. Bridge Pose (Setu Bandha Sarvangasana)
How it’s done:
- Begin by lying down on your back, knees bent and feet flat on the mat. Try to bring your feet parallel to each other and towards the seating, at hip-width apart. Make sure that the feet, ankles, and knees are aligned. Stretch your arms by your side, palms down, pointing towards your feet. Keep your chest spread and shoulders firm and down.
- On the next inhalation, press through your feet and raise your hips. Keep your buttocks and inner thighs firm (not clenched). When doing this, your lower abs will firm in and up, and the sides of your waist will lengthen evenly from the ribcage to the hips.
- Draw your inner thighs towards each other, lengthening your tailbone towards the heels and pulling your pubic bone forward. Broaden your chest as the shoulder blades draw in and down. Rotate your arms externally with your fingers spread wide.
- Press your shoulders, arms, and hands firmly into the mat, lifting and spreading through the chest. Relax your throat and jaw, and keep your breath steady.
- Come out of the pose on an exhalation by gently lowering your back down onto the mat. Rest your feet mat-width apart and relax your arms and knees.
What it does:
- Aligns the spine and hips
- Stretches out the hip flexors
- Stabilizes gluteal muscles
- Lengthens core muscles
- Fortifies the entire body
- Stimulates the nervous system
You might also like: Yoga For Migraines: 7 Yoga Poses That Will Ease Tension