I know what you’re thinking. The words ‘handstand’ and ‘easy’ don’t belong together in the same sentence.
Handstand is an advanced yoga posture that takes time and practice to master. It can seem daunting at first, but breaking it down into steps can make it more manageable.
There are a lot of different elements to a handstand. Mastering it takes a combination of balance, strength, body awareness and concentration. If you work a little bit in each of these areas, you will find inversions to be not as scary.
You might even want to try using different yoga props to help get you started.
Begin by choosing yoga postures to build strength in your core, shoulders and wrists before going upside down. These are some basic, yet effective poses for strength building.
You might also like: A Slow, Sweet Hatha Yoga Sequence for Beginners [+VIDEO]
4 Yoga Poses to Prep for Handstand
1. High Plank pose (Uttihita Chaturanga Dandasana)
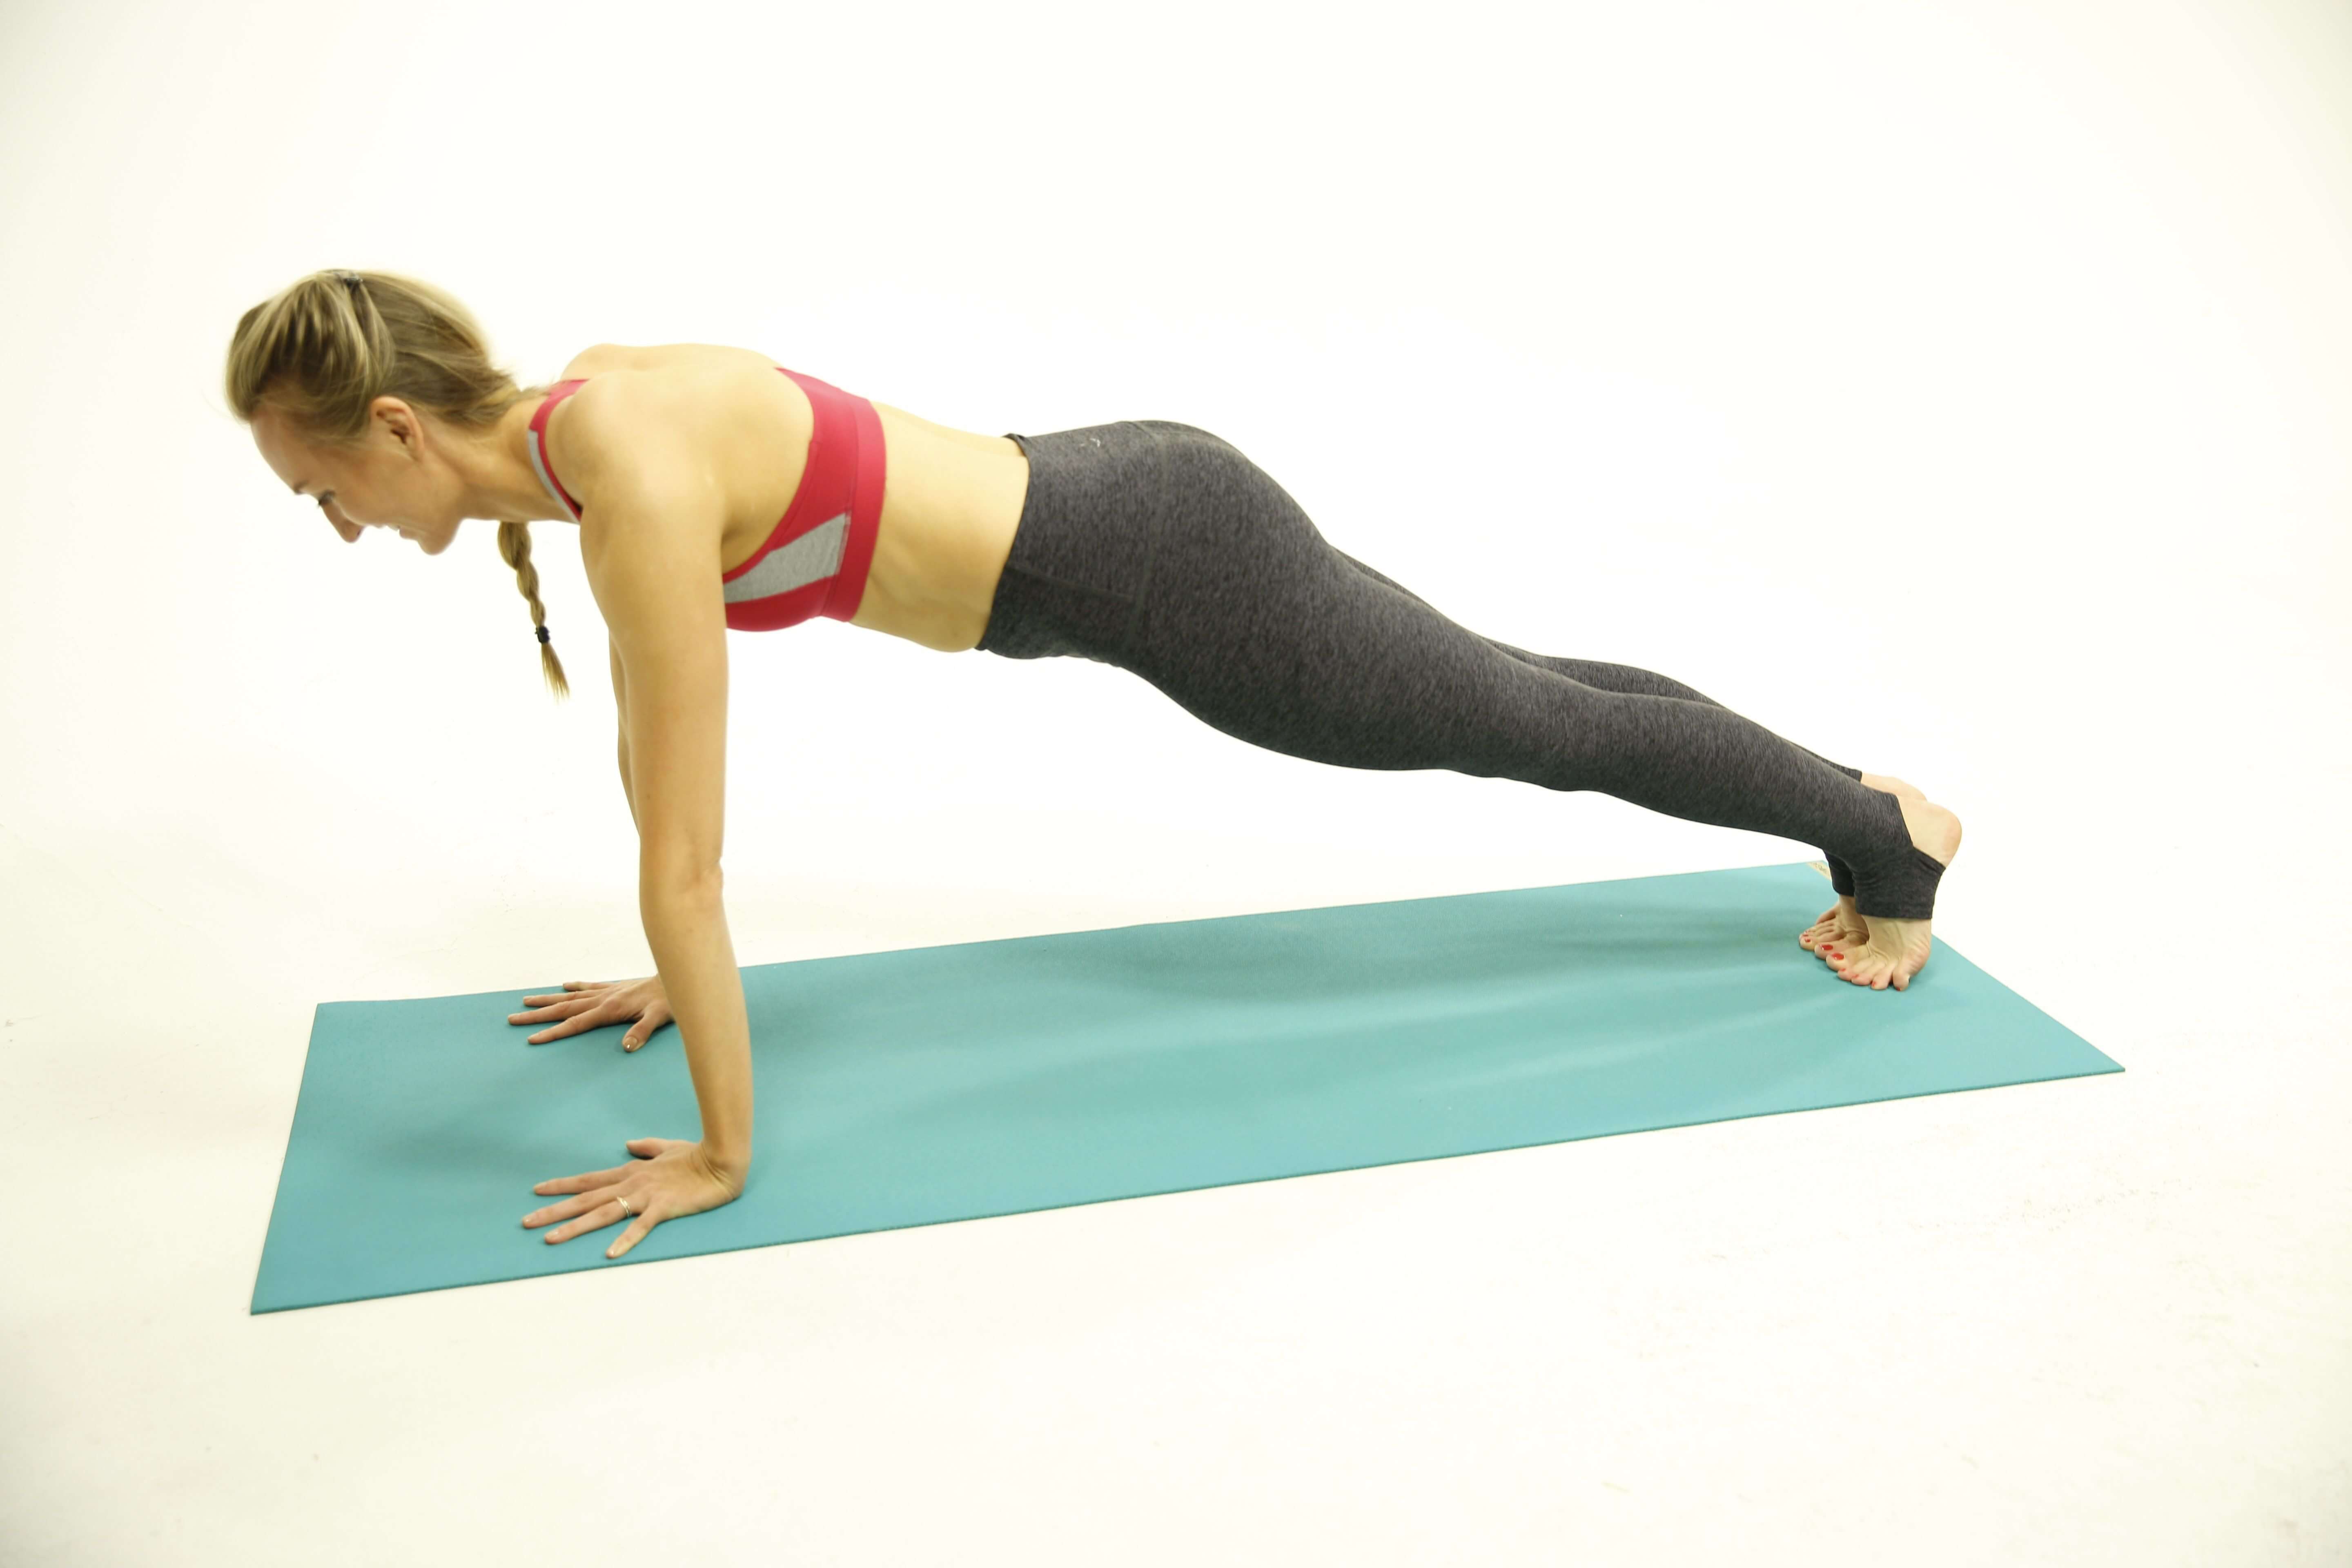
There’s nothing better than a good old plank for some full-body strengthening. Plank pose engages your entire body, from your arms to your core. It works all of the muscles needed to execute a successful handstand. Even the wrists!
And it’s especially helpful in improving your Chaturanga Dandasana.
Plant your hands firmly into the ground and think of the ground pushing you up. Keep your whole body active, even the legs. Hold for 30 – 45 seconds and try to keep your breath slow and even.
Holding plank will not only strengthen your muscles, but you’ll be improving your focus and body awareness, both of which are vital to a successful handstand.
2. Downward Facing Dog (Adho Mukha Svanasana)
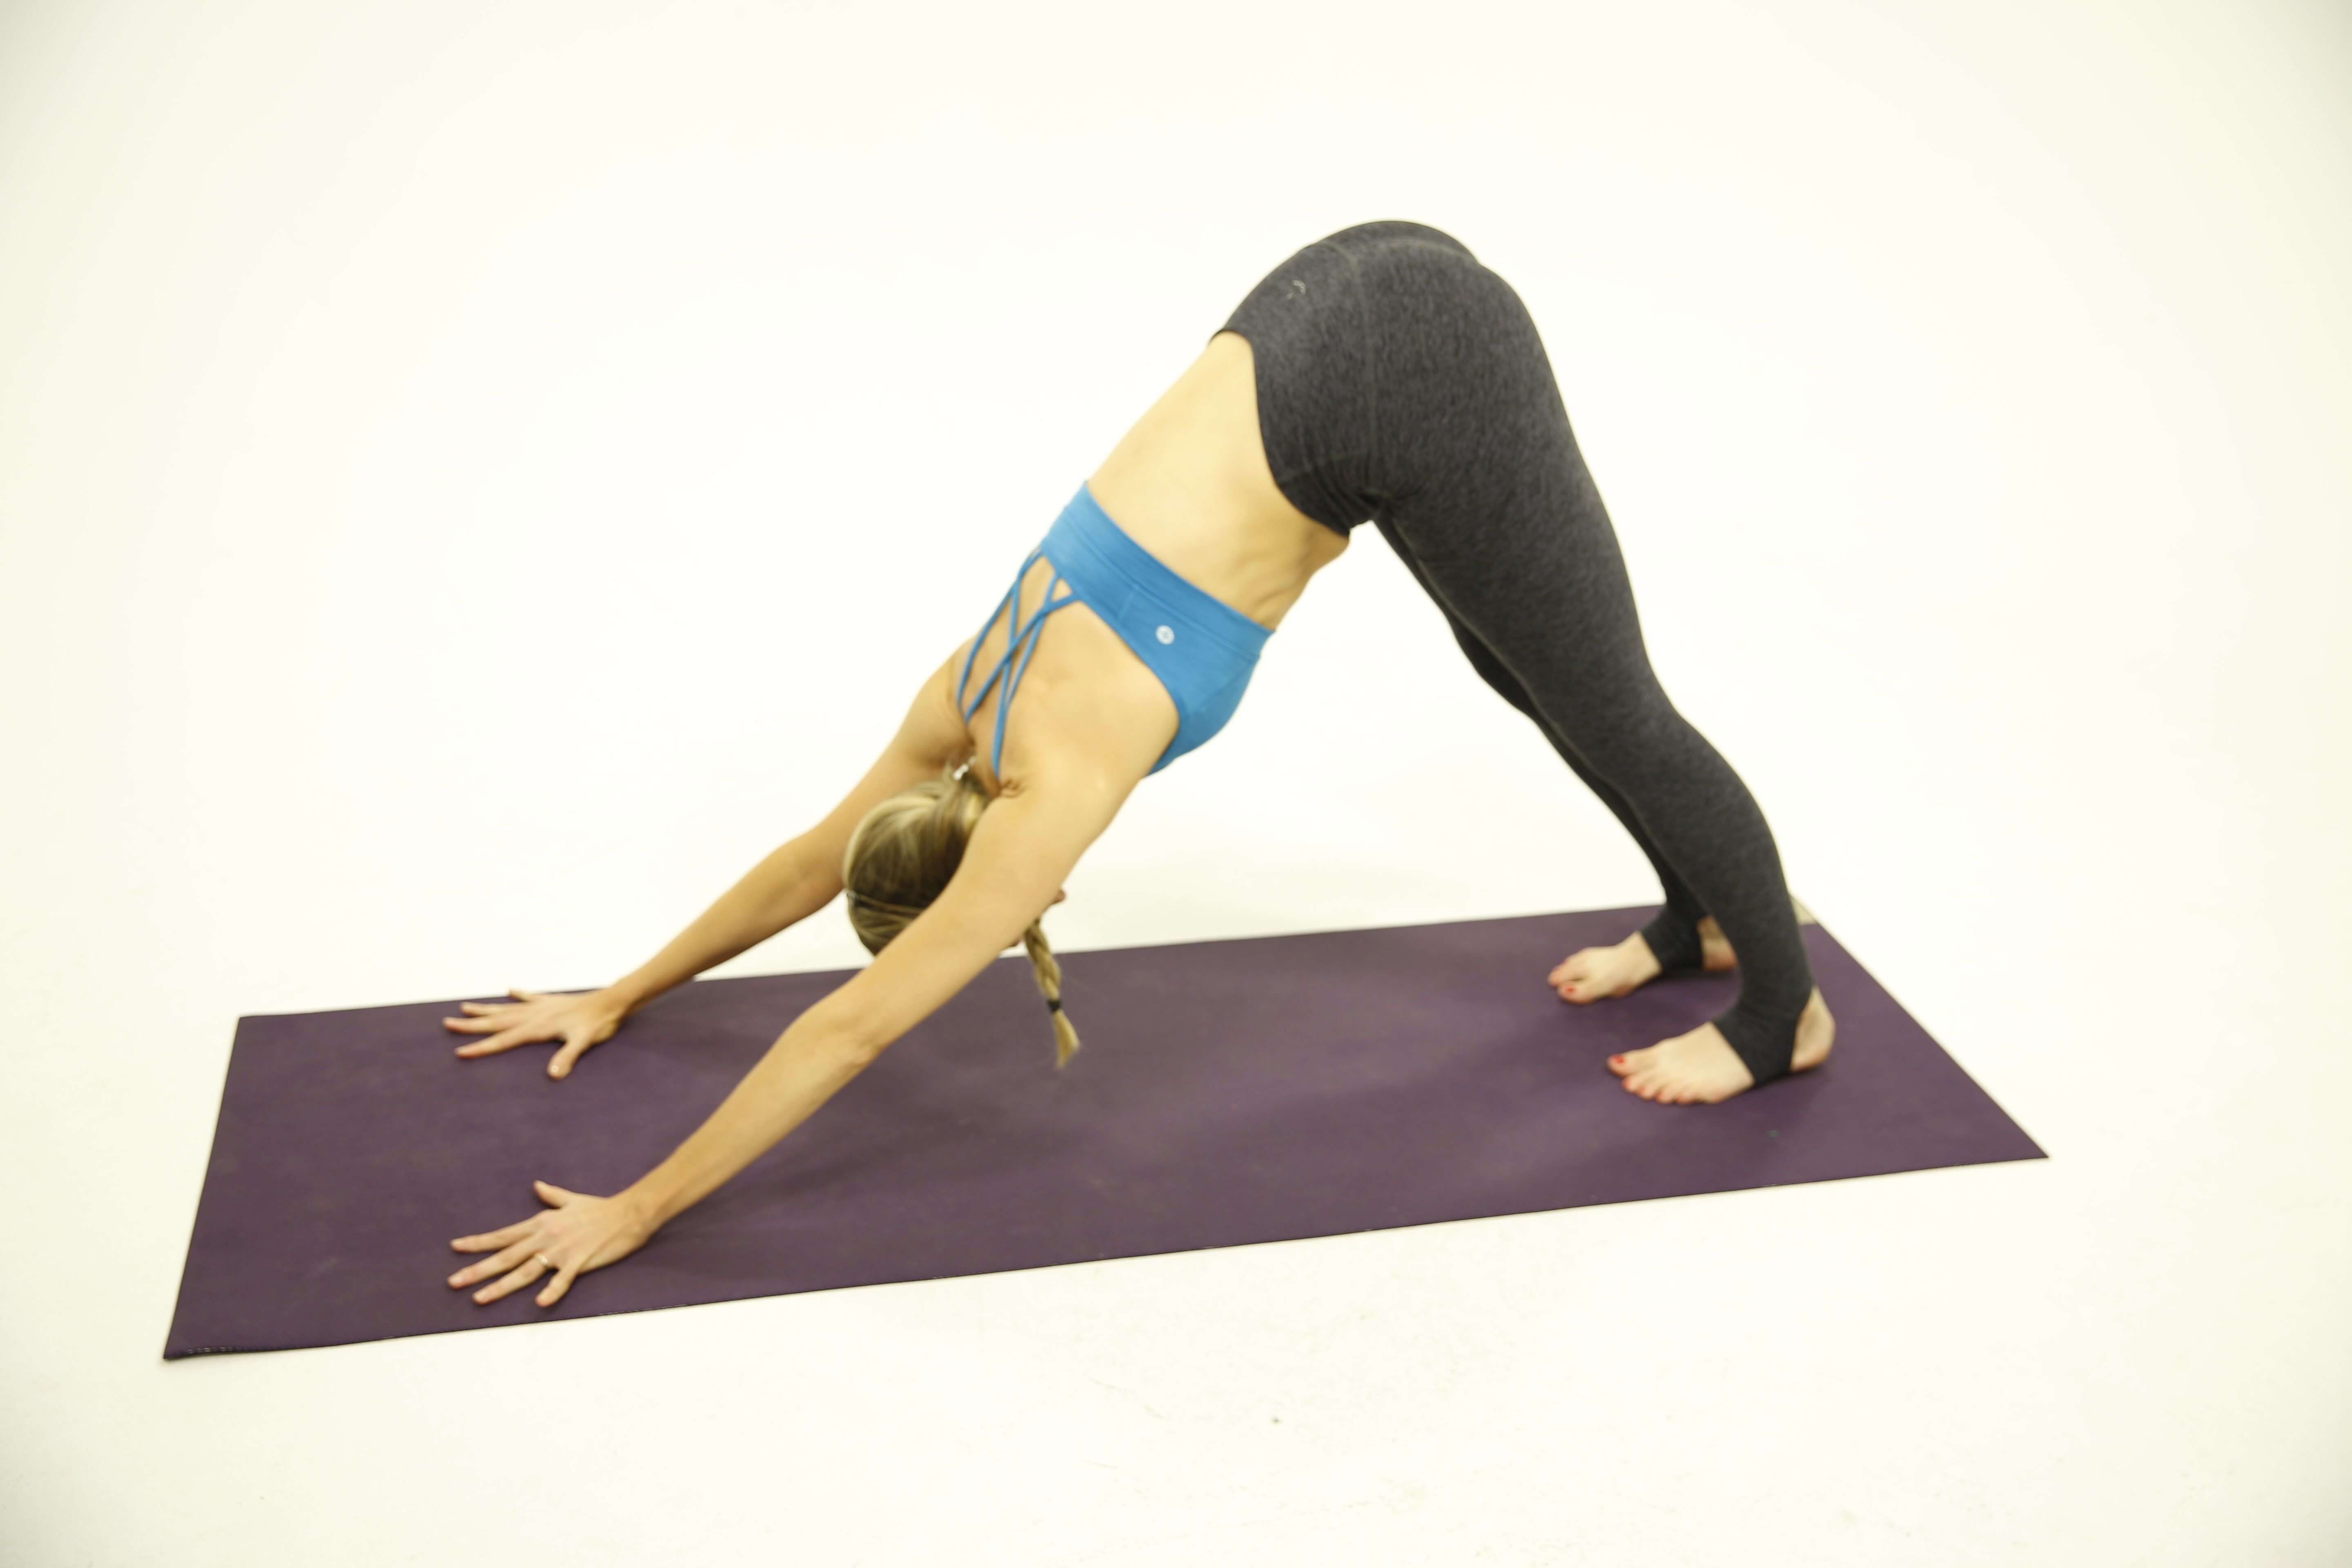
This familiar pose is done in nearly every class. It just so happens to be the perfect pose to prepare for handstand.
Root down through your hands and feet, activating hasta bandha and pada bandha. Try to distribute your weight evenly. Keep your spine long by reaching your tailbone up to the sky. Broaden through the chest and roll the shoulders open.
Down dog is considered an active resting pose. Since it’s not as active as plank, you can focus on holding the position for longer periods. The longer holds will increase your arm and shoulder strength while giving you a feel for what it’s like to be upside down.
3. Boat pose (Navasana)
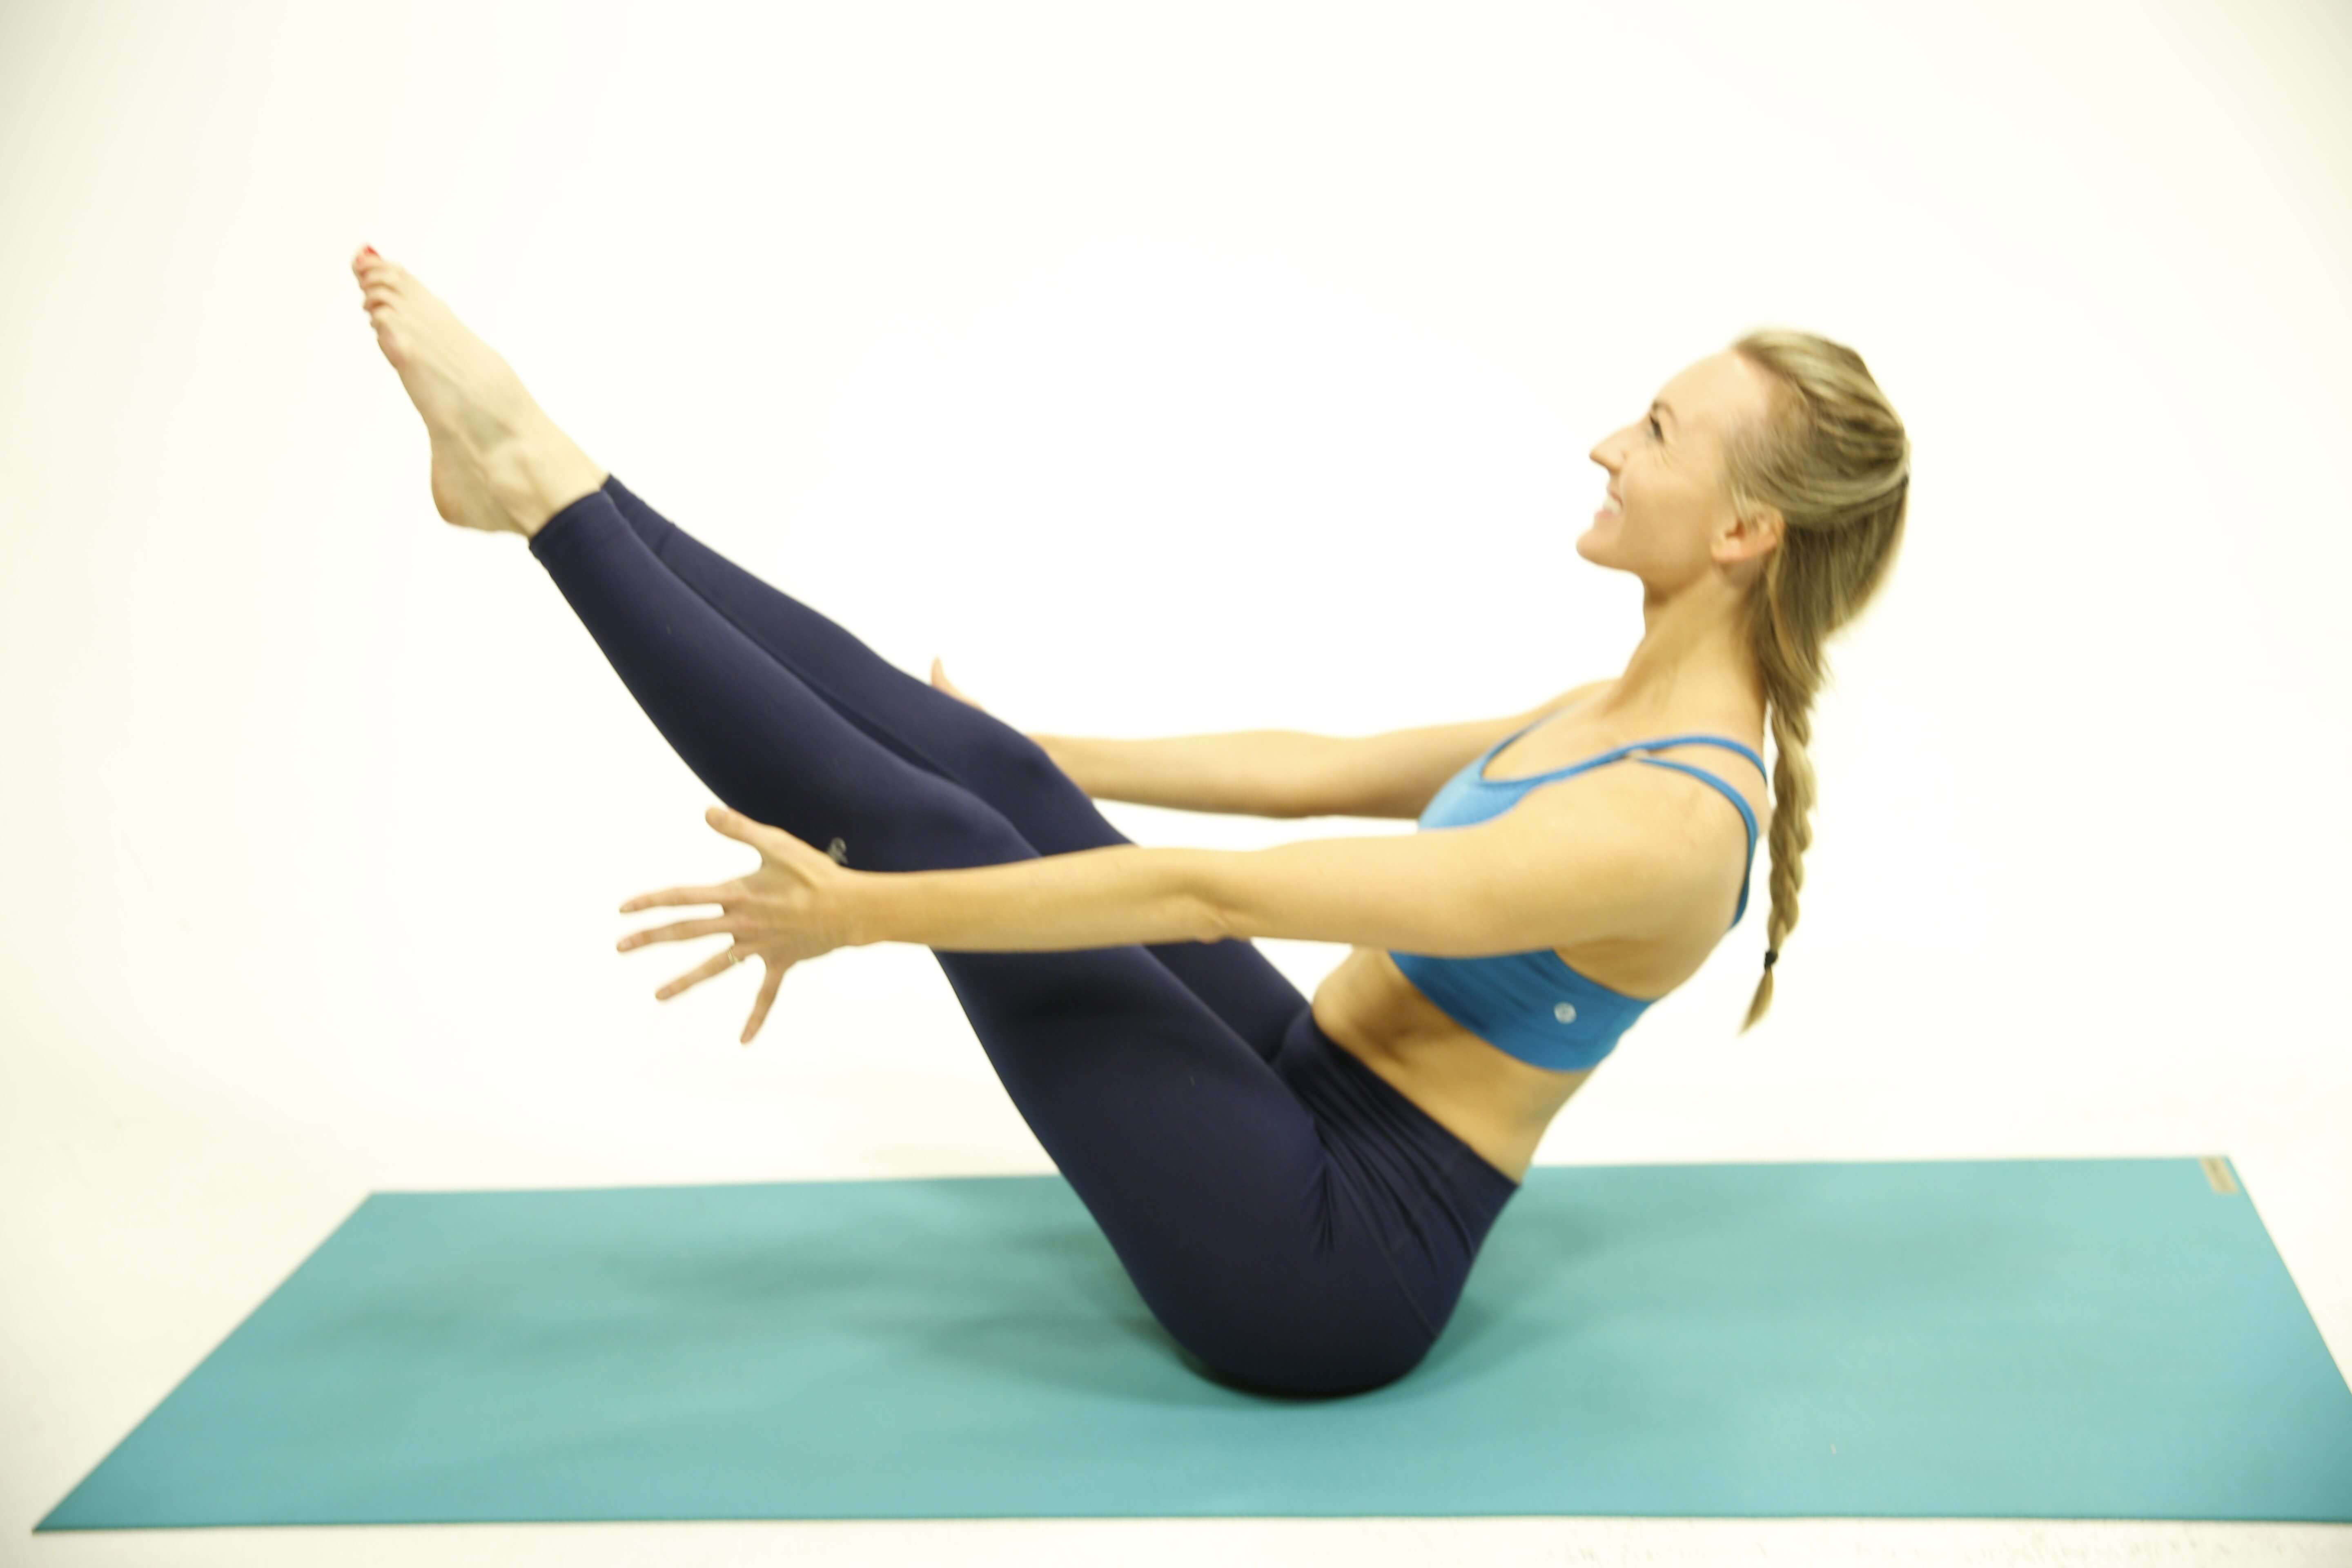
Navasana is another great pose for improving core strength. Sit on the ground with your legs bent and feet planted. With your spine straight, begin to lift your feet off the ground. Bring your shins parallel to the floor and your arms out in front of you.
Hold here for 5-7 breaths. Just as in plank, you want to keep your breath slow and even. If you are looking for more of a challenge, you can straighten your legs to 45 degrees. Do 2 – 3 rounds of this.
4. Standing Split (Urdhva Prasarita Eka Padasana)
Standing splits can help warm up your lower body and get you familiar with balancing one leg in the air. Focus on keeping your hips squared to the ground. Lift your top leg using the strength of your inner thigh.
Repeat with the other leg and notice any differences. It’s common to feel more balanced on one side. This pose gives you the opportunity to explore how stable you feel on the right versus the left side.
Now that you’ve built some strength, it’s time to practice getting into the posture. Watch the video below if you’re a visual learner like me. Remember that the perfect handstand probably won’t come on the first try. It takes training, practice and focus.
You might also like: At Home Yoga Challenge: 7 Day, 21 Day, And 30 Day
4 Steps for Proper Handstand Progression
Step 1: L-Shape Handstand
This is a great way to get your body used to the feeling of being upside down. To get into this exercise, begin in downward dog with your heels near the wall. Slowly walk up the wall one foot at a time until your body is a 90 degree angle.
You will begin to feel the sensations of being upside down. Think of building a strong foundation from the ground up. The wrists, arms and shoulders will feel more work here, but just focus and breathe.
This is a great exercise to get you upside down for the first time. Once you get used to shifting your center of gravity, handstand will make a lot more sense.
Step 2: L-Shape Handstand; Toe at the Wall
This is the same as the previous one, but it takes things a little further. Instead of having your feet flat on the wall, come up onto the toes. This shifts your weights slightly forward and puts more work into the shoulders and wrists.
If you feel comfortable here, you can lift one leg at a time. Think of reaching your top toe up to the sky. This will help you lengthen and activate your leg, which will ultimately help you stay in a handstand.
Step 3: Handstand on the Wall
The most difficult obstacle to handstand is probably the fear of falling. By practicing against a wall, you take that mental fear away and allow you to focus on the physical part of the pose. This exercise will also help you practice kicking up into a handstand.
Place your palms on the floor in front of the wall. Come into downward dog on your toes. Lift one leg to the sky and kick up with the other. Remember that you have a wall to catch you, so don’t be afraid to use some power in your kick ups.
Step 4: Child’s Pose (Balasana)
The intensity of headstand requires a counter pose to release the tension. After coming down from any variation of handstand, release into balasana.
Place your toes together and knees apart. Reach your arms forward and release. This should give your shoulders a nice release and allows the blood flow to return to normal.
Now that you’ve strengthened, stretched and practiced, it’s time to handstand! Take support of the wall if you need to and enjoy the journey.